Install the Charging Station
Check the Box Contents
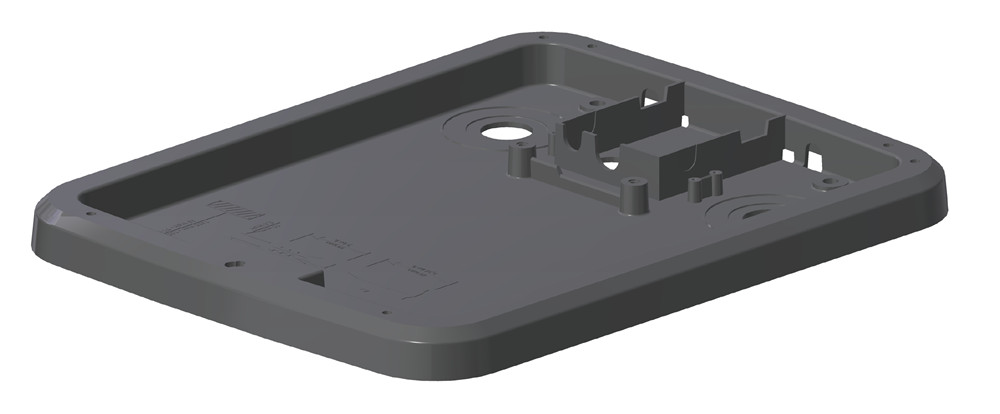
Find Box #1, the CP4300 Charging Station, and ensure you have all components (graphics not to scale).
|
Grounding plate (1) |
|
|
Installation kit (1) |
Contains:
|
|
Box of rubber grommets (1) |
Contains 1 large and 2 small rubber grommets |
|
Power management jumper (1) (Dual port stations only) |
|

Install the Grounding Plate
-
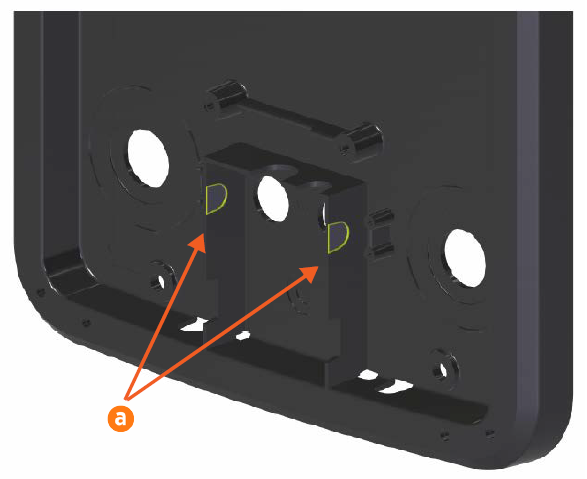
Locate the grounding plate. Using a utility knife, drill, or Dremel tool, carve out two notches in the front of the grounding plate (a) and two in the back (b).

-
Locate the box of rubber grommets. Fit the grommets into the three holes (one larger, two smaller) in the back of the charging station.
-
Feed the loose end of the grounding cable from the head bracket through the hole in the bottom right of the grounding plate (c).
-
Fit the grounding plate onto the station mounting bracket.
-
Using four 14 mm M8 socket head screws, secure the grounding plate to the station mounting bracket (d). Tighten the screws to 16.5 Nm.
-
Bend the power cables (e) forward approximately 90 degrees.

Mount the Charging Station
-
Gently lay the charging station face up on the padded ground covering. Use the station key to unlock and open the door.

-
Use a screwdriver to remove the screw holding the component cover in place.
-
Remove the component cover and put it in a safe place for later reuse.
-
Gently lay the charging station face down on the padded ground covering, with the top of the station facing away from the pedestal.
-
Lift the station so that you can guide the power cables into it through the holes in the bottom (f).

-
Guide the loose end of the grounding cable through the back of the station.
-
Carefully swing the door open to more easily guide the power cables into place.
-
Rotate the station slowly into a vertical position as you go.

-
When the charging station is vertical, seat the charging station into the grounding plate.
-
When the charging cables are in place, seat the charging station into the grounding plate.
 Continue to support the charging station until it is secured in place with mounting screws.
 -
Install the charging cable glands into the holes in the station mounting bracket.
-
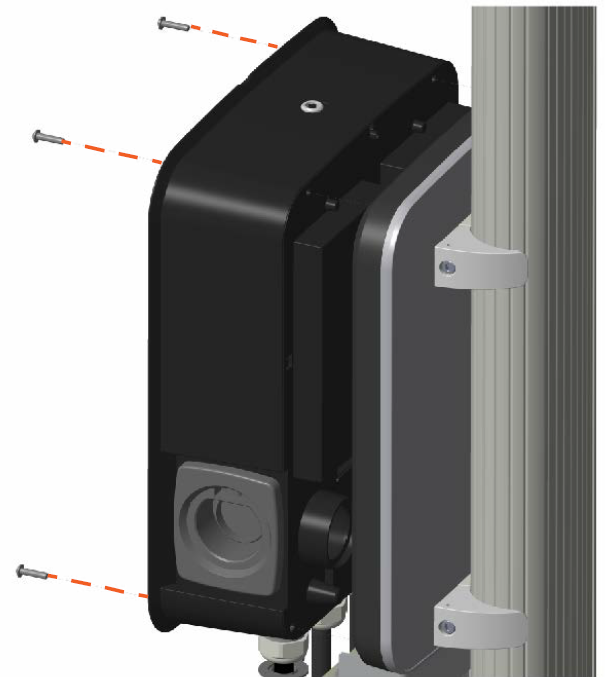
Using a Torx T25 driver and four 25 mm M6 screws, secure the charging station in place. Tighten the screws to 6.5 Nm.
-
Connect the loose end of the long grounding wire to PE between the two terminal blocks inside the charging station.
