Install CP6000 Adapter Plate
Perform the following steps to install CP6000 adapter plate:
-
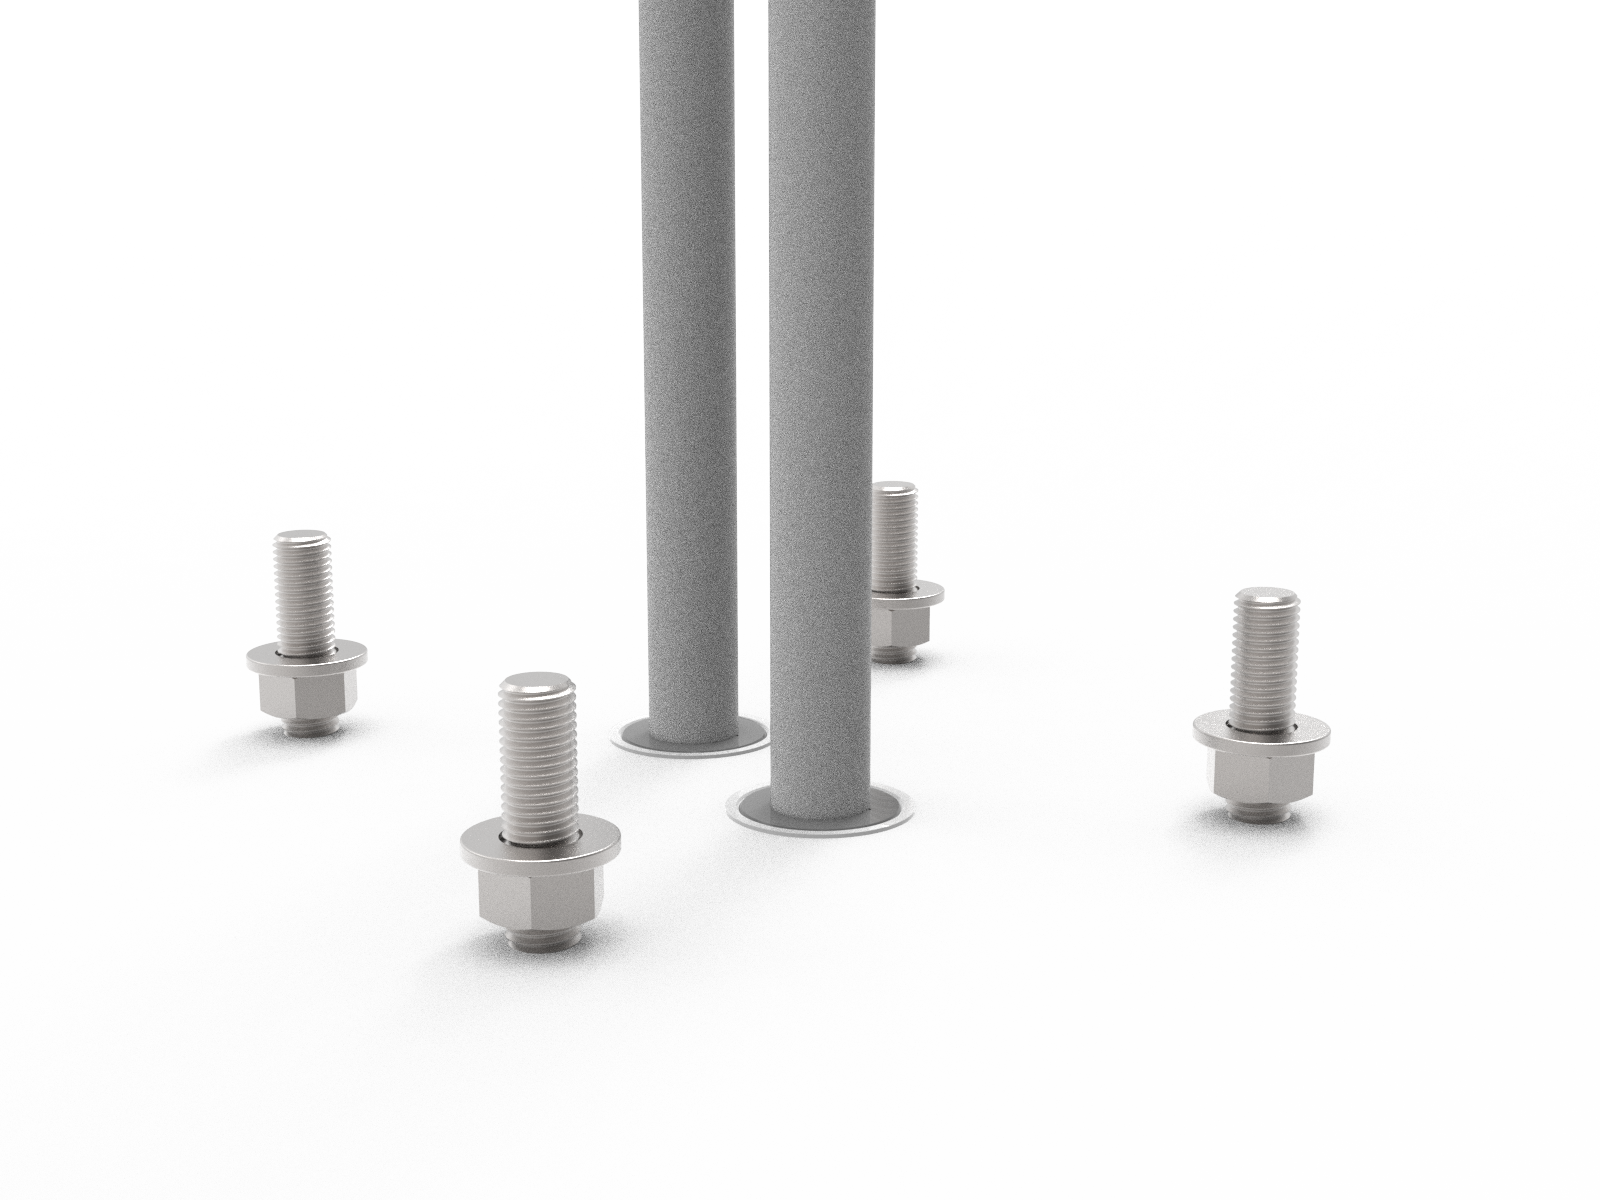
Ensure there is a nut and washer on each of the four existing anchor bolts.
-
Choose the appropriate adapter plate. Note where the front of the station will face.
-
Stations without cables (CMK
 Cable Management Kit)
 -
Stations with cables (CMK
Cable Management Kit) -
Front of the station

-
-
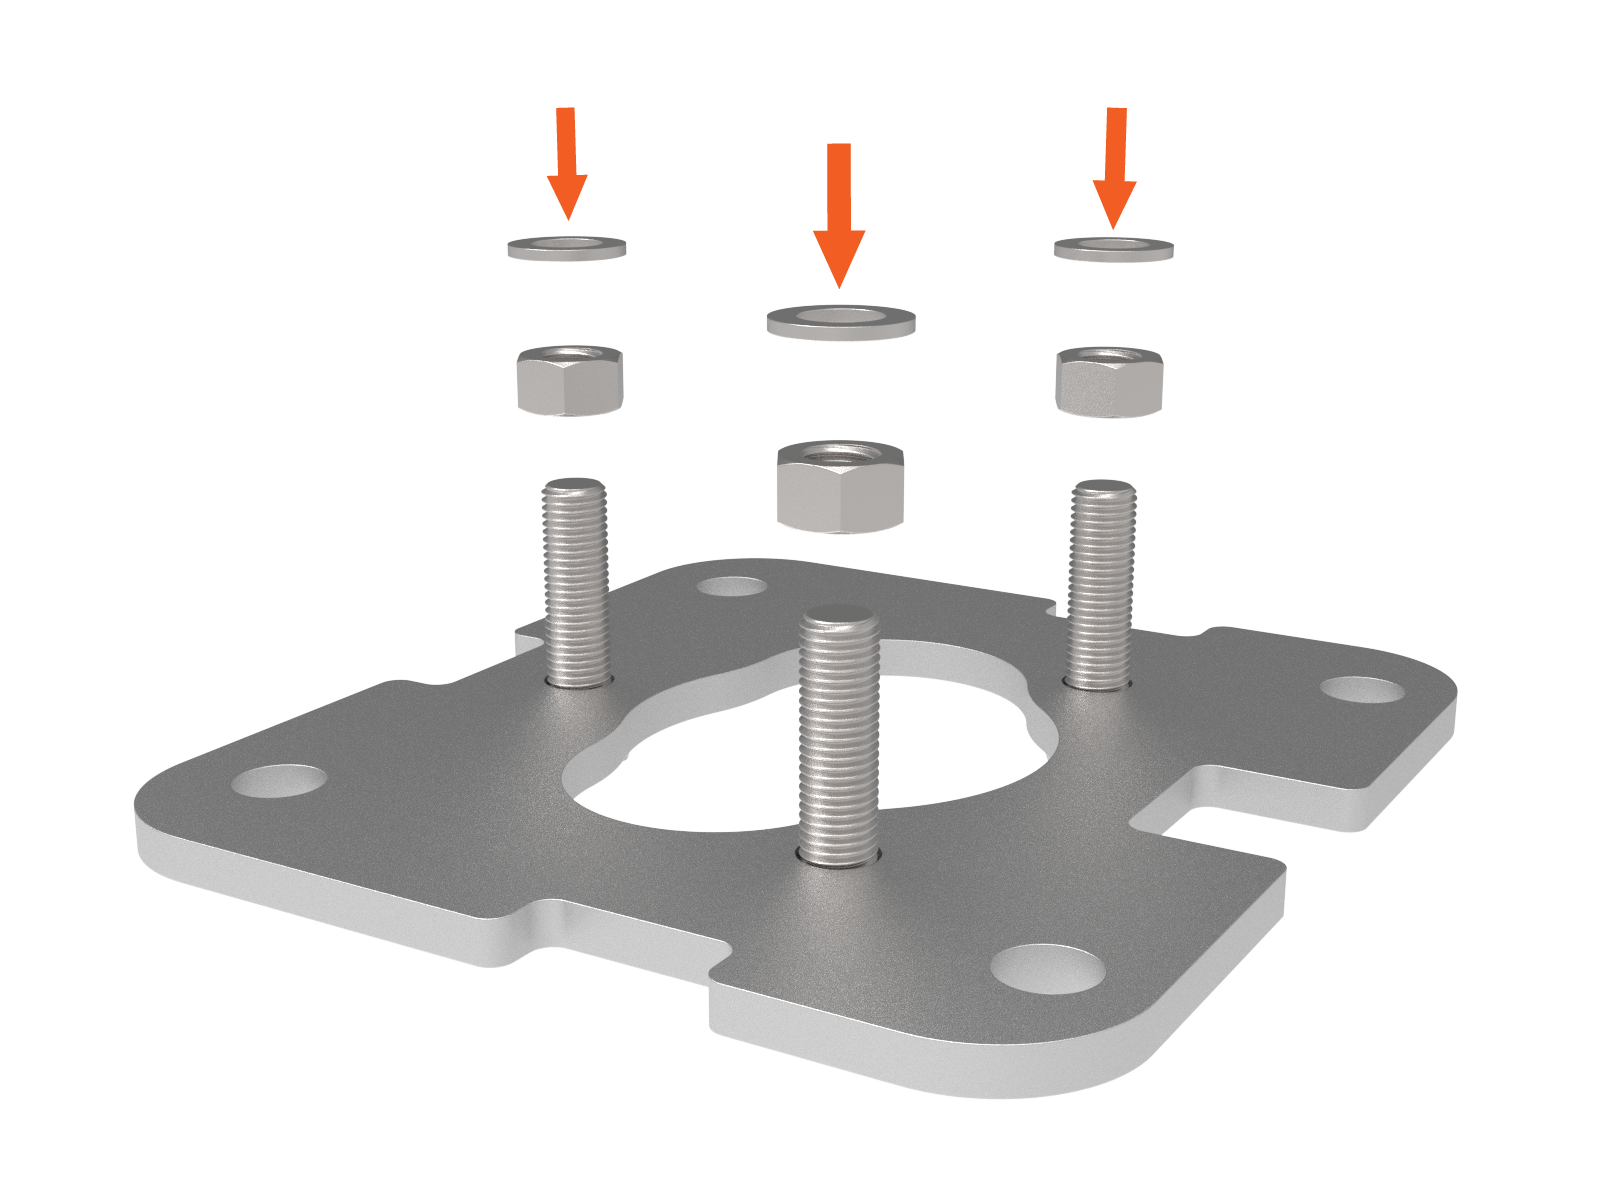
Remove the nuts, washers, and cable gland bracket from the top of the adapter plate.

-
Place a nut and washer on each of the adapter plate bolts.
-
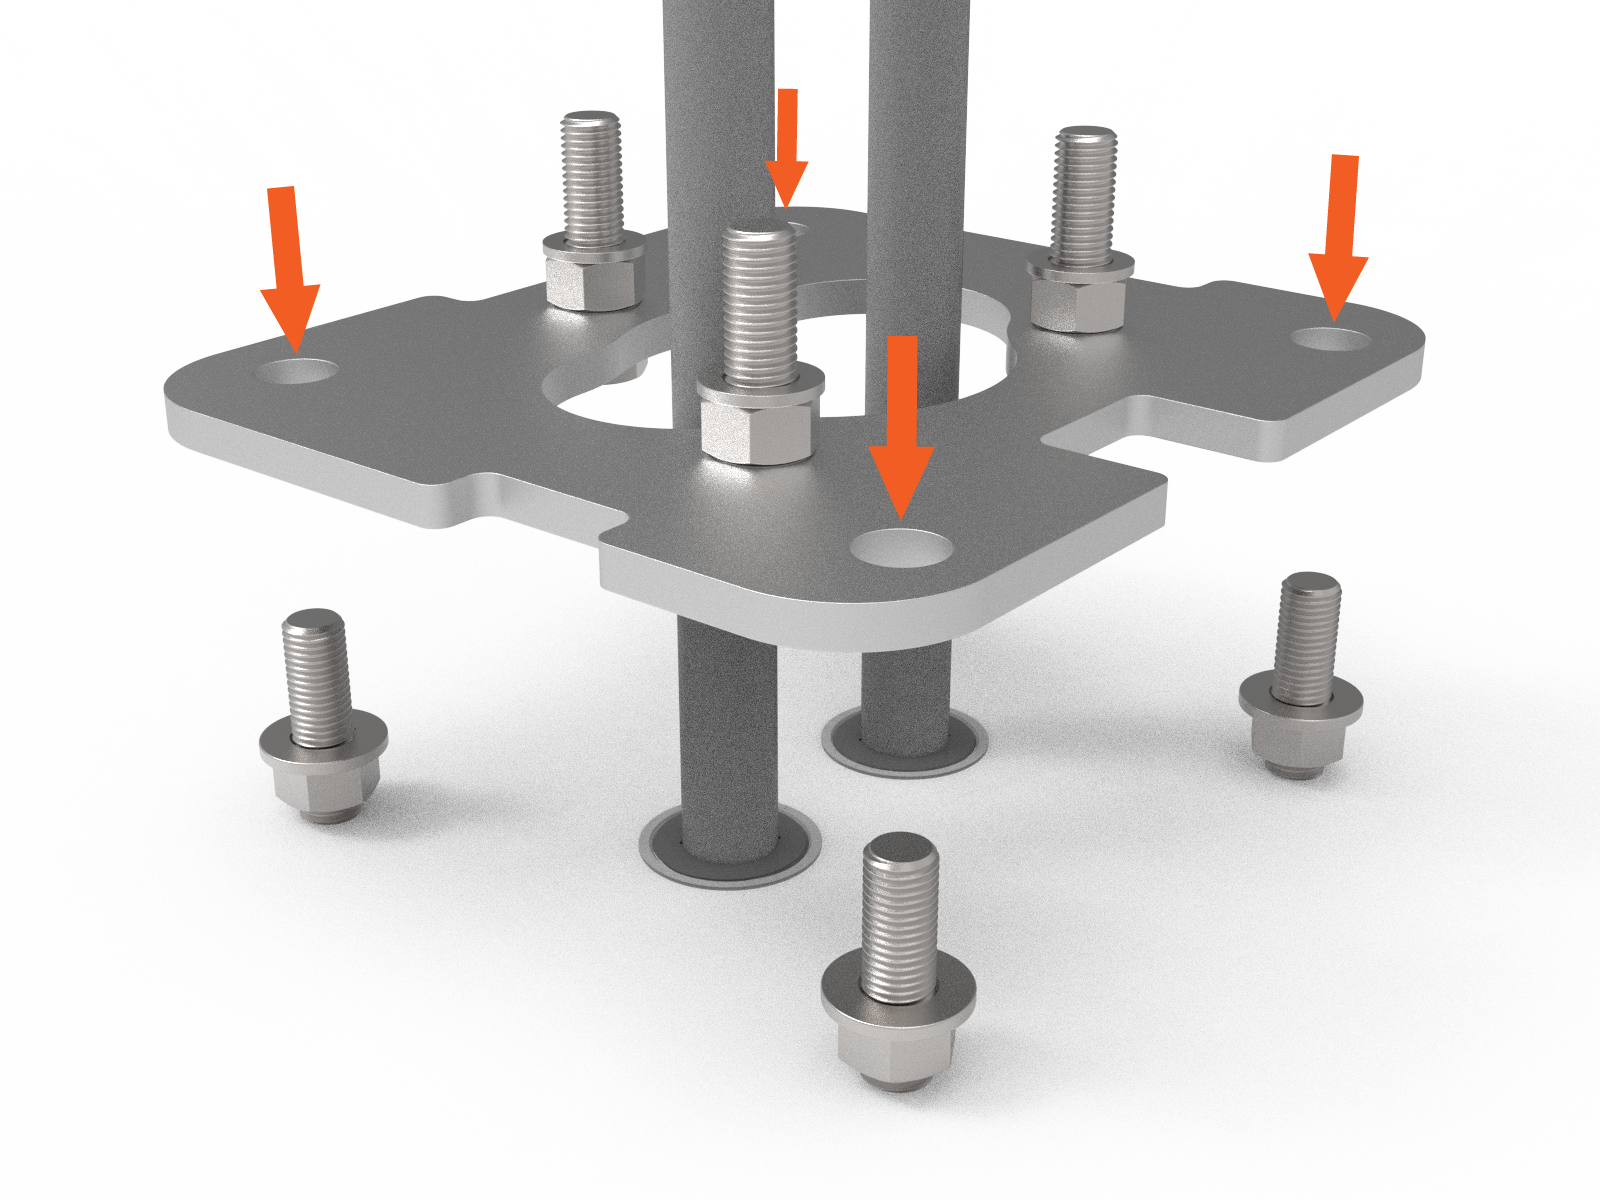
Place the adapter plate on the concrete over the conduit stub-up or duct.
-
The top of the adapter plate needs to be approximately 32 mm (1-1/4 in) above the concrete.

-
Place the plastic cover on top of the adapter plate.

-
Confirm that the top of the adapter plate (a) is the same height as the tabs (b) on the plastic cover.

-
Remove the plastic cover.

-
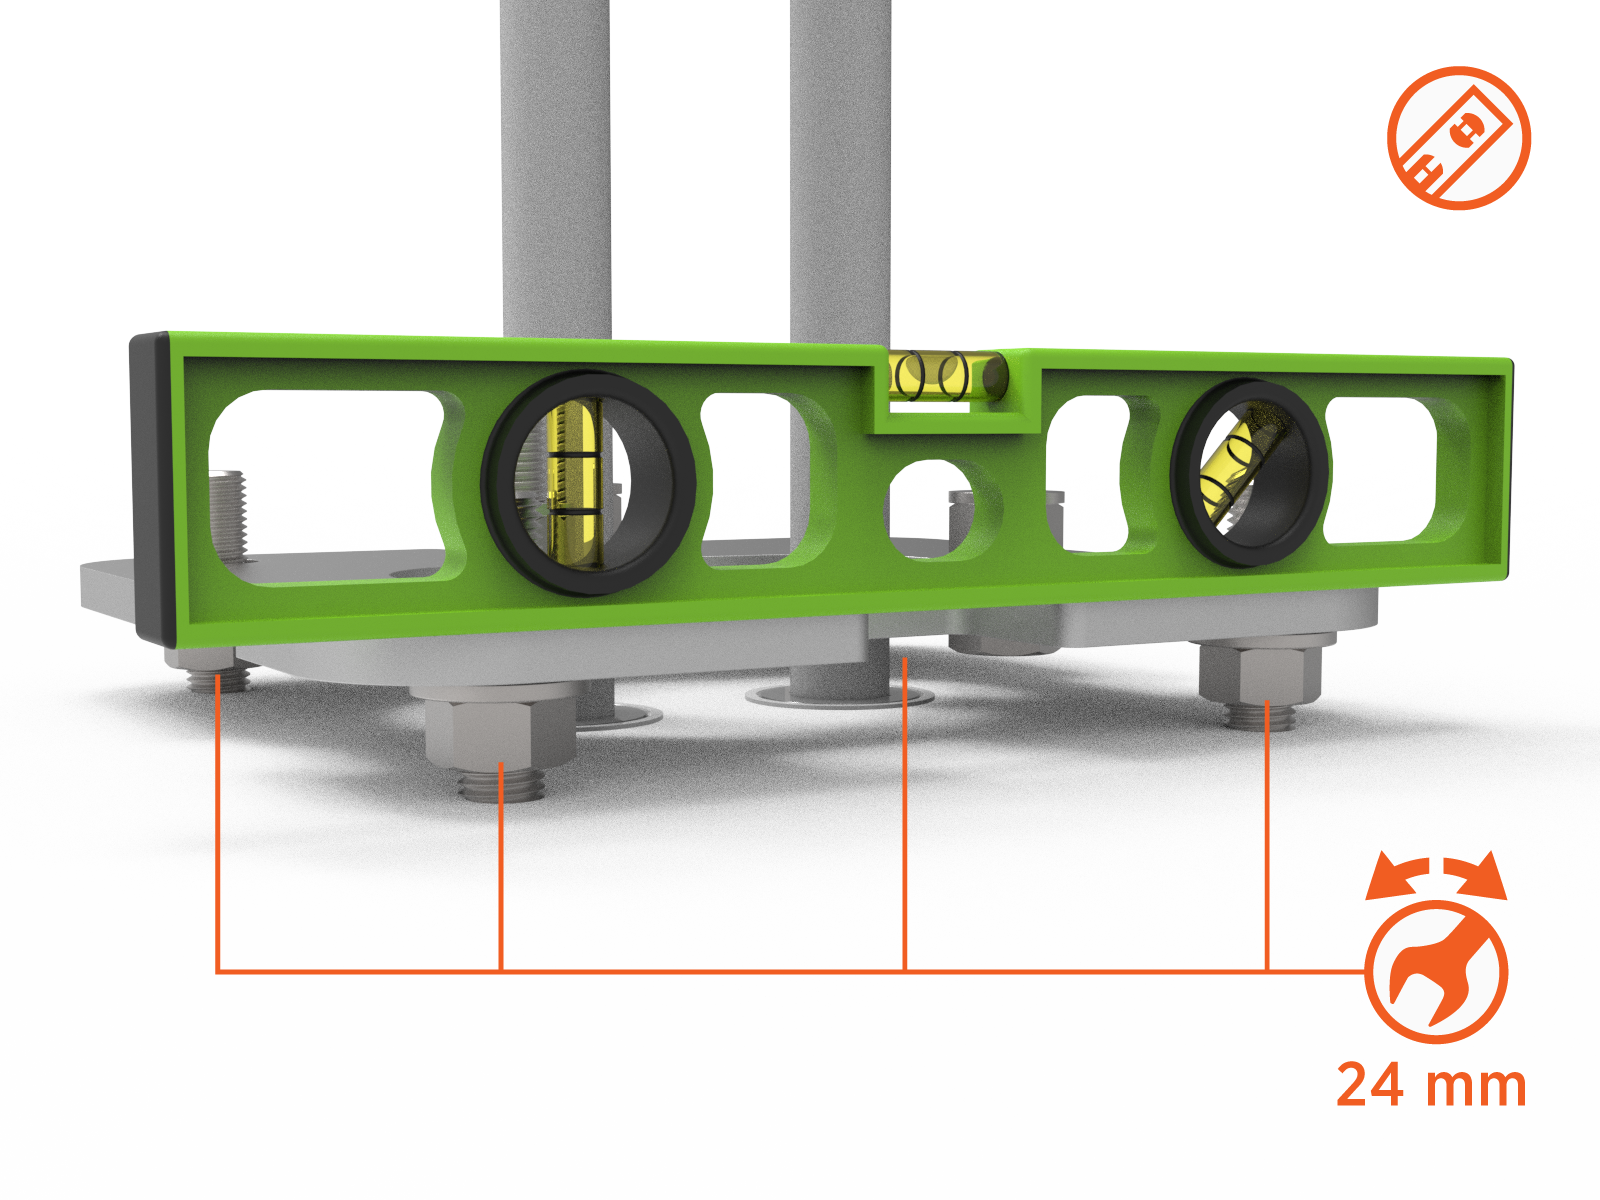
Adjust the lower nuts as necessary to level the adapter plate.
-
Ensure the top of the adapter plate (a) is still the same height as the tabs on the plastic cover (b).
-
Place a washer and nut on each of the four anchor bolts.
Using a 24 mm hex wrench, torque the M16 nuts to 120 Nm (88 ft-lbs).

-
Slide the plastic cover on top of the adapter plate.


Refer to the CP6000 Installation Guideto install the CP6000 charging station.
