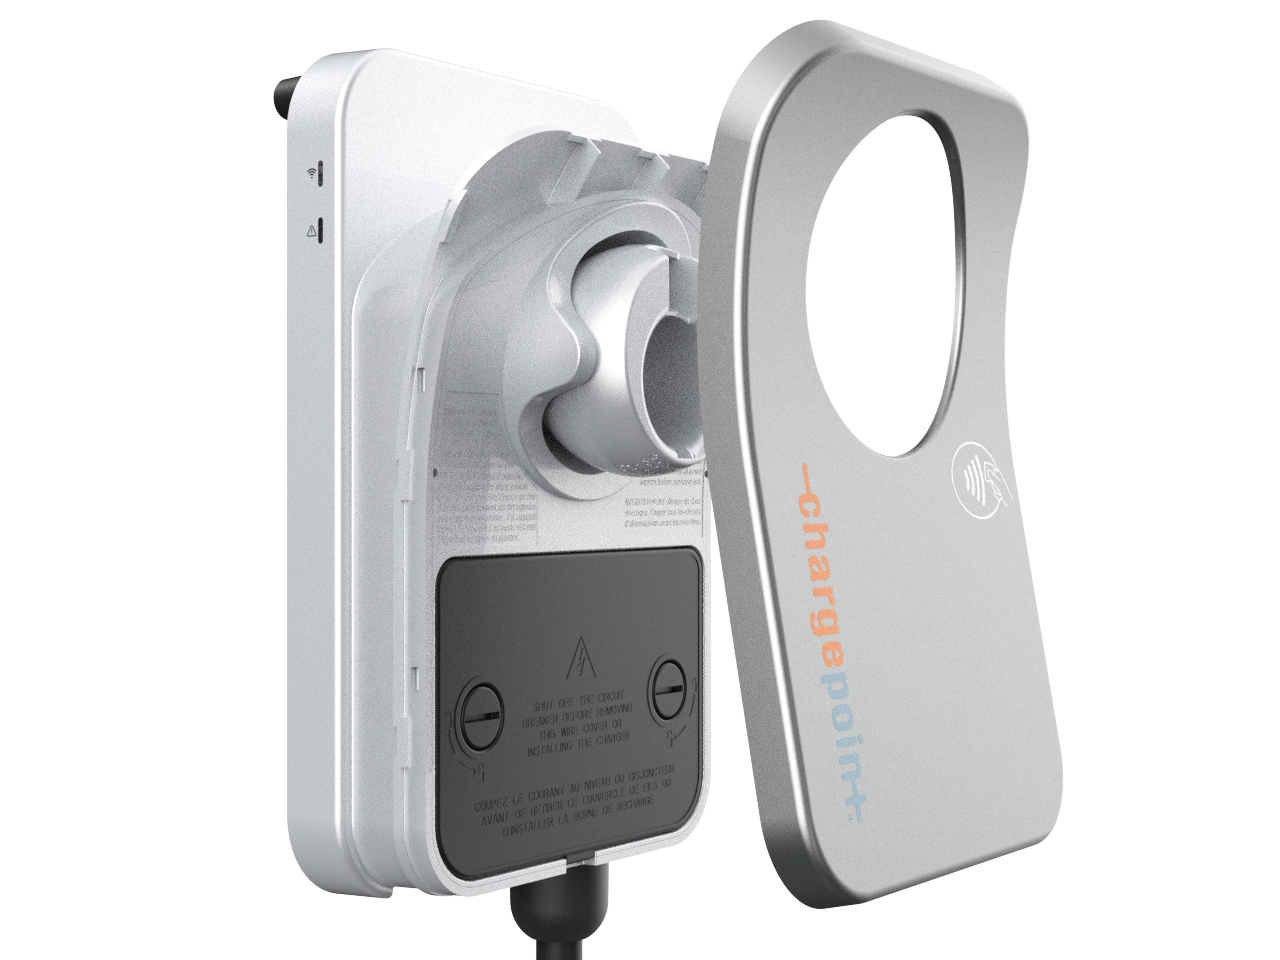
NACS Conversion and Cable Replacement Kit
This topic contains important instructions for the Home Flex that shall be used to install the NACS![]() North American Charging Standard Conversion Kit. You can replace a broken cable or install the NACS
North American Charging Standard Conversion Kit. You can replace a broken cable or install the NACS![]() North American Charging Standard Conversion Kit.
North American Charging Standard Conversion Kit.
Do not install the kit until you have read the instructions in this chapter.
To install the NACS![]() North American Charging Standard Conversion Kit, perform all the steps in this chapter, up to and including the Install NACS Holster Insert step.
North American Charging Standard Conversion Kit, perform all the steps in this chapter, up to and including the Install NACS Holster Insert step.
To replace a broken cable, follow all the steps in this chapter, except the Install NACS Holster Insert step.
Remove the Charging Cable
To remove the charging cable, complete the following steps:
-
Turn off power to the station at the circuit breaker.
-
Lift the faceplate off by pulling down on the two tabs located on the bottom of the faceplate, then pulling the faceplate away from the charging unit.
-
Use a coin to unlock the wire cover.
To avoid damage to the wire cover, do not use a screwdriver.
-
Lift the wire cover off.

-
Push up on the charging cable to relieve tension then slide the cable clip out. If it is difficult to remove, try sliding the coin under the cable clip and simultaneously sliding the clip out over the coin.

-
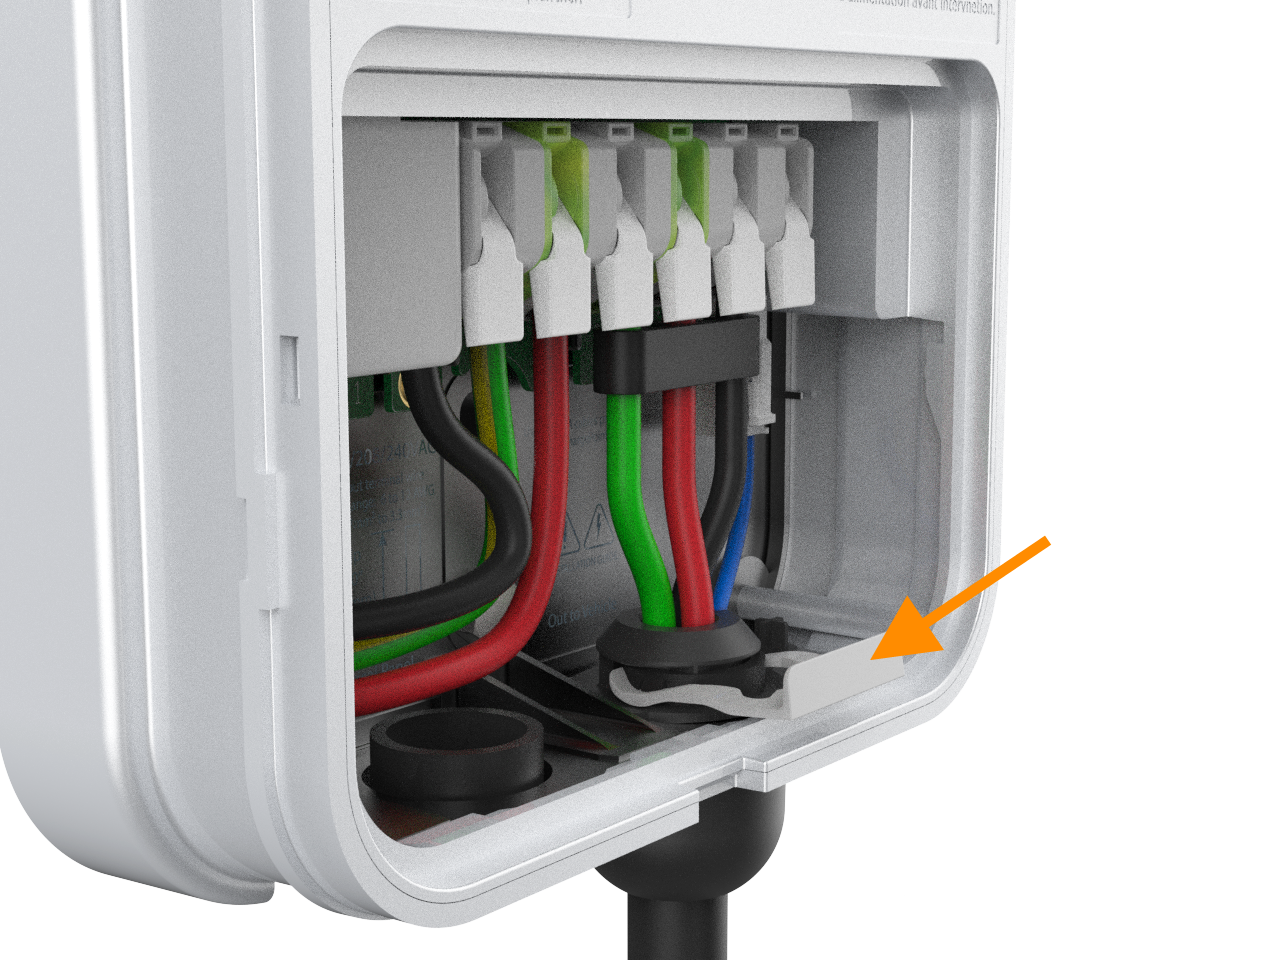
Lift the three levers on the right side of the terminal block to remove the green, red, and black wires, and unplug the 4-pin connector.
Do not lift or remove the three left-most levers and wires. Only the three right-most levers and wires, along with the 4-pin connector, are being lifted and replaced.

-
Slide the charging cable out through the hole at the bottom of the station. You might need to squeeze the black wire harness that holds the three wires together, along with the 4-pin connector.
Replace the Charging Cable
To replace the charging cable, complete the following steps:
-
Unwrap the new charging cable.
-
Remove the cable clip from the cable. Squeeze the wires and black wire harness and, along with the 4-pin connector, insert them into the opening on the lower right side of the station, pushing up until the cable collar is flush against the enclosure.
Ensure that the guide pin on the cable collar goes into the corresponding hole on the bottom of the enclosure.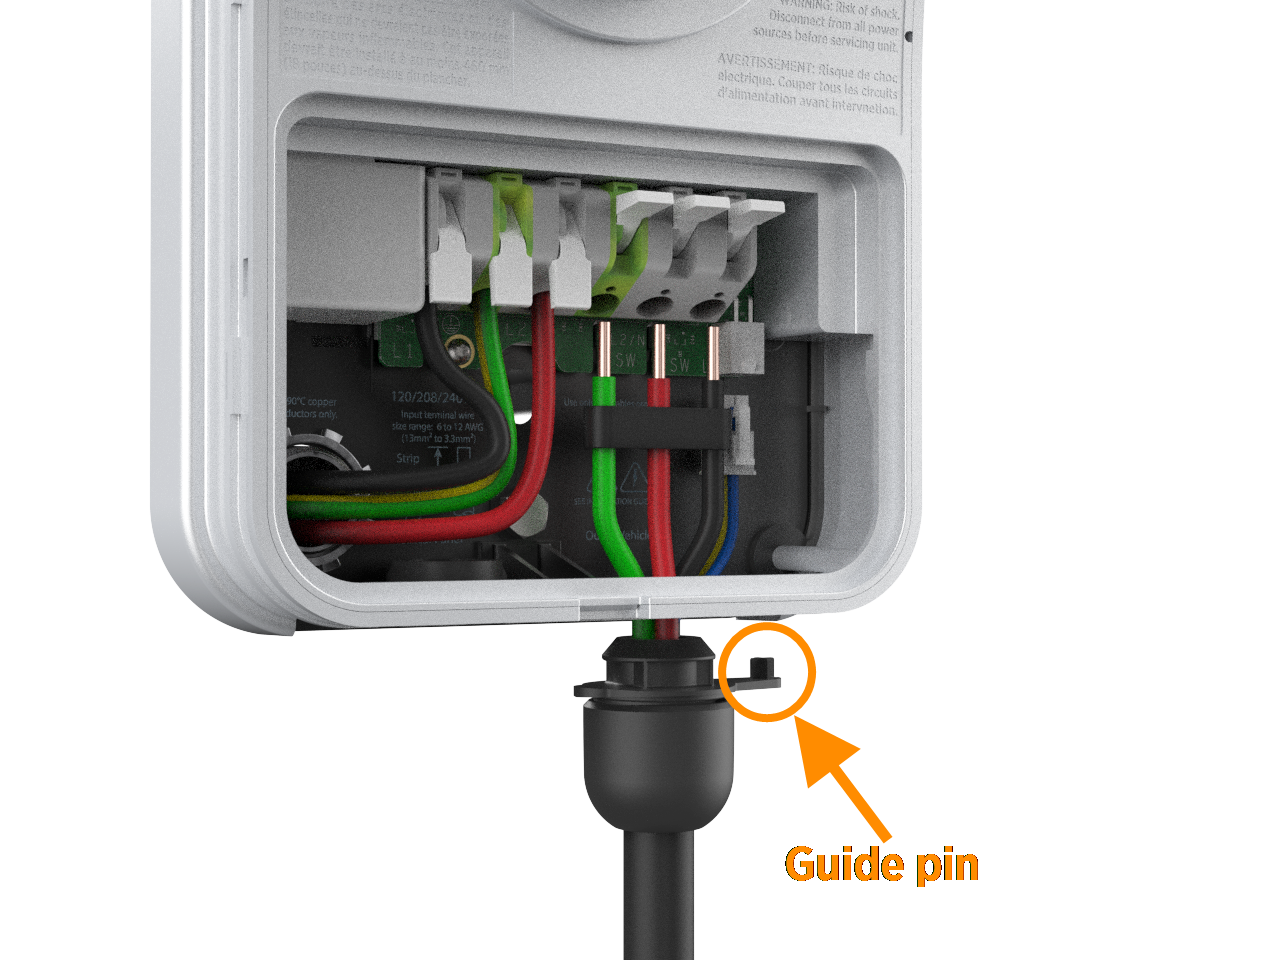
-
Insert the green wire in the third from right terminal; the red wire in the second from right terminal; and the black wire in the right-most terminal of the output block; then insert the 4-pin plug into the connector to the right of the terminal block.

-
Push the cables up until the silver conductors are no longer visible.
-
Snap the white levers all the way down on each wire.
The levers snap shut with great force. Keep fingers away from underneath the levers. -
Push up on the charging cable to relieve tension then slide the cable clip in. This secures the cable and provides strain relief.


Attach the Wire Cover and Faceplate
To attach the wire cover and faceplate, complete the following steps:
-
Replace the wire cover over the exposed wiring.
-
Use a coin to lock the wire cover in place.
To avoid damage to the wire cover, do not use a screwdriver. -
Snap the faceplate onto the charging station.
Install NACS Holster Insert
Convert the holster to accept NACS![]() North American Charging Standard cables by installing the NACS
North American Charging Standard cables by installing the NACS![]() North American Charging Standard holster insert. The holster insert cannot be removed once it is installed, so make sure you are ready to convert your holster to accept a NACS
North American Charging Standard holster insert. The holster insert cannot be removed once it is installed, so make sure you are ready to convert your holster to accept a NACS![]() North American Charging Standard cable. Complete the following steps to install NACS
North American Charging Standard cable. Complete the following steps to install NACS![]() North American Charging Standard holster insert:
North American Charging Standard holster insert:
-
Insert the holster insert supplied with the kit into the holster. The insert should click when fully inserted.


-
Insert the cable into the holster and ensure it does not fall out.


Prepare the Charging Cable for Use
To prepare the charging cable for use, complete the following steps:
-
Extend the charging cable to its full length to remove any kinks or twists.
-
Wrap the charging cable over the top of the charging station.
-
Insert the connector in its holster.
Restore Power
To restore power, complete the following steps:
-
Restore power to the station at the circuit breaker.
-
Verify that the charging cable now functions by starting a test session and configure the following steps:
-
Initiate a charging session.
-
Plug the handle into a vehicle.
-
Verify that the vehicle is charging.
-
Insert the connector in its holster.
-
