Complete Station Setup
Required Tools and Materials
|
|
Smartphone with Internet connectivity |
|
ChargePoint Installer app |
|
|
Exact location of stations or units, including parking space |
|
ChargePoint installer login credentials |
To complete the setup, you must have completed the ChargePoint Installer training and received your ChargePoint Installer login.
Power Up
Power up the station. If the station does not power up, turn power back off and check that the head assembly’s blue rectangular connector is fully seated into the terminal block.
Install Cable Clamps
To install the Cable Clamps:
-
Uncoil the charging cable by gently extending it all the way out and away from the station. Rotate the plug as needed to remove any twist or kinks.

-
Position the charging cable near the base of the station.

-
Align the knot bearing on each rope to its corresponding mating feature on the cable clamp.

-
Using tool provided, turn the knot bearing clockwise approximately 1/4 turn. You may need to push down while turning the knot bearing.
Ensure no gap exists between the top cap and the ball.
-
Untie the knot near the top of the CMK
 Cable Management Kit.

-
Check that the charging cable extends and retracts fully and smoothly.

-
Insert the charging cables into their corresponding holsters.

Run the Installation Wizard
The CT4000 has an on-screen Installation Wizard to guide you through setup and verification of the station for operation. Use the Up or Down buttons to scroll to the appropriate choice and use the Select button to make choices. You are guided to select things like:
-
Language
-
New or replacement station
-
Circuit installation information
-
Notification of any station faults

When the Installation Wizard has been completed, you will see:
-
The instructional video
-
The status icon for each port displaying a green check mark
-
No error messages
-
No lit error LEDs
If any error messages display or LEDs are lit, resolve those issues before proceeding.
Secure the Head Assembly
Once you have verified the charging station is correctly wired, secure the head assembly.
-
Remove the L-wrench by rotating it to the right until the security tag breaks. Lift the head assembly slightly and remove the L-wrench.
Ensure the snaps on the top cap are fully engaged before lowering the head assembly.
-
Lower the head assembly. Ensure the head assembly is fully seated and that no gap exists between the bottom of the head assembly and the housing. The head assembly fits tightly and may require extra downward force to ensure it is fully seated.
-
Using the L-wrench, tighten the two security set screws inside the holsters to approximately 2.8 to 3.4 Nm (2 to 2.5 ft-lb).
-
Cover the screws using the two rubber plugs.

-
Insert the charging cables into their corresponding holsters.
Pinpoint the Station
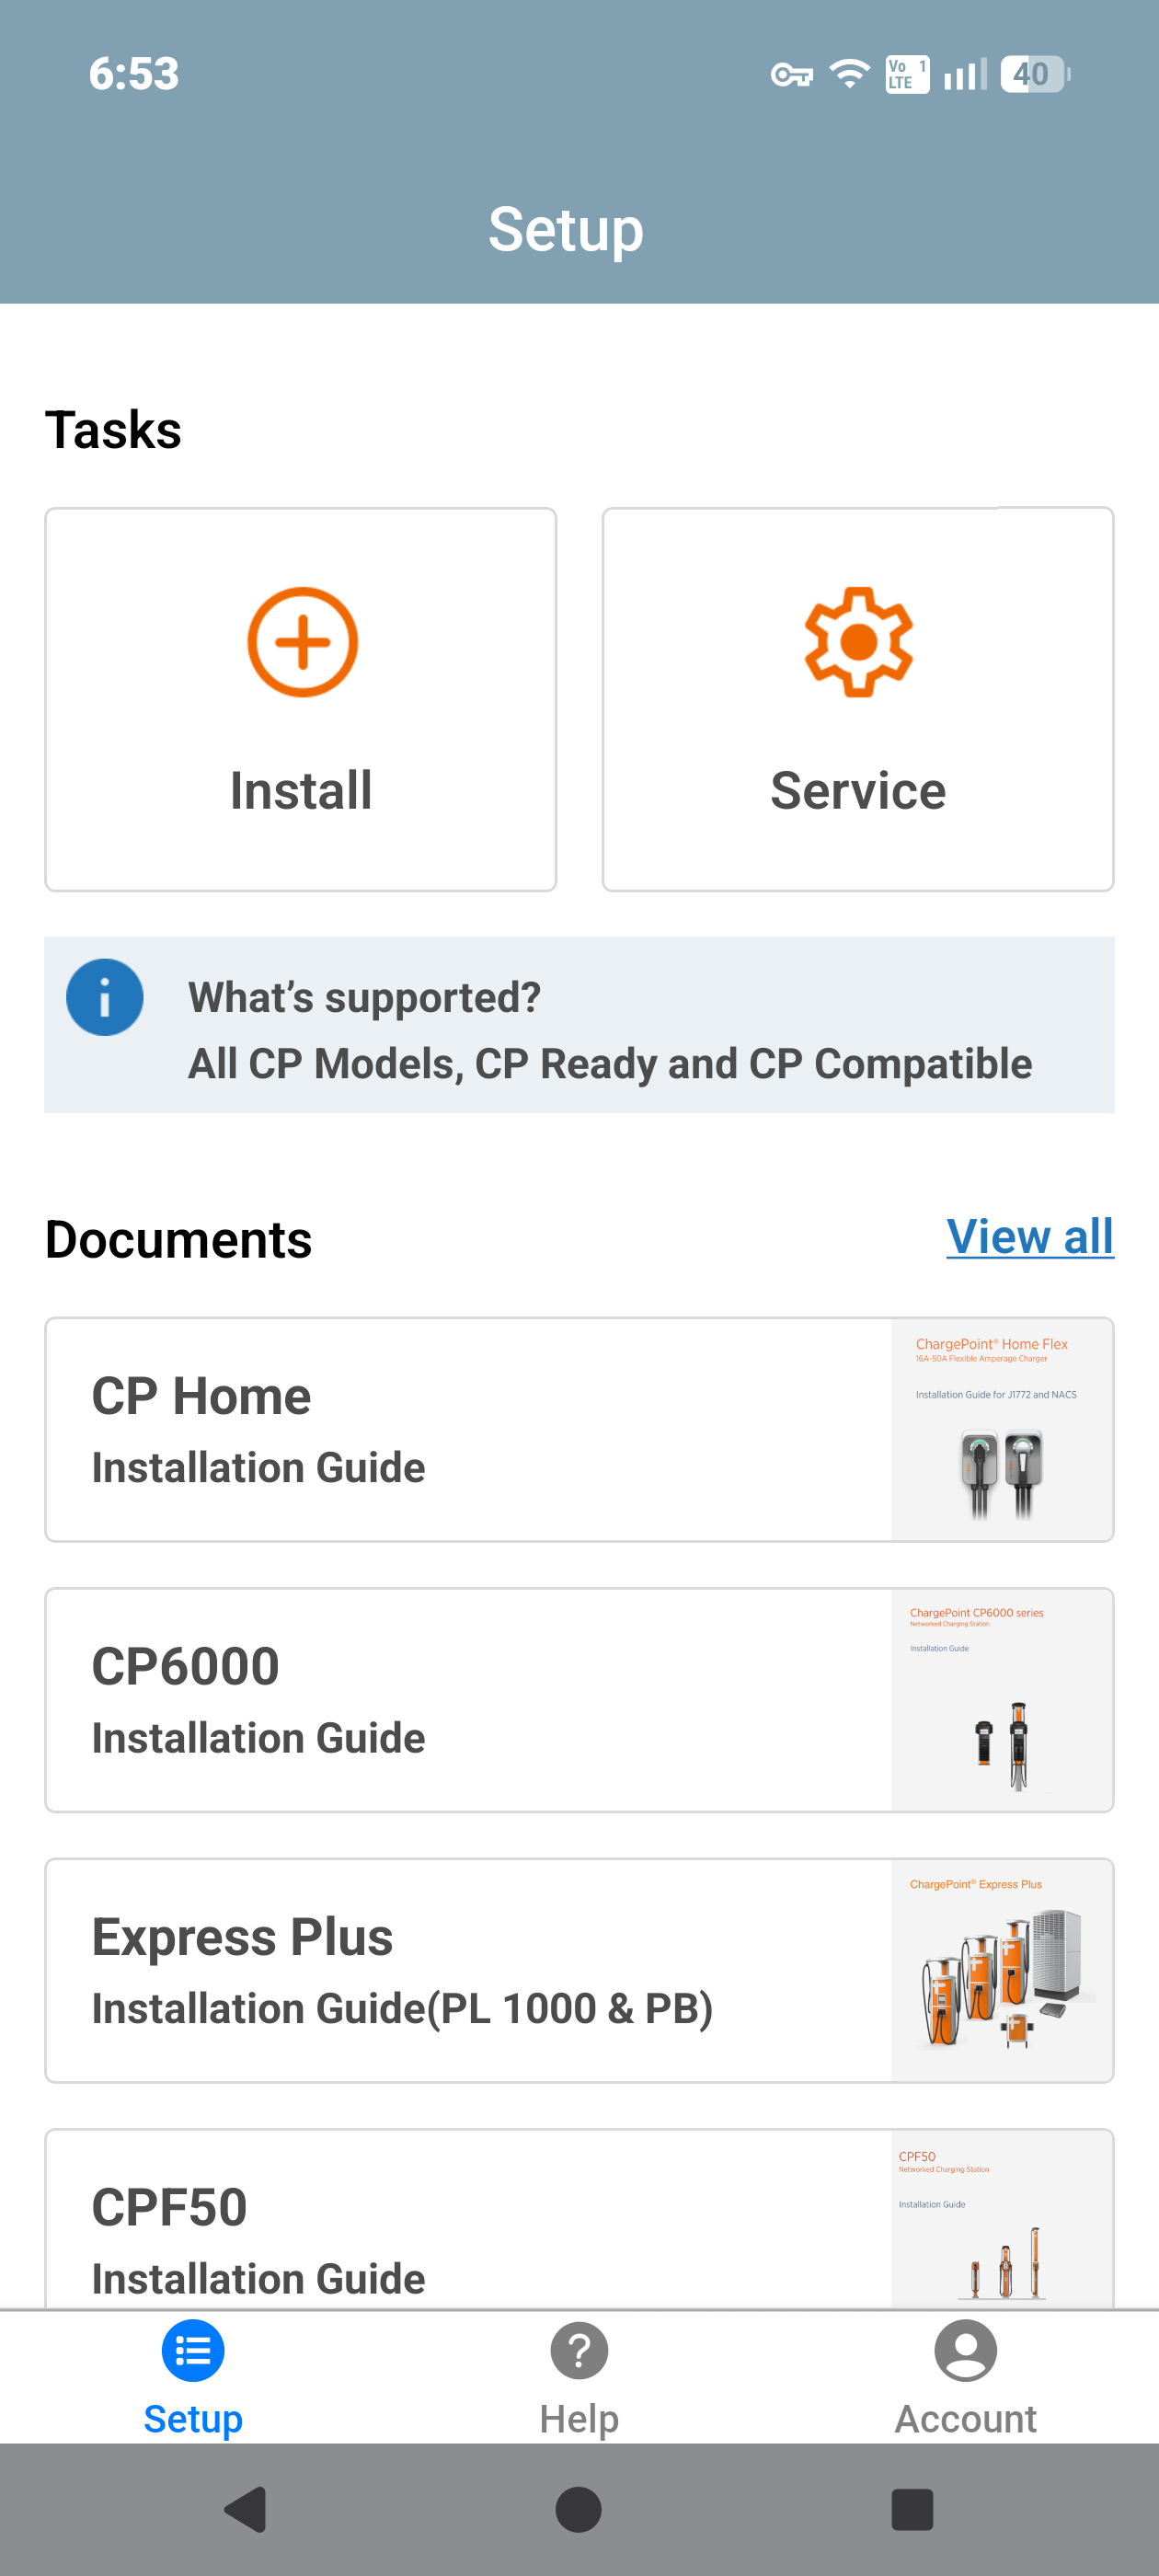
Open the ChargePoint Installer app on your smartphone and follow the instructions below:
-
If you do not already have the Installer app, scan the QR
Quick Response code to download the app.
-
Log in or register using the ChargePoint Installer app on your smartphone.
If cellular connectivity is unavailable, the Installer app automatically switches to Offline Mode for Ethernet configuration. Automatic switching occurs only if the Installer app was launched and logged in while online. If Offline Mode does not start automatically, you can enable it manually using the Force Offline Mode option in the Account section or by turning on Flight Mode. -
Tap on Install.
-
Use the app to scan the QR
Quick Response code on the station screen or on the charging station label.

-
The app automatically identifies the charging station and begins the pinpointing and configuration process.
-
Follow the in‑app instructions to complete pinpointing and configuration process.
Station Activation
As the installer, your role is to support this process by providing the station owner with the required station identification information. Before leaving the site, give the station owner a list of all installed station serial numbers and/or MAC![]() Message Authentication Code addresses and inform them that activation is required before the station can be used.
Message Authentication Code addresses and inform them that activation is required before the station can be used.
If station owner has additional questions, you can refer them to ChargePoint Support at chargepoint.com/support.
Start a Charging Session
Once the installation wizard is complete, use the ChargePoint card to start a test session. Verify that you can:
-
Initiate a charging session
-
Unlock the holster and pull out the charge handle
-
Plug the handle into a vehicle or a vehicle emulator (if available)
-
Holster the handle
-
Verify that the handle is locked again
