Mount the Pedestal
Perform the following steps to mount the pedestal:
-
Confirm that the location has been prepared according to the Site Design Guide and the Concrete Mount Template by visiting ChargePoint Product Reference Documentation.
-
You should see the following:
Indicate Yes or No
Add Comments-
Concrete mounting template
Yes
No
-
Three bolts set into concrete
Yes
No
-
Two nuts and three washers on each bolt
Yes
No
-
Template front
Yes
No
-
Bolts extending 60 mm (2 1/3 in) to 100 mm (4 in)
Yes
No
-
Conduit stub-up measuring 152 mm (6 in) to 590 mm (2 ft)
Yes
No
-
Approximately 1.5 m (5 ft) of service wiring
Yes
No
-
CP6000 adapter cover (only if replacing CP6000)
Yes
No

-
-
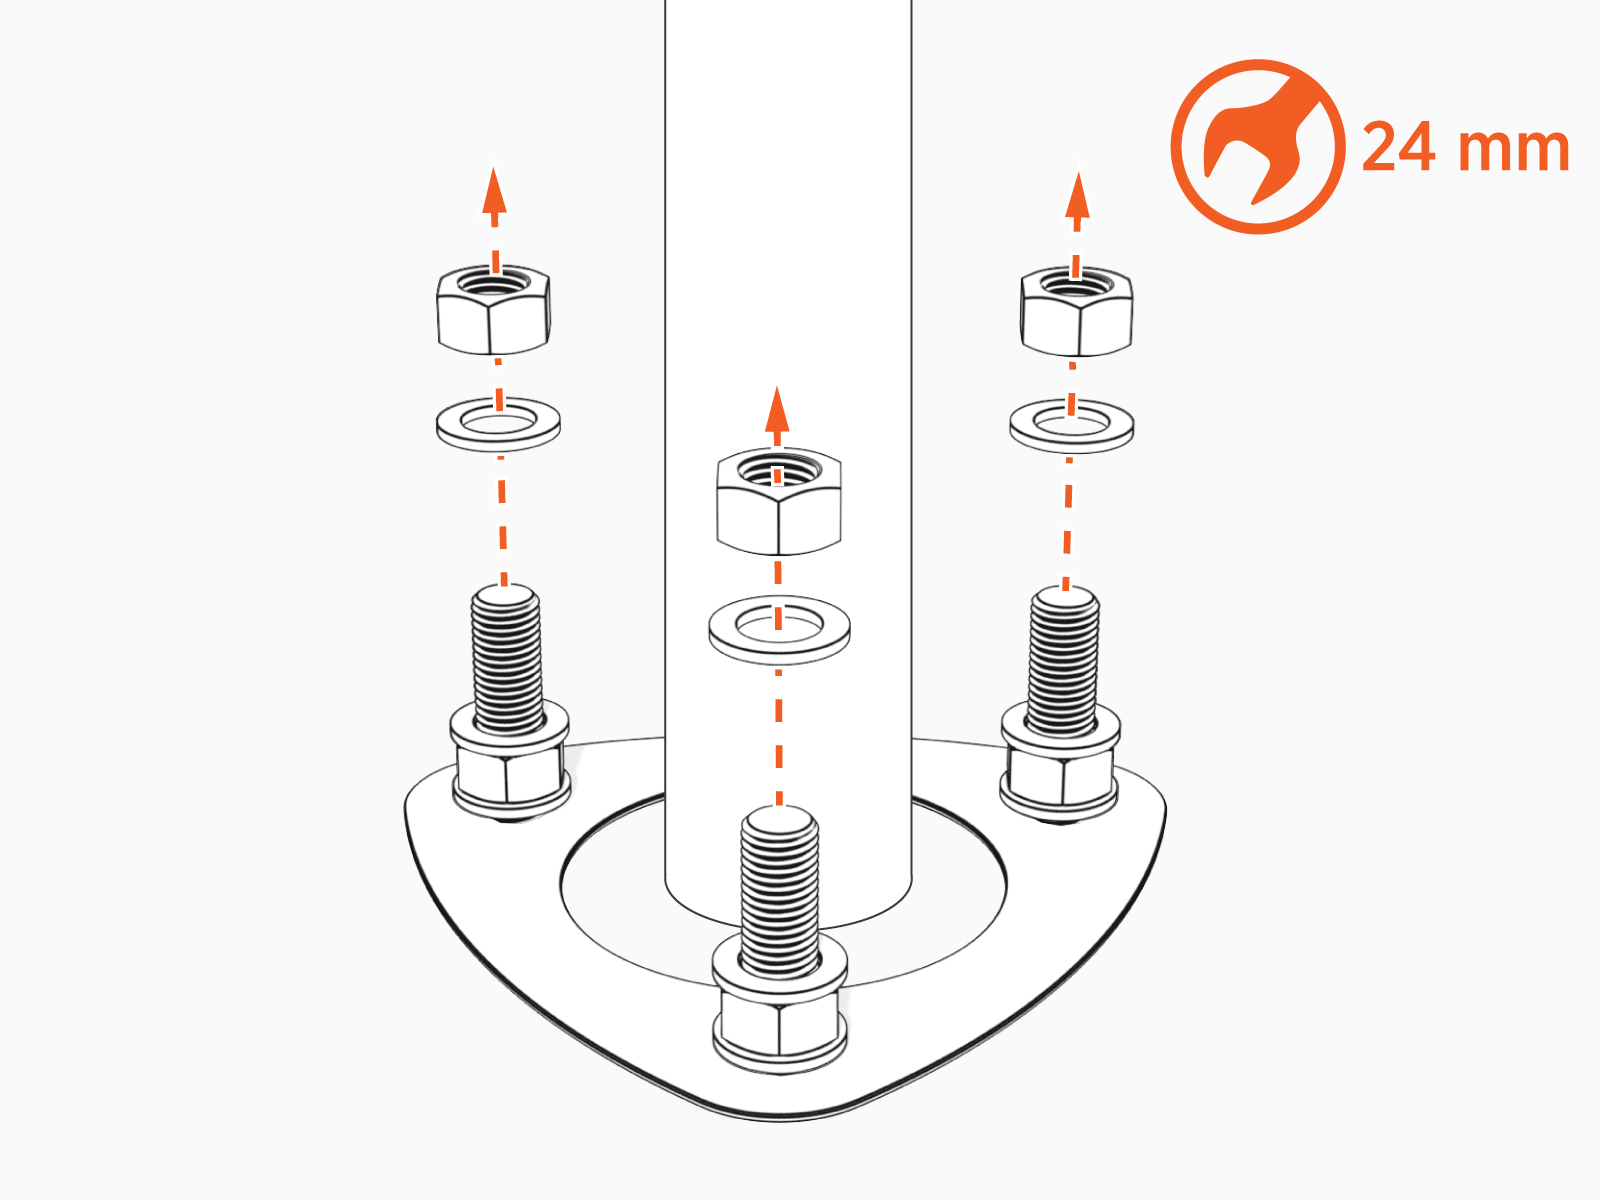
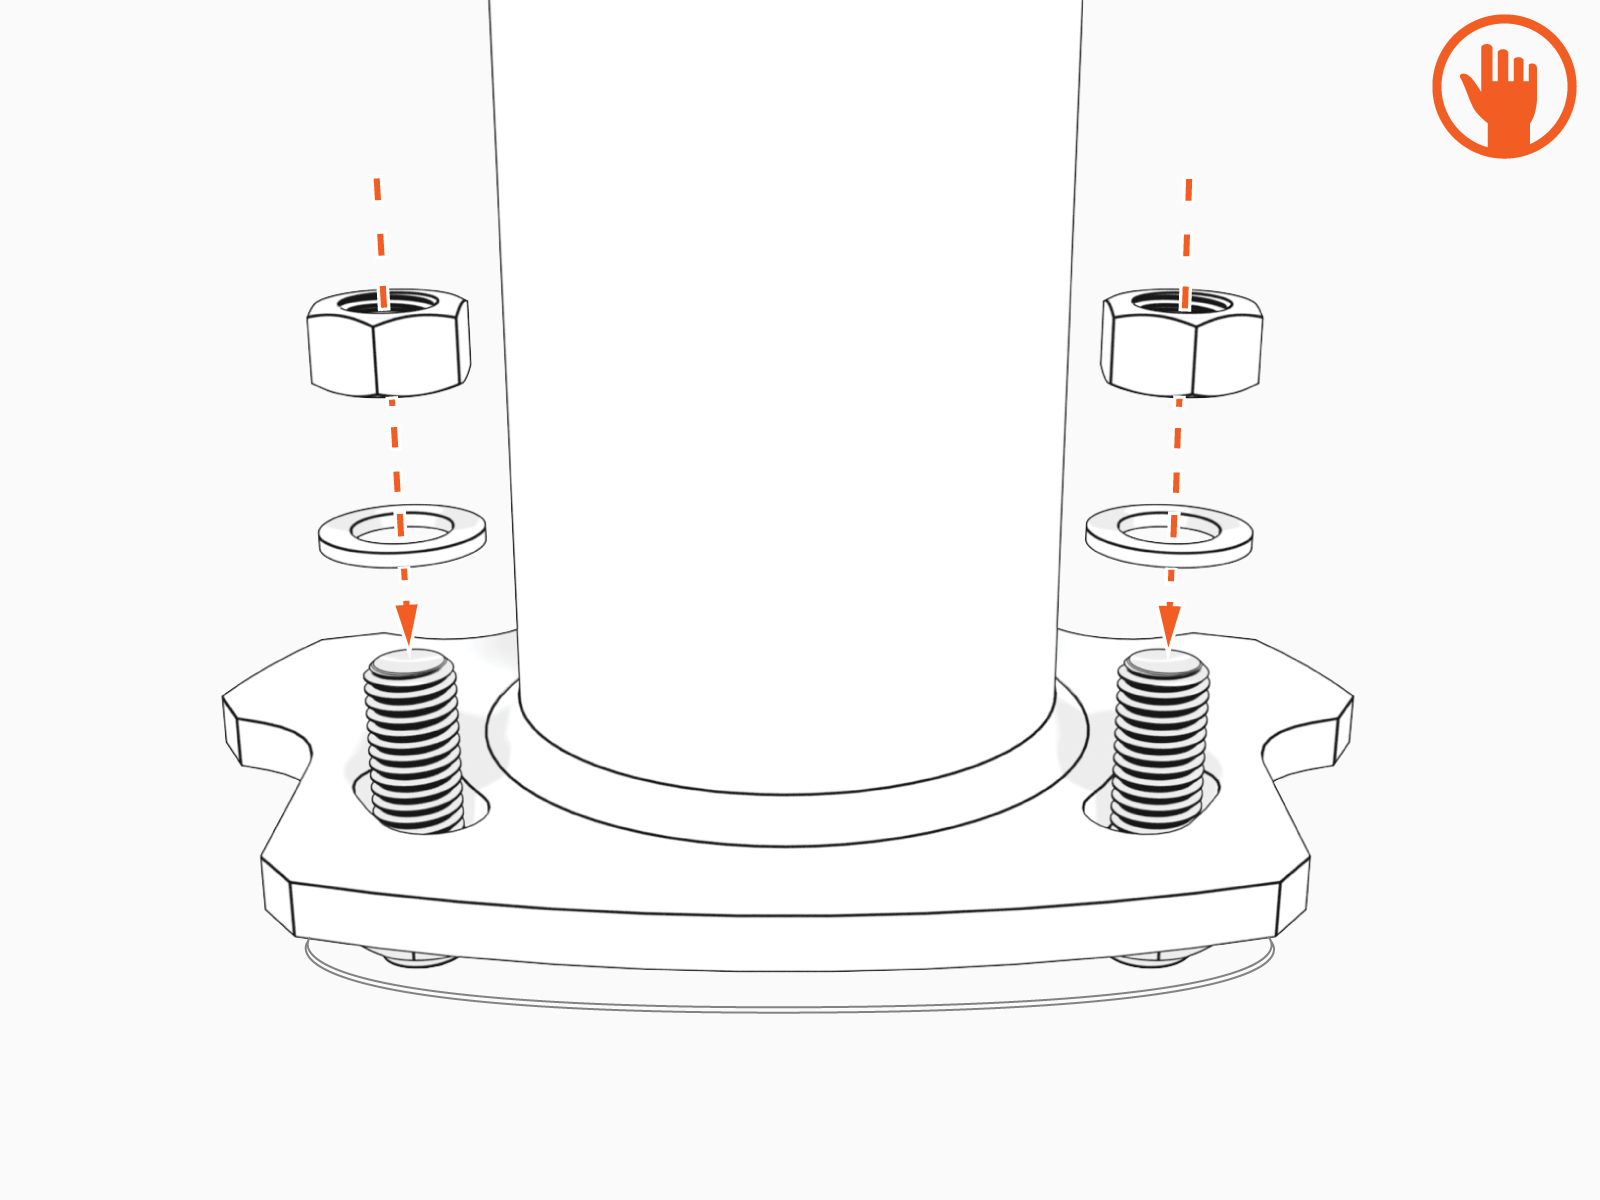
Remove top nuts and washers.
-
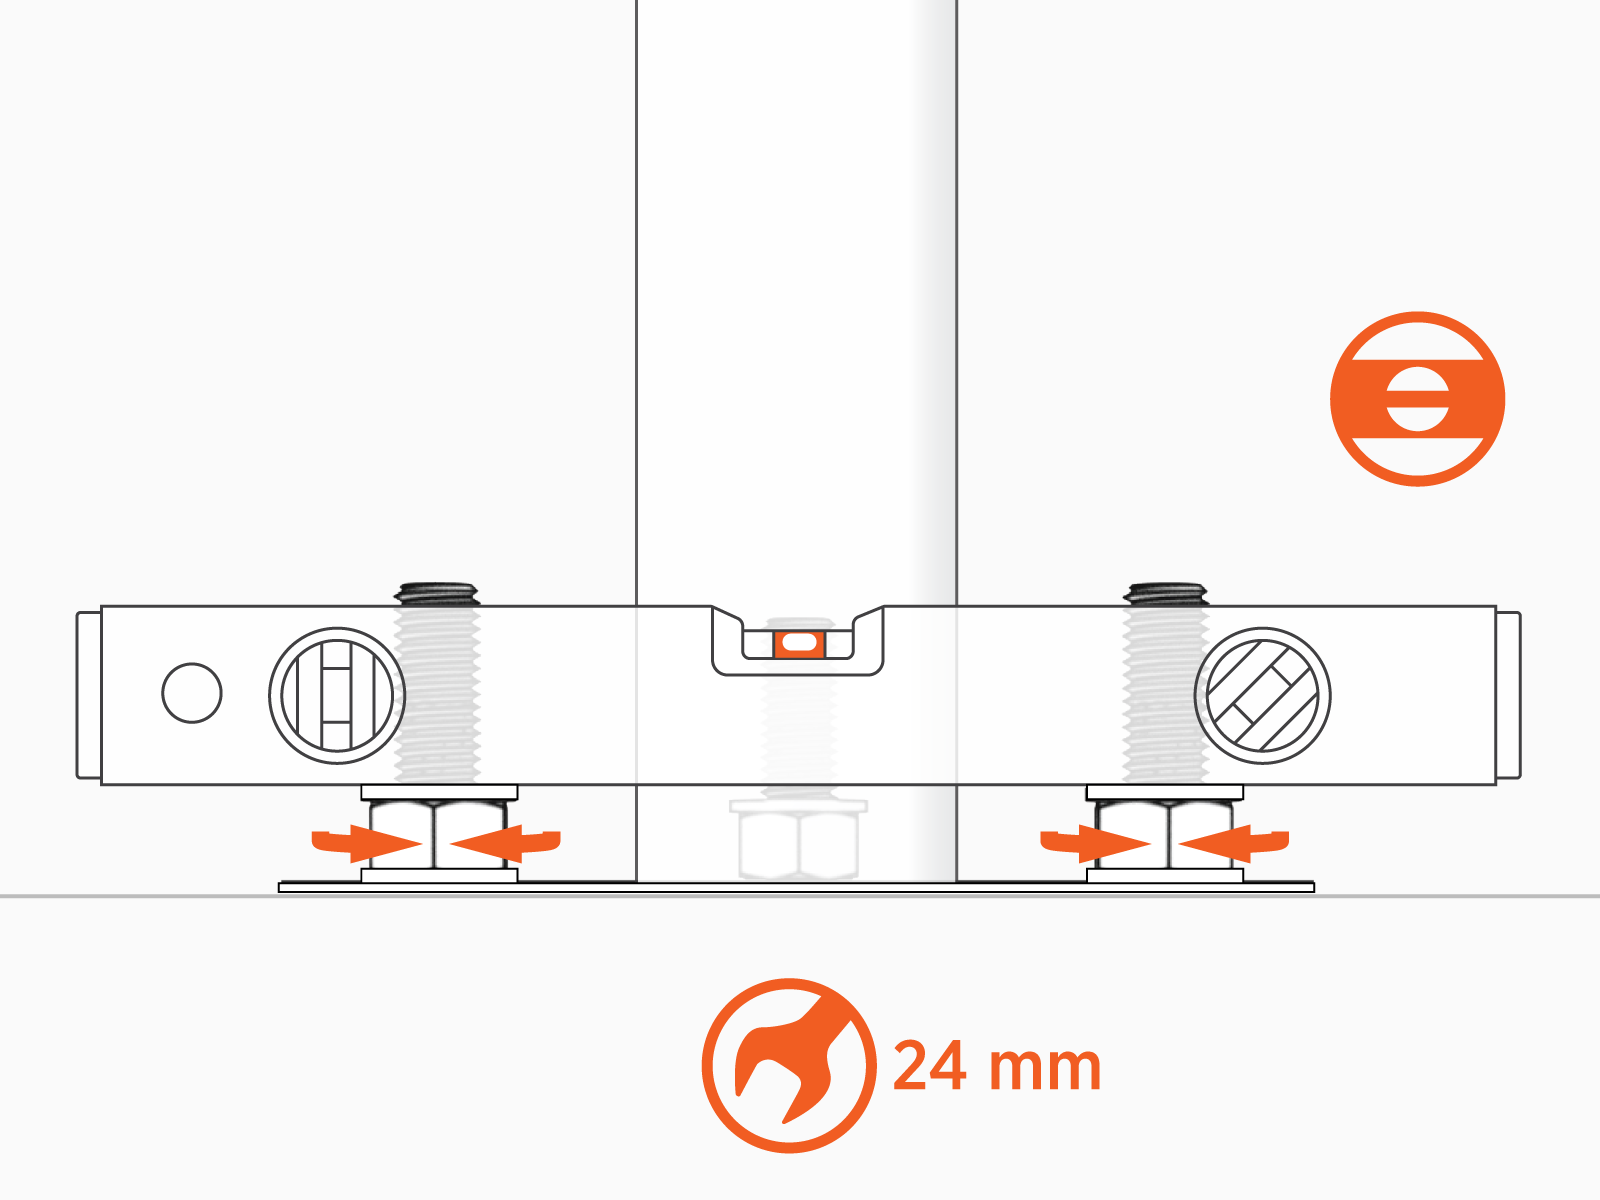
Adjust the lower nuts as necessary to be level.
-
Place the pedestal over the conduit or armored cable and route the wiring through the pedestal.
Avoid damaging the conduit or armored cable.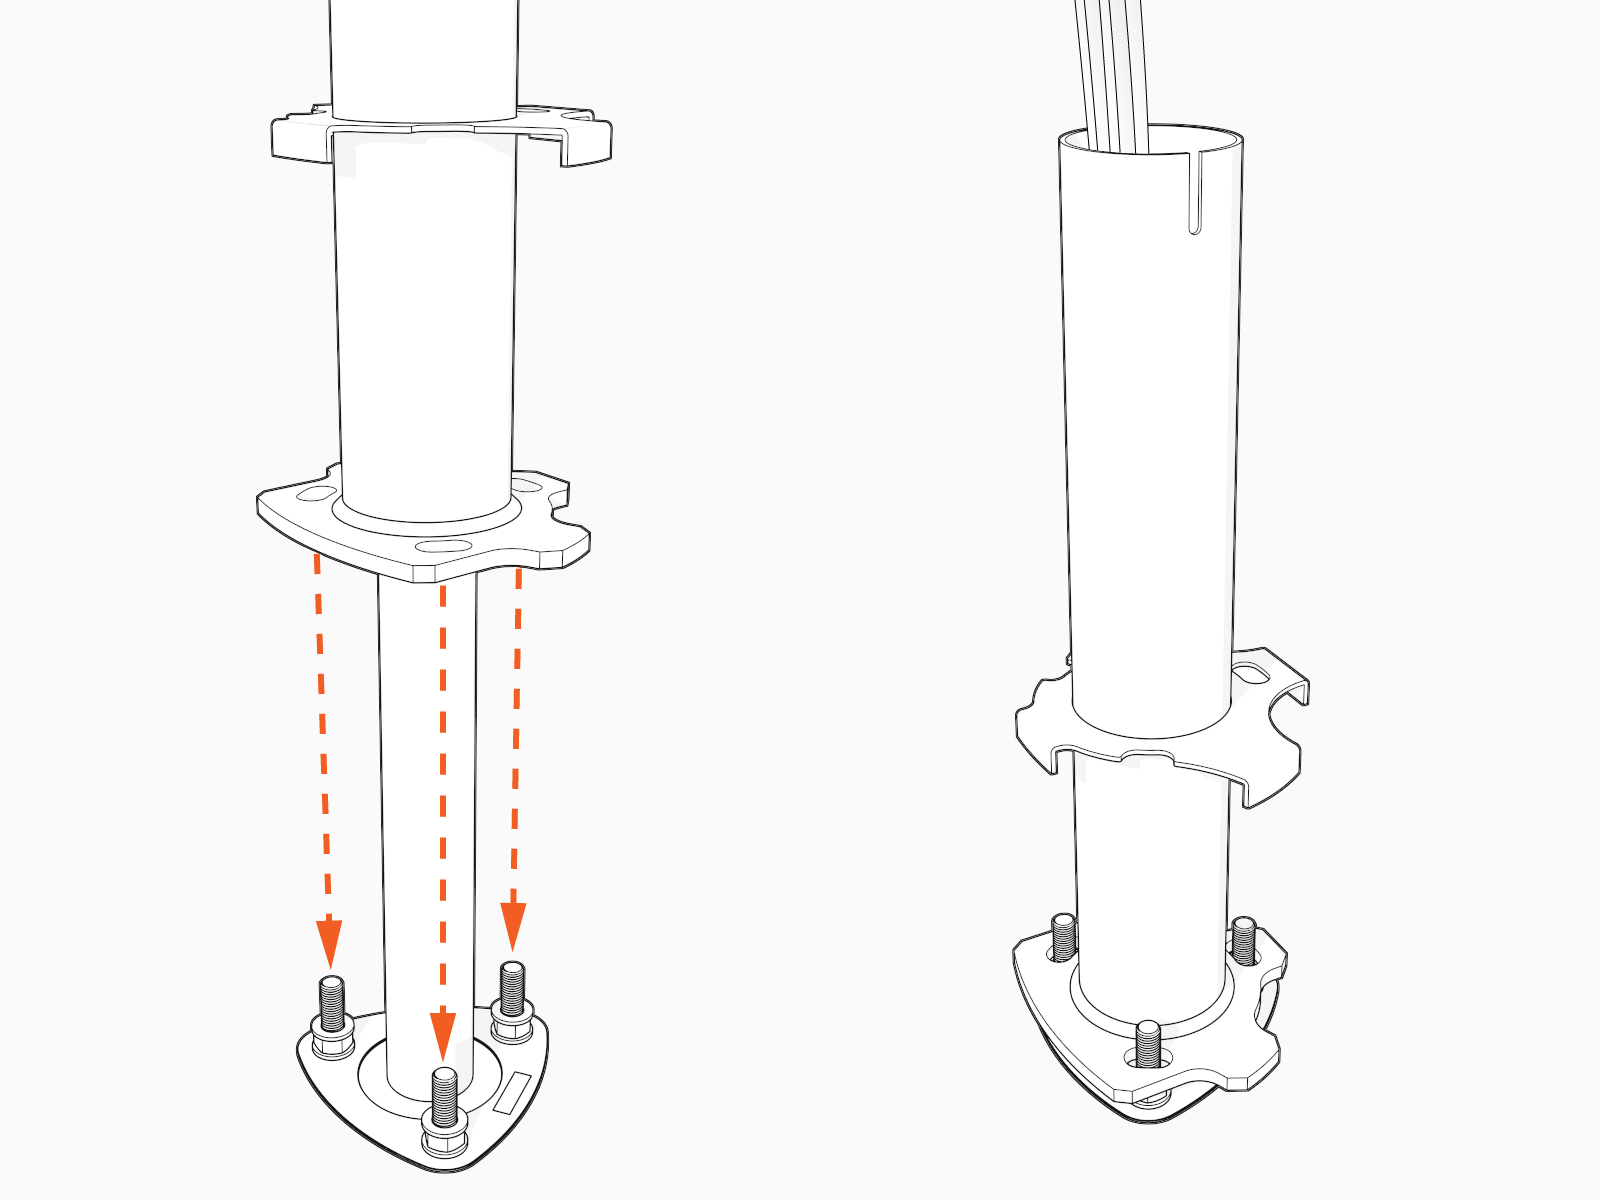
-
Fasten the pedestal to the bolts and hand tighten.
-
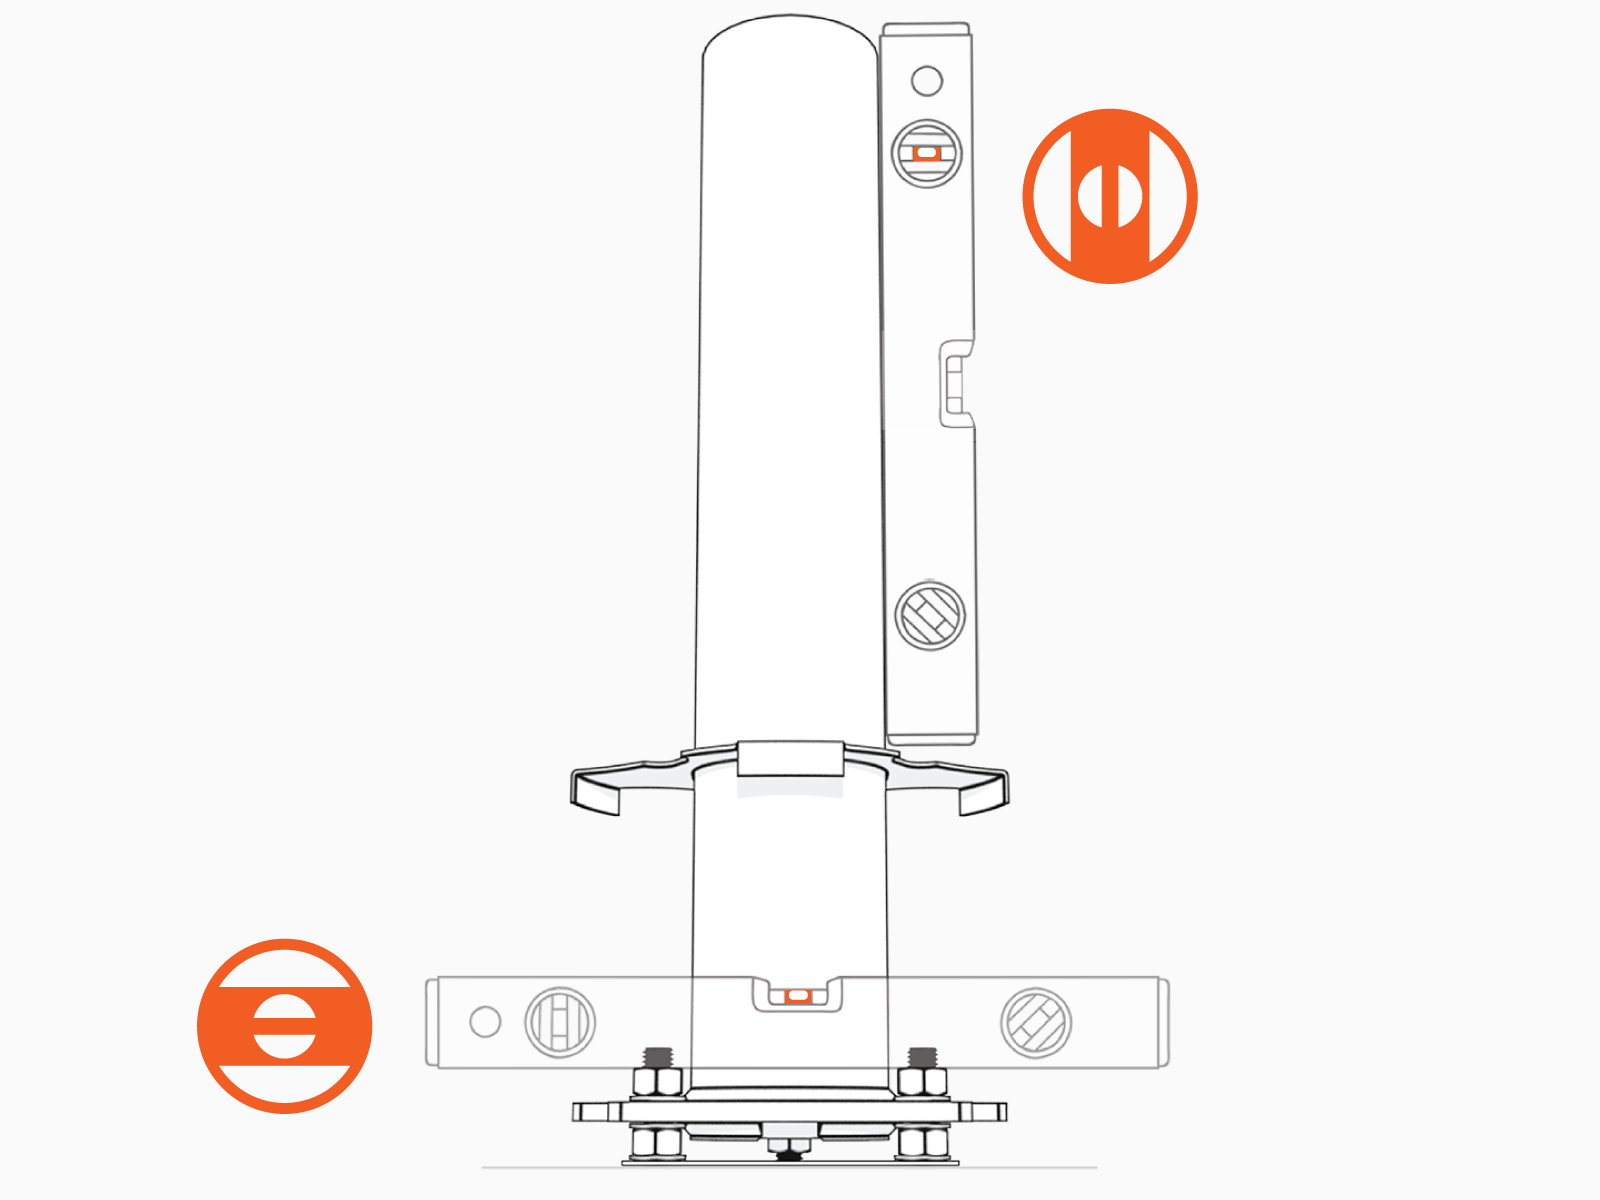
Ensure pedestal is level and plumb.
Verify accuracy after each adjustment by positioning the level at various locations on the pedestal, above each bolt.
-
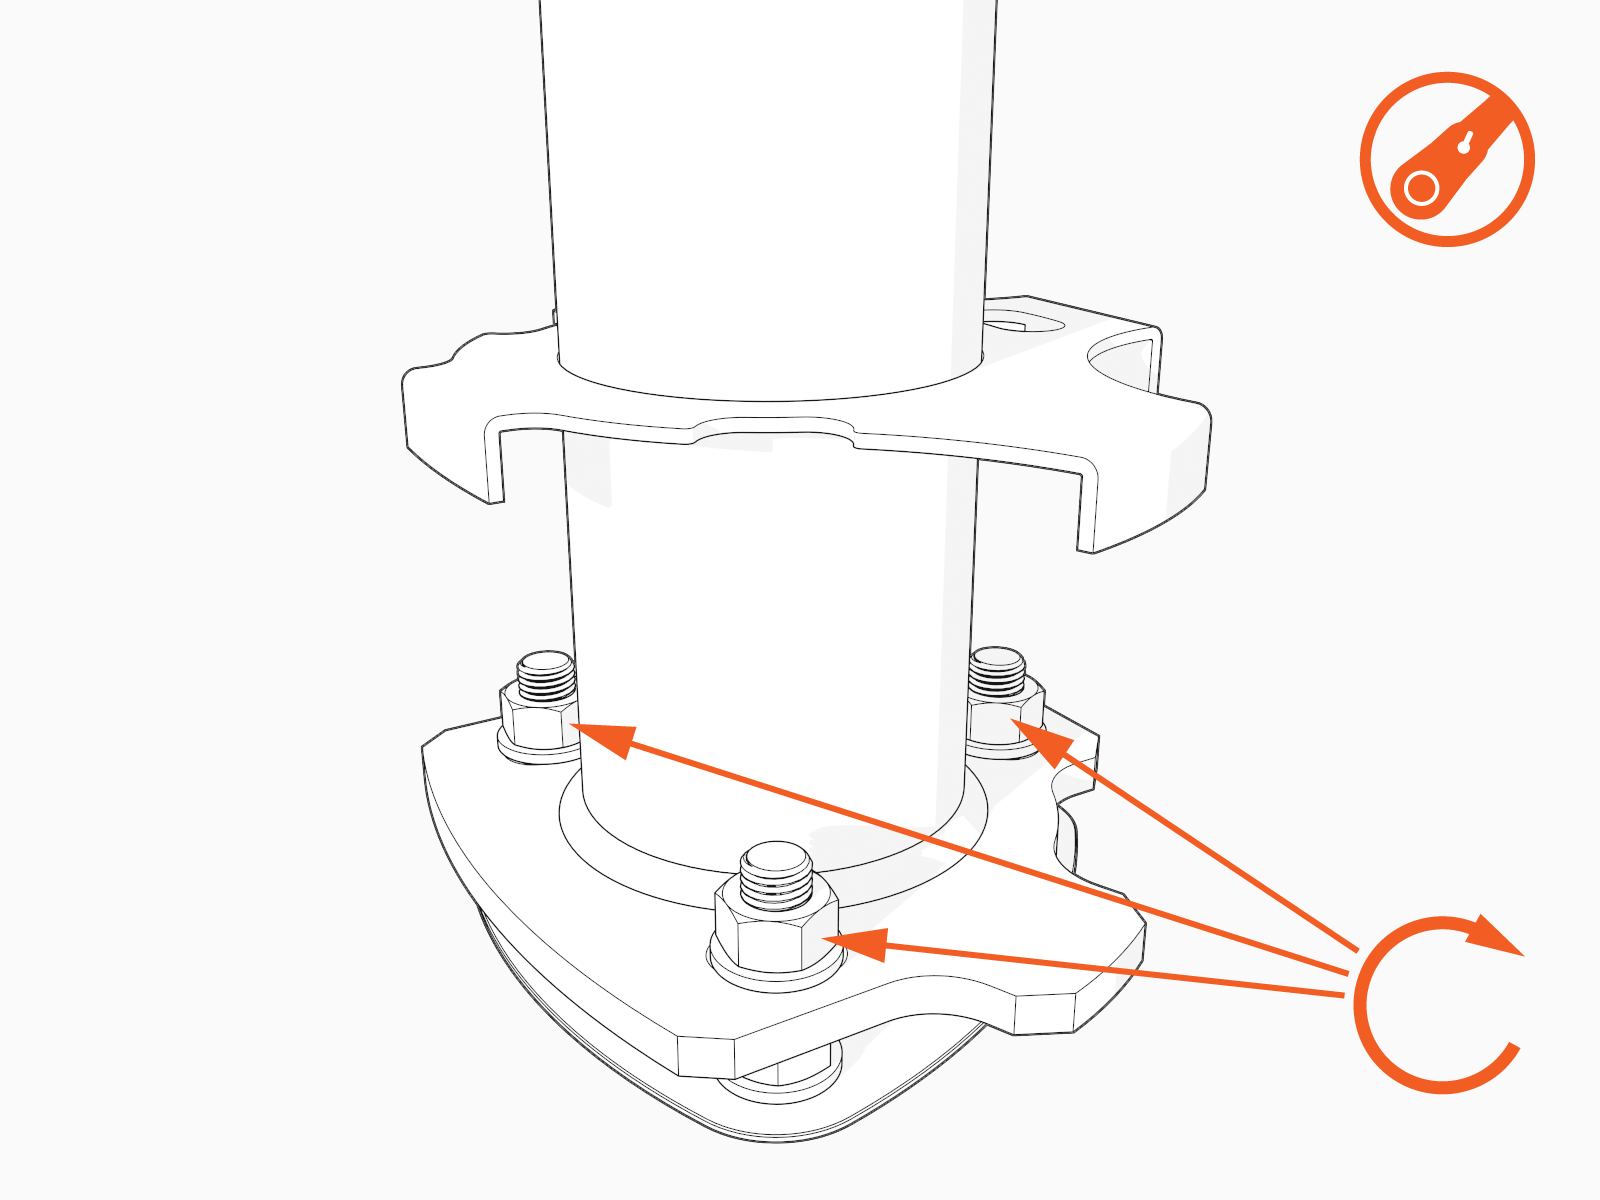
Torque the top nuts to 120 Nm (88 ft-lb).