Complete Station Setup
Complete the ChargePoint Installer training successfully. Receive instructions for login to your ChargePoint installer account. To complete the next steps, you need:
-
ChargePoint Installer account login.
-
ChargePoint Installer app installed on a smartphone (iOS/Android version 11 or higher).
-
The exact location where the Flex Plus charging station is physically installed.
-
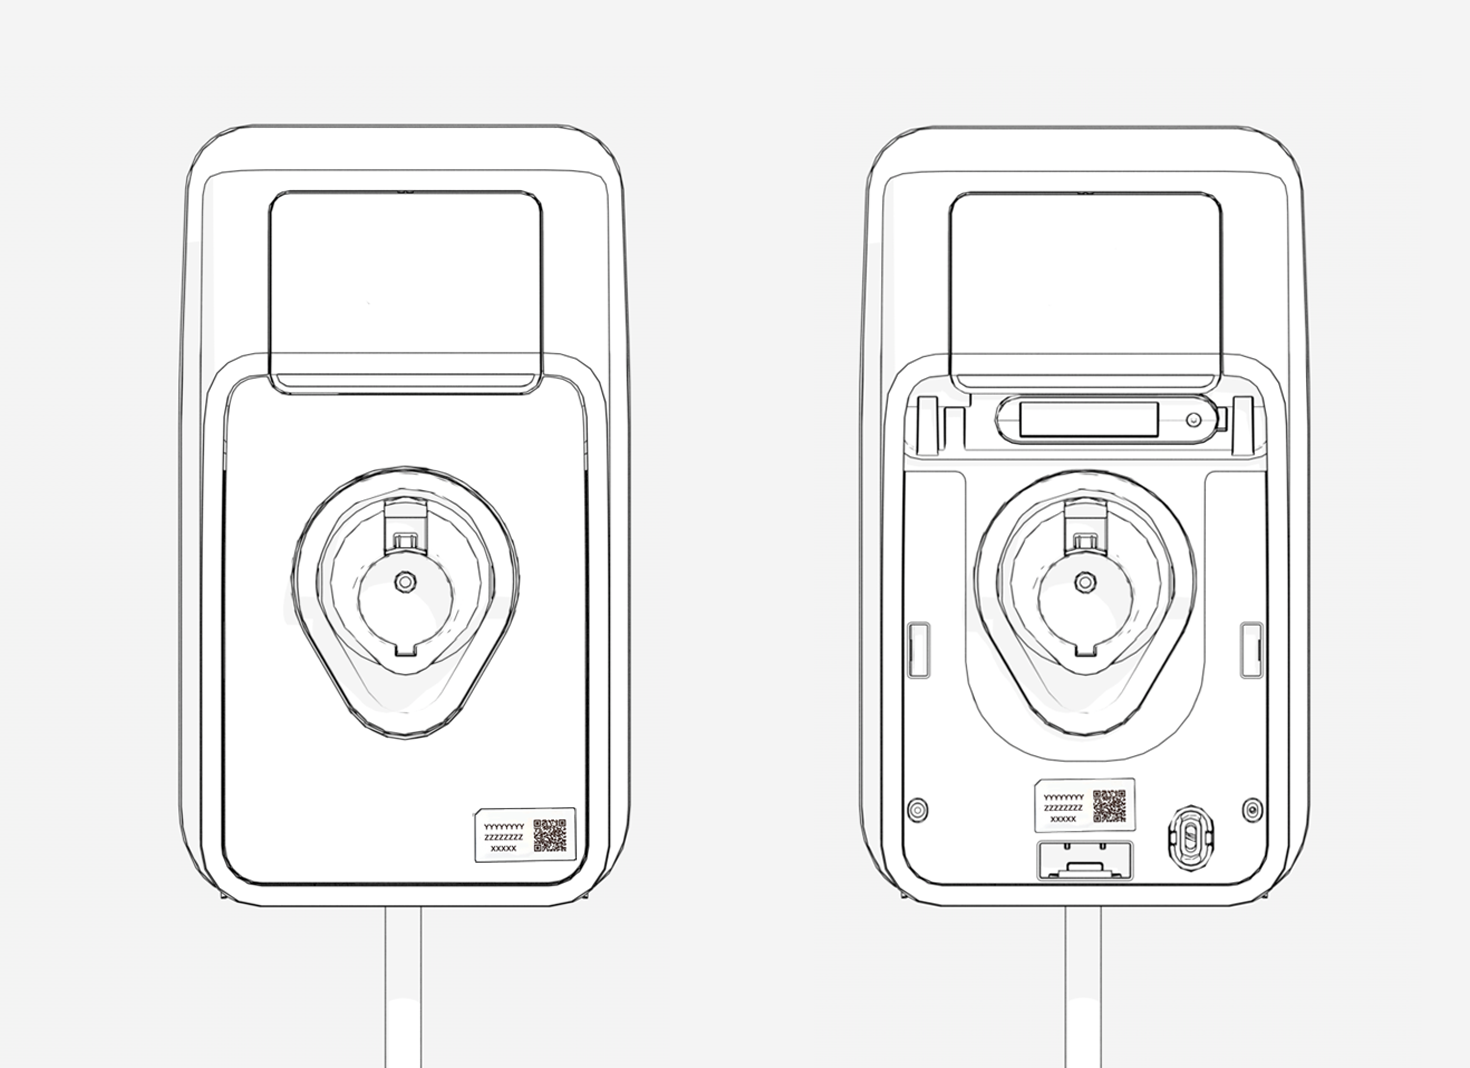
Flex Plus station ID QR
 Quick Response code (found either on top of the plastic protective film or underneath the faceplate).
 -
Configure the Station
If your smartphone does not have the ChargePoint Installer app installed:
-
Open a QR
Quick Response Code scanning app. -
Scan the QR
Quick Response code to download the app and sign up if necessary.Scan this QR
Quick Response code if you are using an Android device.Scan this QR
Quick Response code if you are using an iOS device.

-
The app automatically redirects you to the ChargePoint Installer app.
-
Follow the instructions within the app to configure the charging station.
-
Remove the ID QR
Quick Response code label from the station and give it to the station owner for safe keeping.Remove the ID QR Quick Response code label from the station.
Activate the Station
Once the installation is complete the driver can now go ahead with the activation using the ChargePoint Mobile Application ![]() Driver Management Solution)
Driver Management Solution)
Complete Work flow (Applicable only for DMS)
Once the station has been configured return to the ATOM App to complete the home installation work flow.
Start a Charging Session
If you have not installed the faceplate, install it now.
Once the configuration is complete, the ChargePoint Driver app is required to activate and start a test session. Verify that the station owner can:
-
Initiate a charging session
-
Plug the cable into the charging station (if the station has a socket), or
-
Plug the cable into a vehicle (if available)
Guide to LED colors
When the station is powered on and activated, the status light (a) on the front of the station displays the status through light color and pulsing.

|
Status Light Color |
Operating Definitions |
|
|---|---|---|
|
|
Light blue |
Vehicle plugged in, waiting for power release (for example, due to energy management) |
|
|
Blue, pulsing |
Charging a vehicle |
|
|
Blue, solid |
Charging complete, charging stopped, or charging suspended |
|
|
Green, pulsing |
Card authorization |
|
|
Green |
Available and ready to charge |
|
|
Orange, solid |
Online, waiting for a reservation |
|
|
Orange, pulsing |
Station ready for Installation/Activation |
|
|
Red |
Out-of-service or disabled |
|
|
Yellow, pulsing |
Installing software or rejecting the card (flashes yellow for 3 seconds). It also occurs during first boot-up when the station is not activated. |
|
|
White, pulsing |
Bluetooth connected |
|
|
White |
Offline or unavailable |
|
|
Purple |
Account has not been authenticated. Return the holster to station |