Replace Signs
Listed below are the instructions for replacing signs.
Before You Begin
To ensure a proper fit, signs must follow the specification provided by ChargePoint. Detailed specifications are available at ChargePoint Product Reference Documentation.
Required Tools and Materials
-
Replacement signs
-
Gloves (latex or nitrile)
-
4 mm (5/32 in) L-wrench
-
Flathead screwdriver or putty knife
-
Isopropyl alcohol wipes
-
Optional: Step ladder
Top Sign on a CMK
This section includes procedures for removing and installing the top sign on a CMK![]() Cable Management Kit.
Cable Management Kit.
Remove the Existing Sign
To remove the existing sign, follow the steps below:
-
Use the L-wrench to loosen the set screw on each side of the top cap.

-
Pull the top assembly up and move it towards the back of the cable management kit (CMK
 Cable Management Kit).
-
Slide the existing sign up out of the grooves.
Install a New Sign
To install a new sign, follow the steps below:
-
Slide the replacement sign into the grooves, bend it outward slightly if needed.
-
Slide the sign all the way down. The bottom edge rests behind the plastic cap on the retractor’s extrusion.
-
Reinstall the top assembly. Tighten the set screws with the L- wrench.
Bottom Sign on a Wall Mount Station
This section includes procedures for removing and installing the bottom sign on a wall mount station.
Remove the Existing Sign
To remove the existing sign, follow the steps below:
-
Use a gloved hand to put upward pressure on the sign, Then, use a flathead screwdriver or putty knife to slip under the edge of the sign at the bottom-right corner.
-
Lift gently to bow the sign gently outward.
-
Slip a finger under the edge of the sign and slide it out of the groove on the right side, then lift the sign away.
-
Use an isopropyl wipe to clean any adhesive residue or dust off the surface before installing the new sign.
Install a New Sign
To install a new sign, follow the steps below:
-
Insert one of the long edges of the sign into the CMK
Cable Management Kit’s grooves along the side portion of the CMK Cable Management Kit. -
Bend the sign slightly to insert the other long edge.
-
Slide the sign all the way down until the bottom edge rests against the bottom surface where the station is installed.
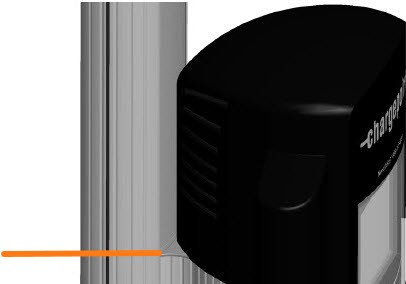
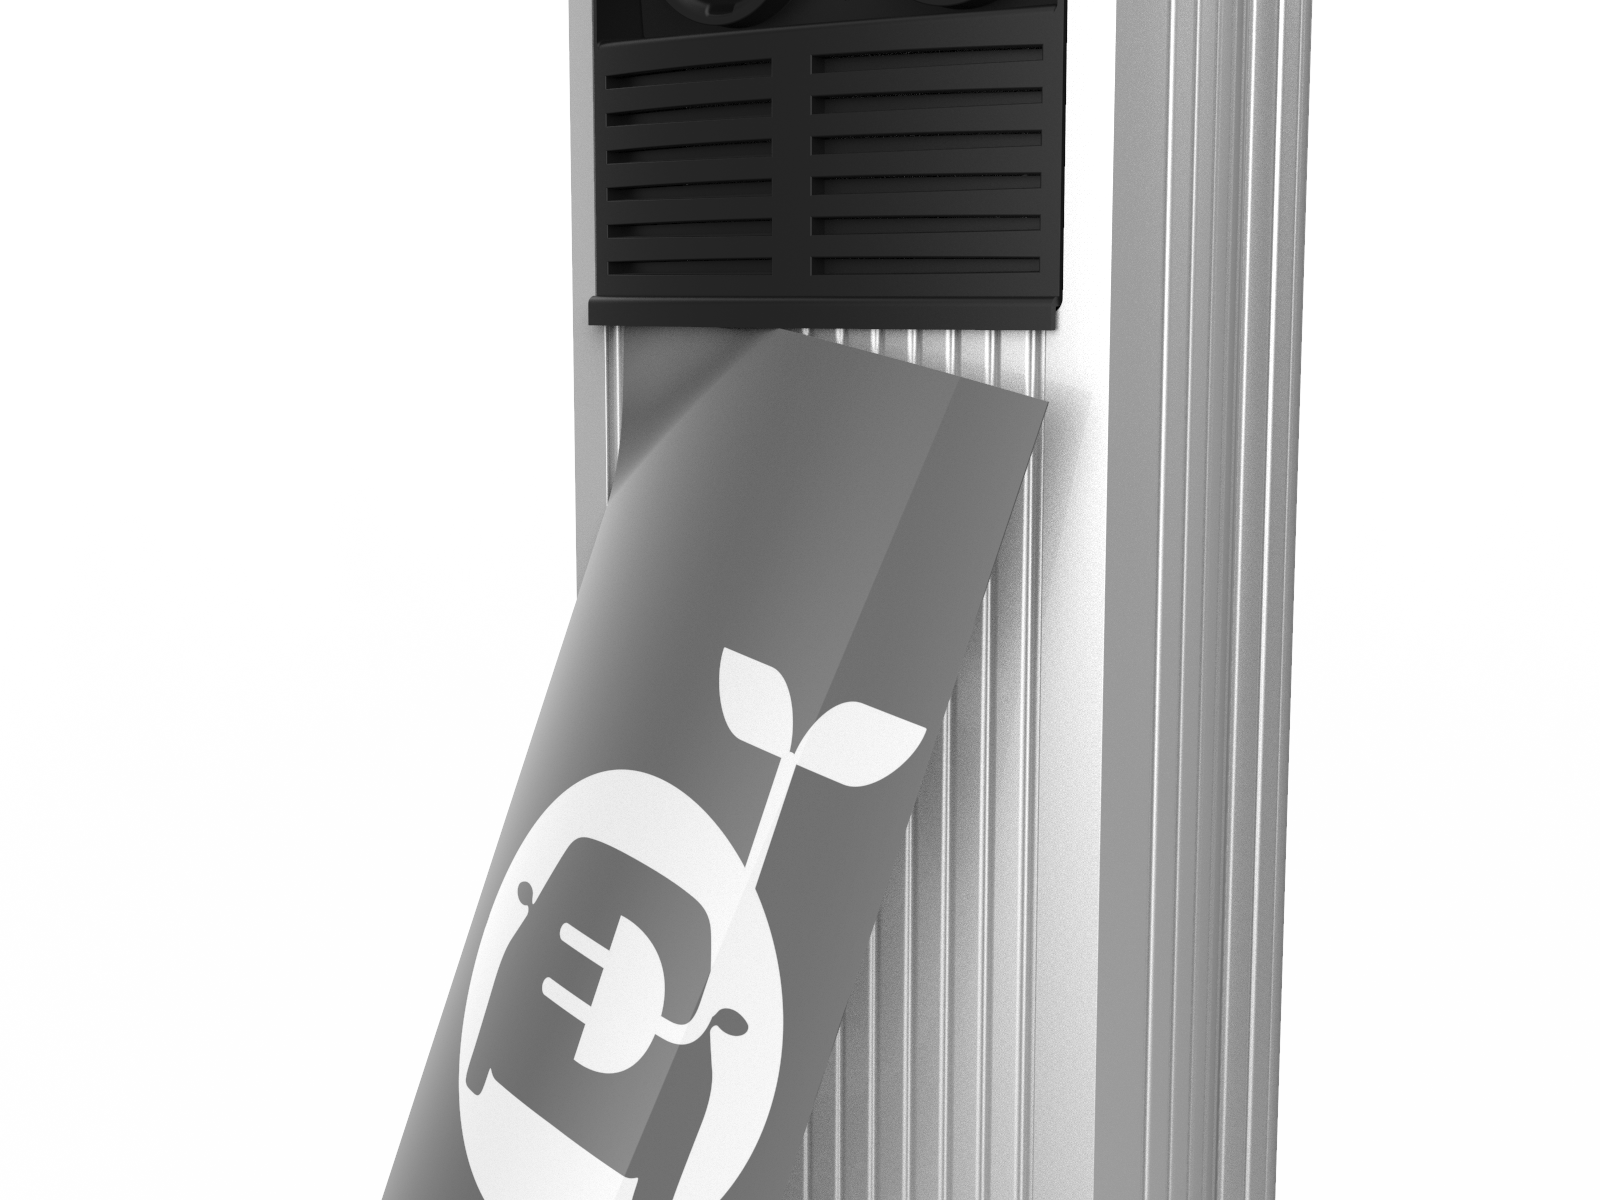
Bottom Sign on a Pedestal Mount Station
This section includes procedures for removing and installing the bottom sign on a pedestal mount station.
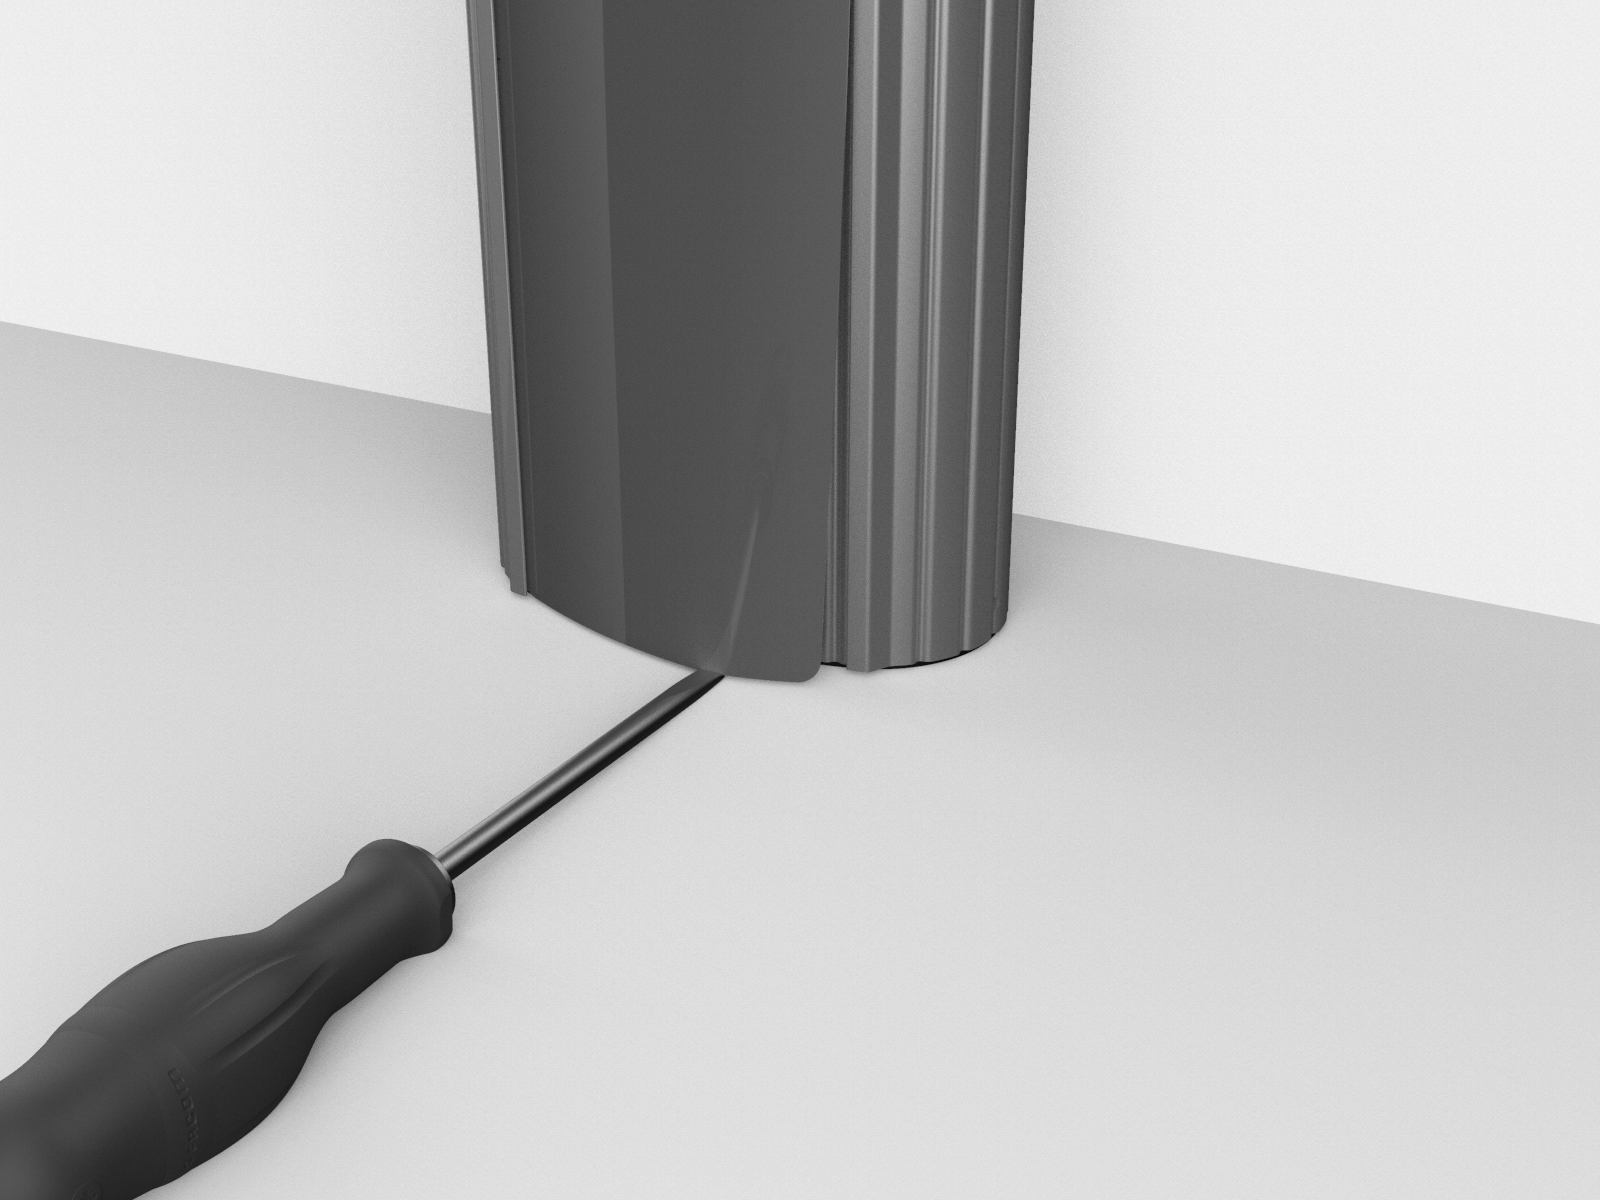
Remove the Existing Sign
To remove the existing sign, follow the steps below:
-
Use a gloved hand to put upward pressure on the sign, Then, use a flathead screwdriver or putty knife to slip under the edge of the sign at the bottom-right corner.
-
Lift gently to bow the sign gently outward.
-
Slip a finger under the edge of the sign and slide it out of the groove on the right side, then lift the sign away.
-
Use an isopropyl wipe to clean any adhesive residue or dust off the surface before installing the new sign.
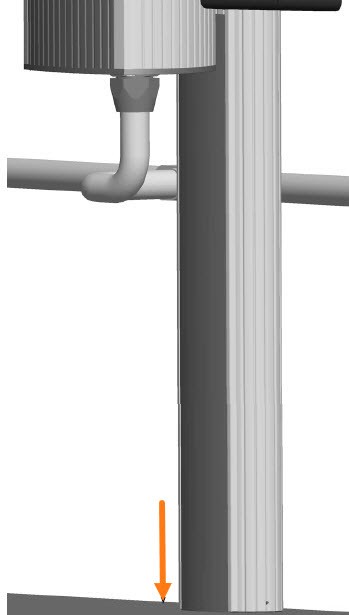
Install a New Sign
To install a new sign, follow the steps below:
-
Remove the backing from the adhesive strip on the back of the sign.
-
With the adhesive strip facing toward the station, insert the top-left corner of the sign under the groove on the top-left corner of the station.
-
Slide the sign upwards as far as possible to position the top of the sign under the bottom lip of the head assembly.
-
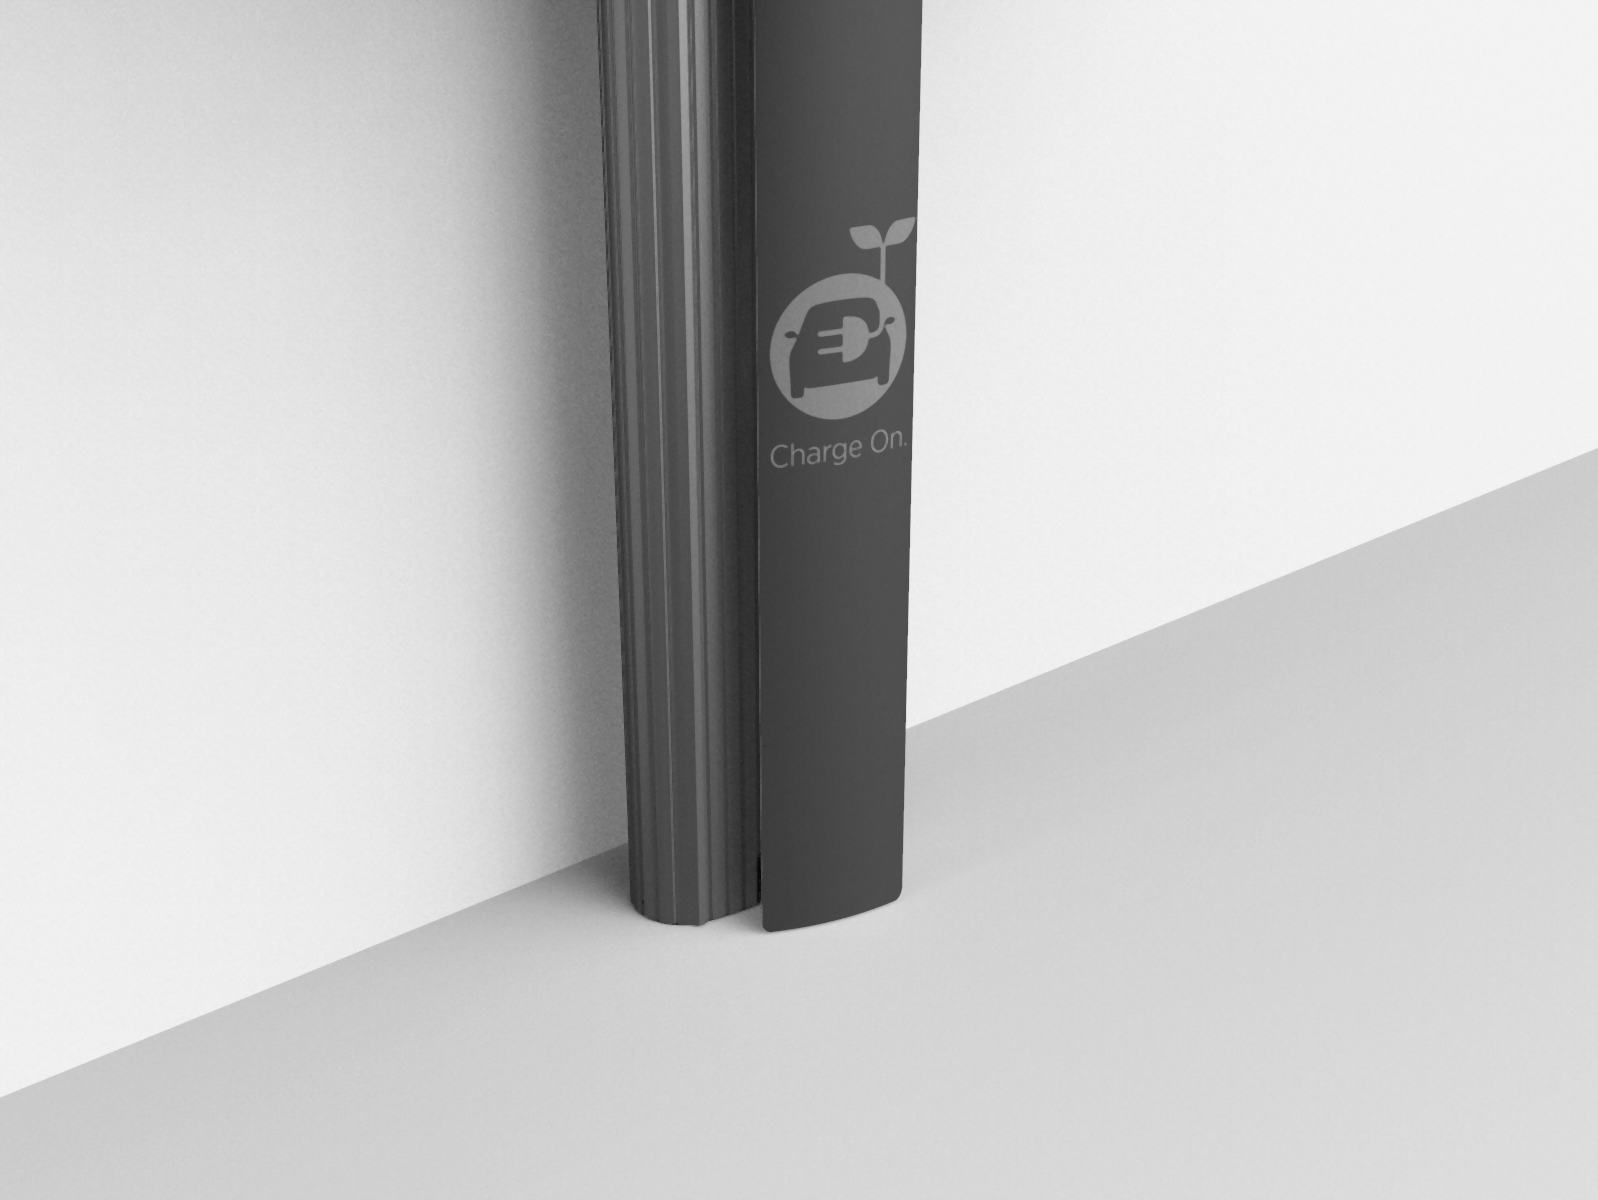
Starting from the top-left corner, use a finger to press the left side of the sign under the pedestal’s left-side groove from top to bottom.
-
With the left side of the sign fully inserted, bend the sign outward gently to insert the top-right corner of the sign under the groove on the top-right corner of the pedestal.
Ensure the top of the sign remains positioned under the bottom lip of the head assembly.
-
Starting from the top-right corner, use a finger to press the right side of the sign under the pedestal’s right-side groove from top to bottom.
-
When the sign is fully inserted into the pedestal’s left- and right-side grooves and under the bottom lip of the head assembly, run your hand down the center of the sign. Apply enough pressure to ensure the sign’s adhesive strip contacts the pedestal.
Rear Sign on a Pedestal Mount Station
This section includes procedures for removing and installing the rear sign on a pedestal mount station.
Remove the Existing Sign
To remove the existing sign, follow the steps below:
-
Use a gloved hand to put upward pressure on the sign. Then use a flat-head screwdriver or putty knife to slip under the edge of the sign at the bottom-right corner.
-
Lift gently to bow the sign gently outward.
-
Slip a finger under the edge of the sign and slide it out of the groove on the right side, then lift the sign away.
-
Use an isopropyl wipe to clean any adhesive residue or dust off the surface before installing the new sign.
Install a New Sign
To install a new sign, follow the steps below:
-
Insert one of the long edges of the sign into the CMK
Cable Management Kit’s grooves along the side portion of the CMK Cable Management Kit. -
Bend the sign slightly to insert the other long edge.
-
Slide the sign all the way down until the bottom edge rests against the bottom surface where the station is installed.
Restore Power
Once all signs are installed, restore power at the panel to return the station to service. Discard the old signs.
