Latch Replacement (J1772)
Listed below are the instructions for replacing the latch.
Inspect the Box for Contents
The replacement kit for J1772 connector latches includes:
-
Hex wrench
-
Repair tool
-
Drive bolt
-
Guide pin
-
Square nut (not shown)
-
Consumable latches and springs labeled for Type A and Type B connectors (not shown)

Assemble the Tool
To assembly the tool, perform the steps below:
-
Place the square nut inside the tool body.
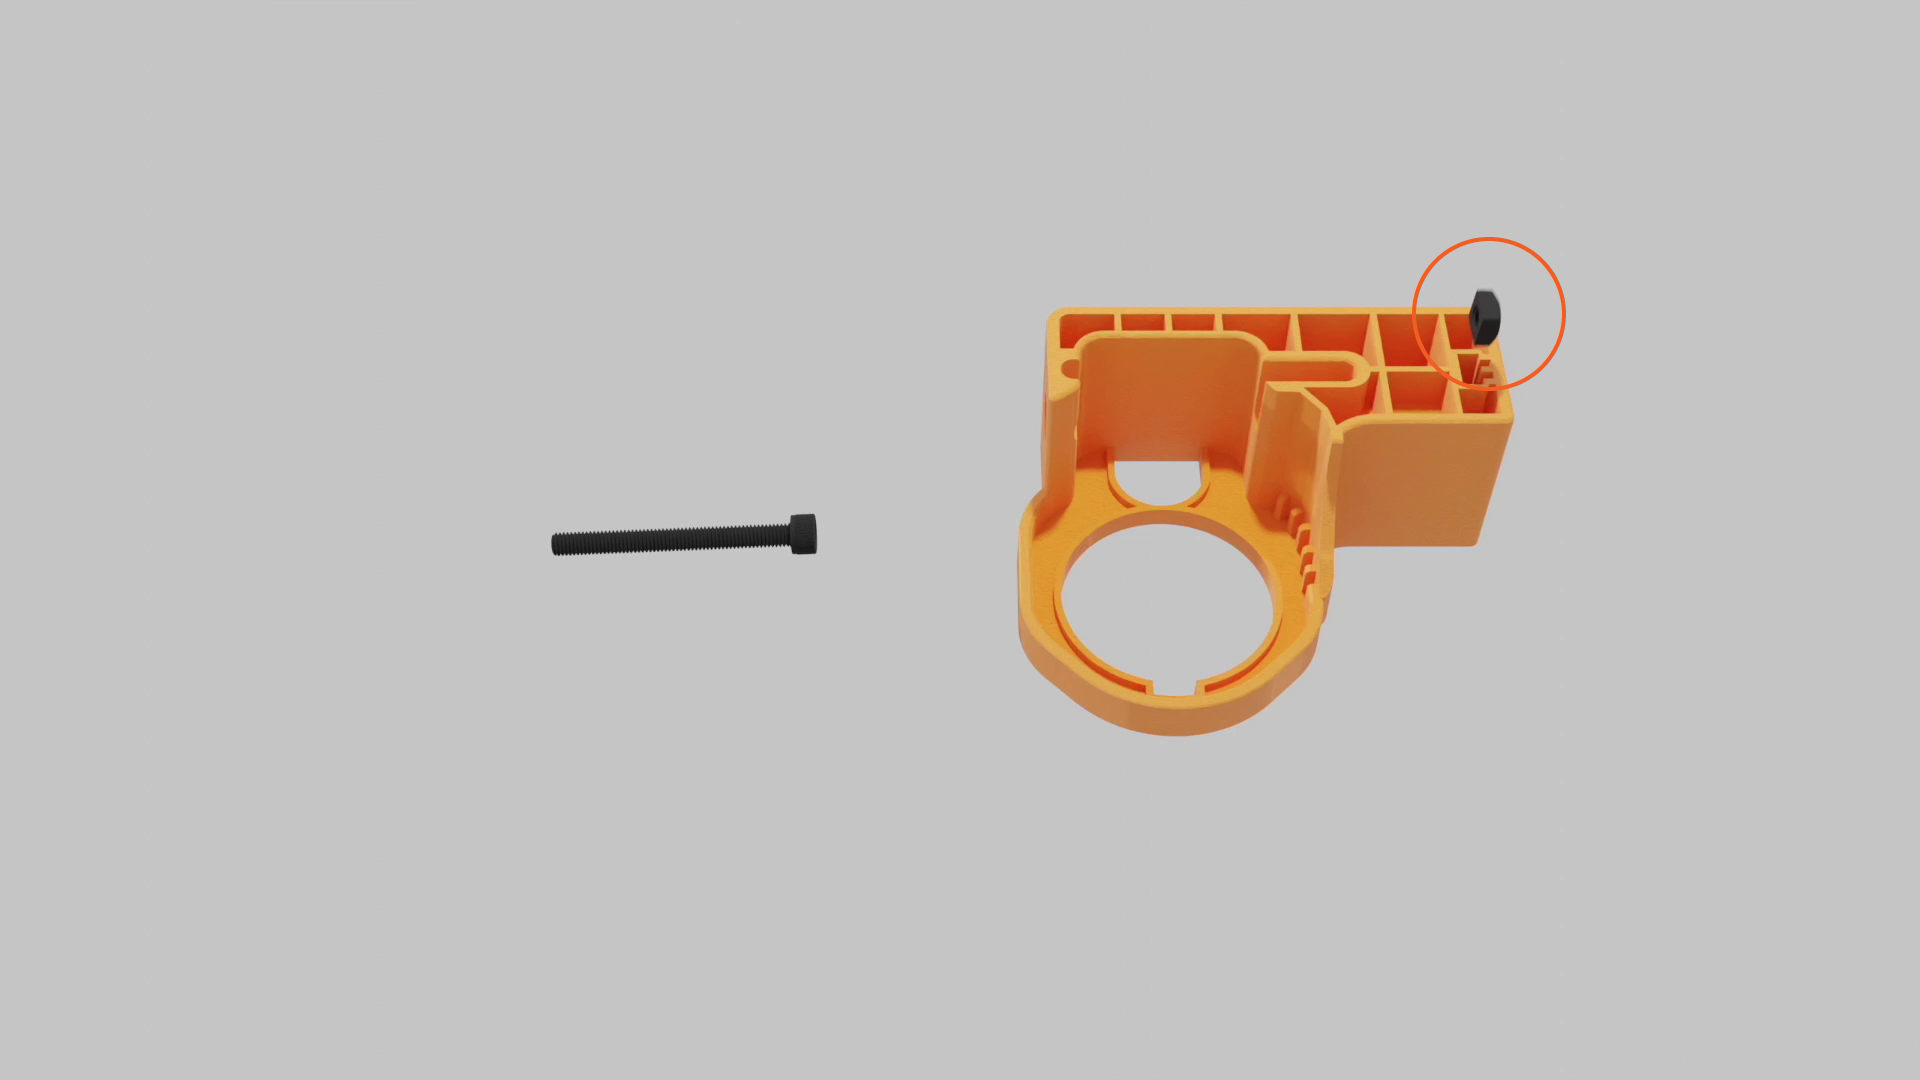
-
Insert the drive bolt from the side of the tool body and tighten.

-
Keep the guide pin and hex tool handy for future steps.
Identify Connector Type
Identify the connector type before you start repairing.
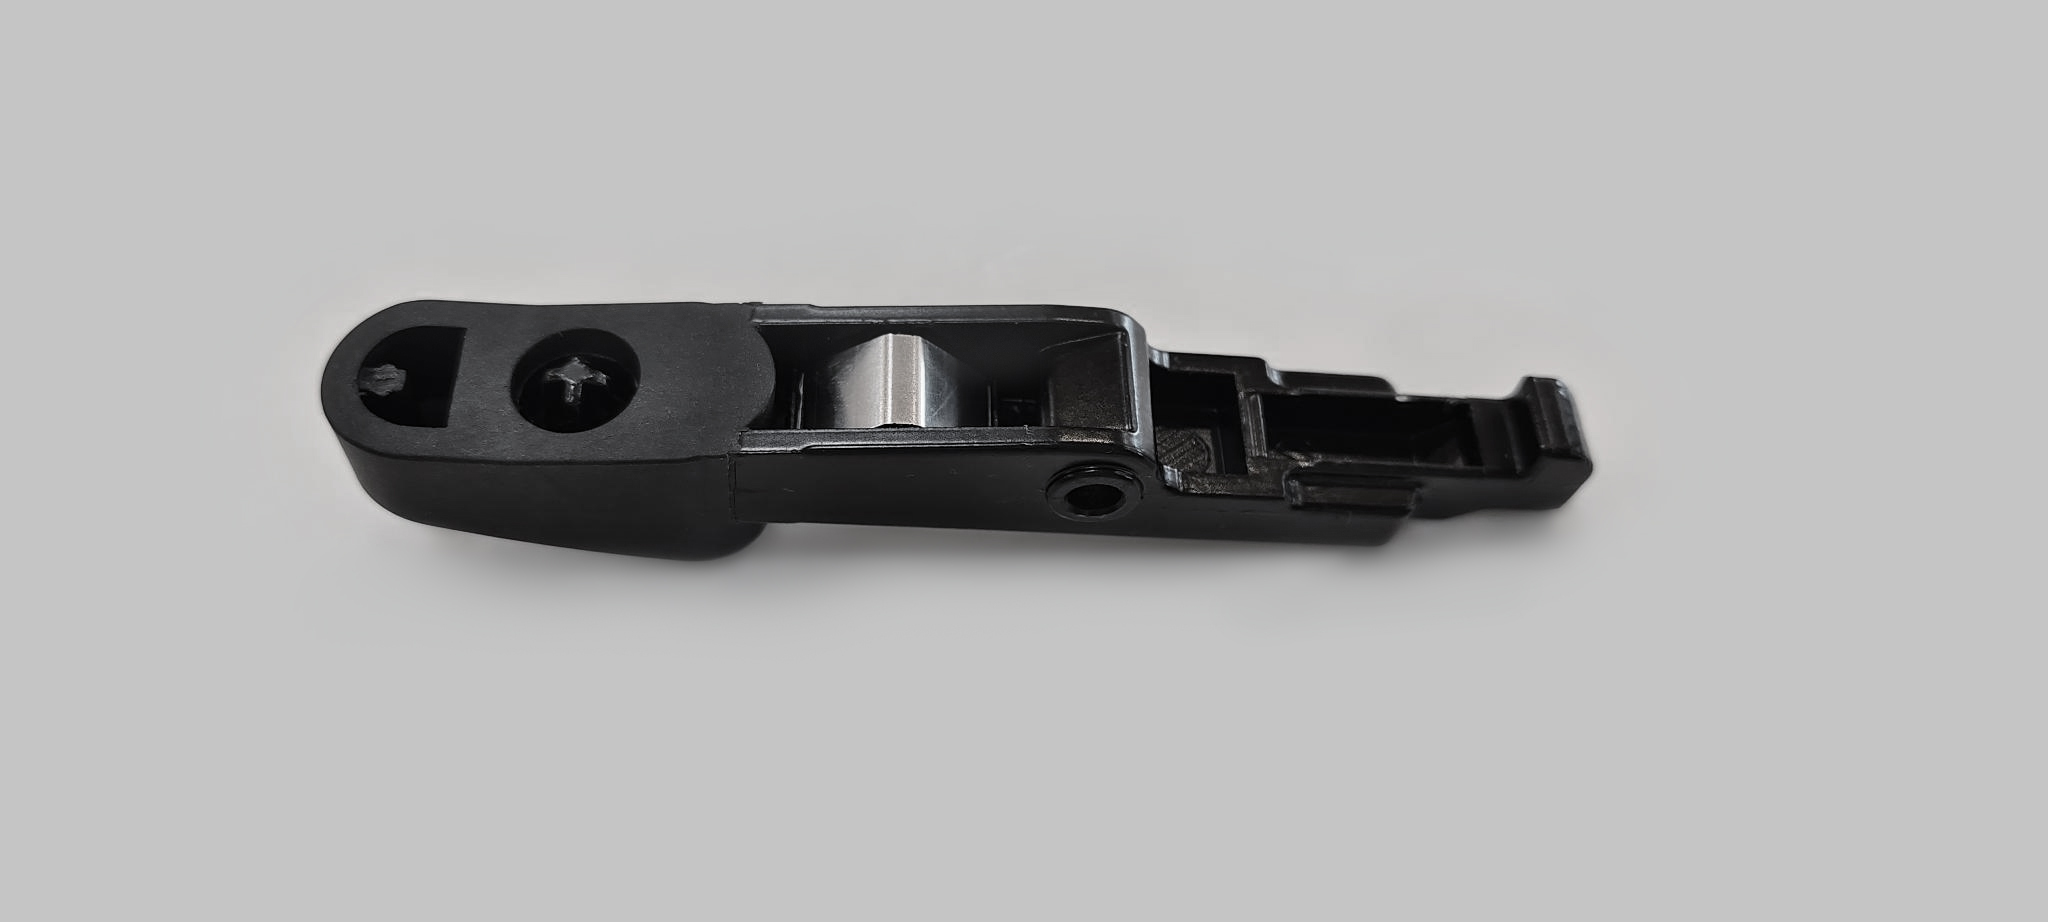
Type A
-
Three oval shaped cutouts on the side of the connector
-
Silver latch pin
-
Replacement latch narrows at the tip and uses a longer silver-colored spring

Type B
-
No cutouts on the side
-
Black latch pin
-
Replacement latch stays wide at the tip and uses a shorter dark-colored spring

Repair Procedure
Follow the steps below to repair the latch:
-
Use the hex wrench to loosen the drive bolt. Insert the guide pin into the pin slot.

-
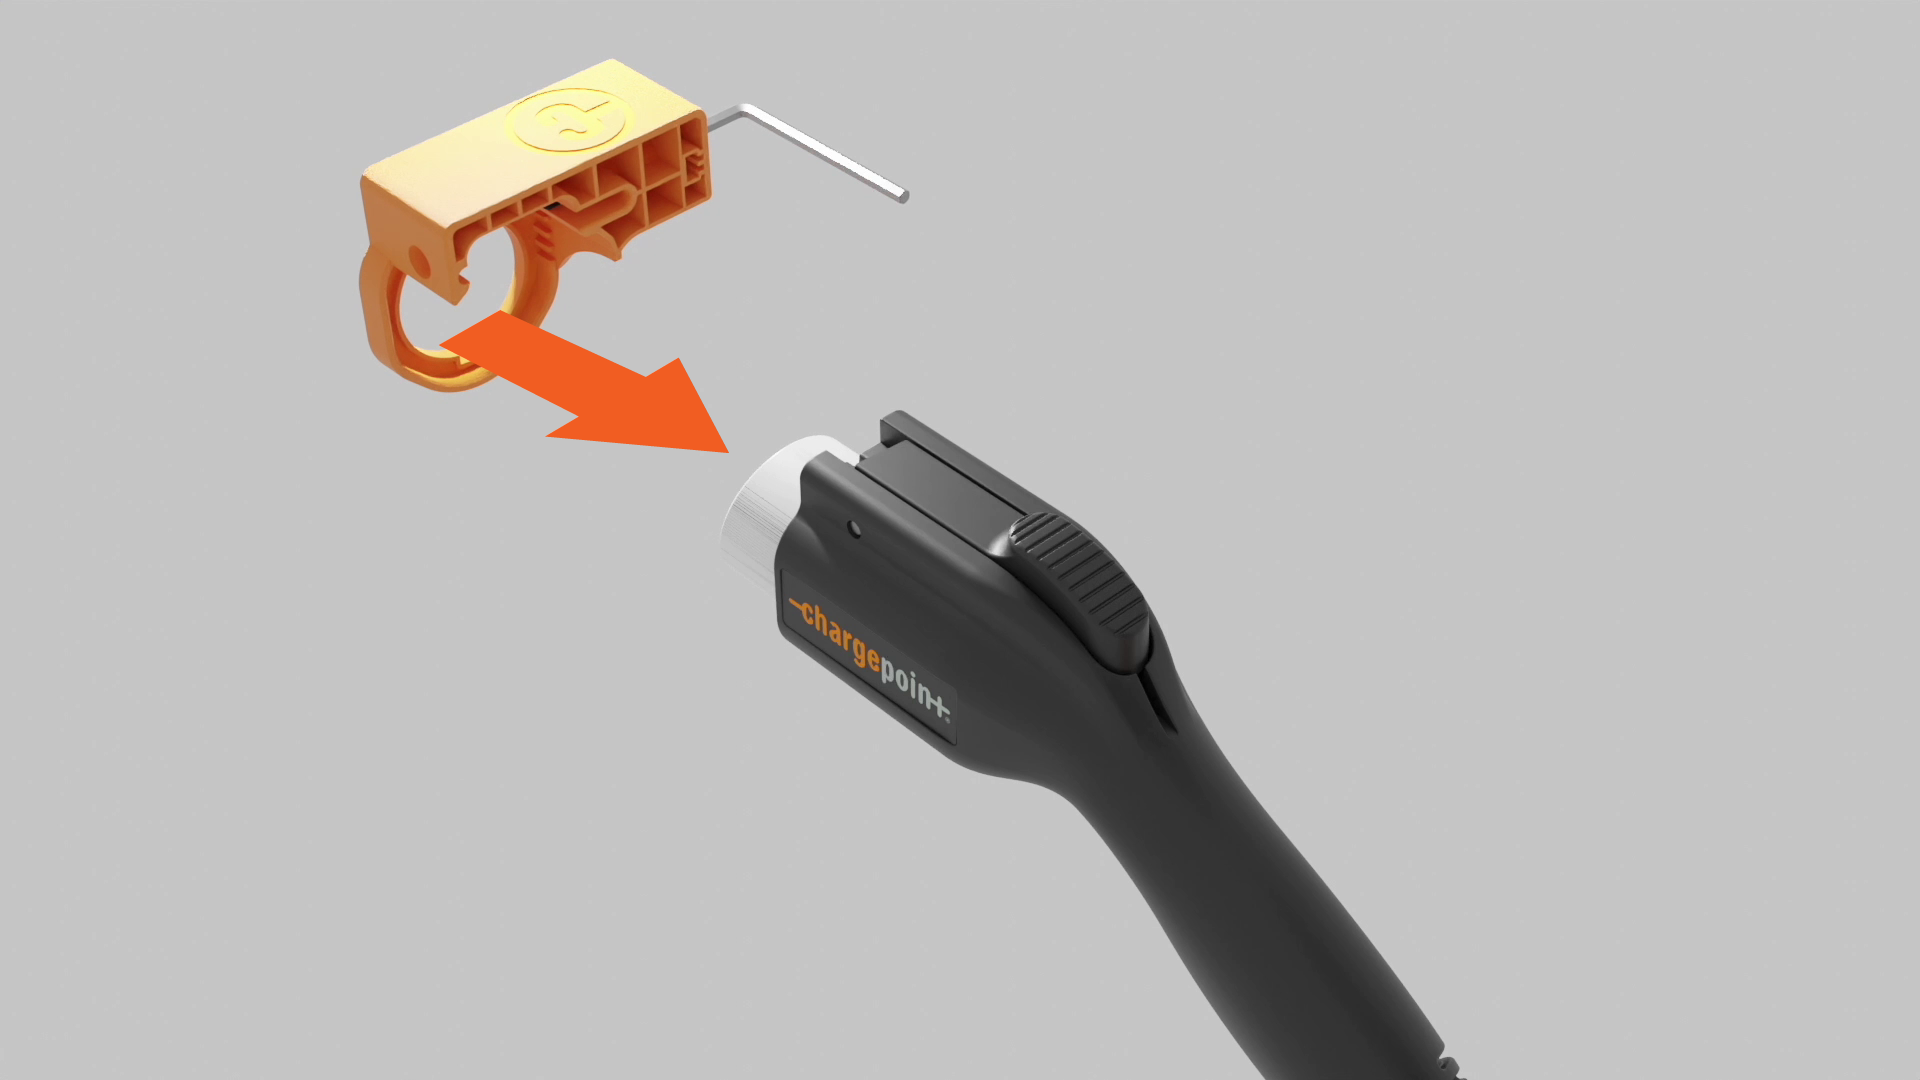
Insert the J1772 connector into the repair tool, and push it into place until the latch pin aligns with the middle of the exit hole.

-
Use the hex wrench to tighten the drive bolt. The latch pin will slowly extend from the exit hole. If you feel too much resistance but don't see the pin move, check the alignment and try again.

-
Tighten the drive bolt until the latch pin fully extends from the exit hole. Remove it by hand.
Keep the latch pin, you’ll need it later.
-
Loosen the drive bolt 5-10 revolutions and remove the connector from the tool.
-
Use the hex wrench to push the guide pin out.

-
Remove the broken latch and spring.

-
Install the spring by placing one end onto the plus-shaped indent of the replacement latch.

Gently align the other end of the spring with the circular indentation in the connector. Line up the pin holes in the latch and connector.
If the spring is not set properly, it might pop out and get damaged when the latch is depressed.
-
Insert the guide pin into the latch to hold the pieces together. Squeeze the latch to ensure the spring functions as intended.

-
Use the hex wrench to loosen the drive bolt. Insert the latch pin fully into the pin slot.

-
Insert the J1772 connector into the repair tool and press into place until the guide pin hole aligns with the exit hole.

-
Use the hex wrench to tighten the drive bolt. The guide pin will slowly extend from the exit hole. If you feel too much resistance but don't see the pin move, check your alignment and try again.

-
Tighten the drive bolt until the guide pin fully extends from the exit hole. Remove the pin by hand.
Keep the guide pin, so you can use the tool to repair another connector.

-
Loosen the drive bolt 5-10 revolutions, then remove the connector from the tool.

-
Place the connector back into the holder on the station. If the connector locks in place and charges a vehicle, then it has been successfully repaired.
 A shim is included for alignment fine-tuning in a future tool update, and may be discarded. The shim is often used as a spacer or to adjust the alignment during latch installations or replacements, and is specifically designed for Type A latch replacement kits.