Install the CMK
To install the CMK![]() Cable Management Kit, complete the following steps:
Cable Management Kit, complete the following steps:
-
If present, remove the two stickers covering the holes on the back of the pedestal housing.

-
Unwrap and position the Cable Management Kit (CMK
 Cable Management Kit) packaging near the base of the pedestal.
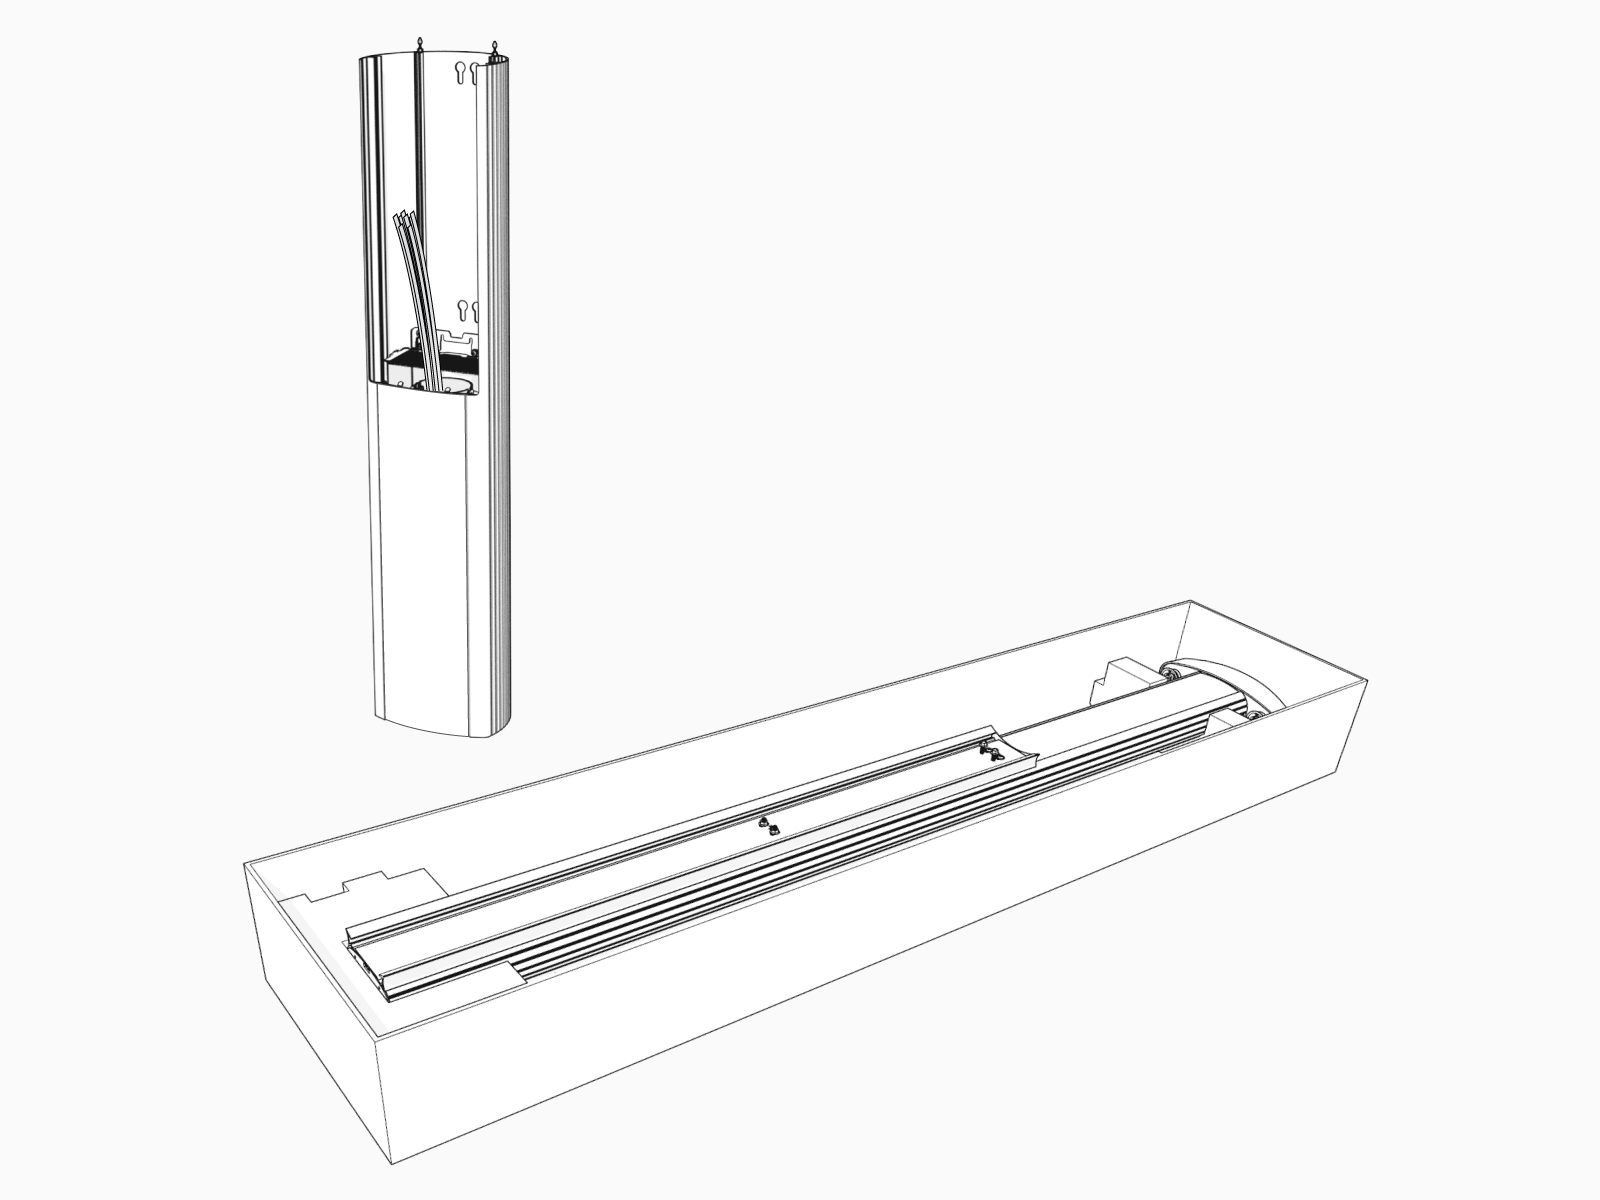
-
If you do not see a knot tied near the top of the cable clamp rope, pull the rope out about 600 mm (2 ft) and tie a slip knot near the top of the CMK
Cable Management Kit. and tie a slip knot near the top of the CMK.")
-
Remove and discard the shipping screws.
 When you remove the shipping screws, the counterweights are free to move in either direction. To prevent damage or injury, always carry the assembly with the top end higher than the bottom end.
 -
If present, remove the spacer.

-
Stand the CMK
Cable Management Kit upright slowly. The counterweights will drop.
-
Place the CMK
Cable Management Kit behind the pedestal housing and align the mounting screws (top) and nuts (bottom). Lower the CMK Cable Management Kit. Make sure there is no gap next to the spacer.
-
Torque the top T25 screws to 5.7 Nm (50 in-lb). Use a 10 mm wrench to tighten the nuts near the bottom to 5.7 Nm (50 in-lb).

-
Go to Connect Wiring.
