Install a Wall Mount CPF50 Bracket and CMK
To install a wall mount CPF50 bracket and CMK![]() Cable Management Kit, follow these steps:
Cable Management Kit, follow these steps:
Mount the Back Bracket
-
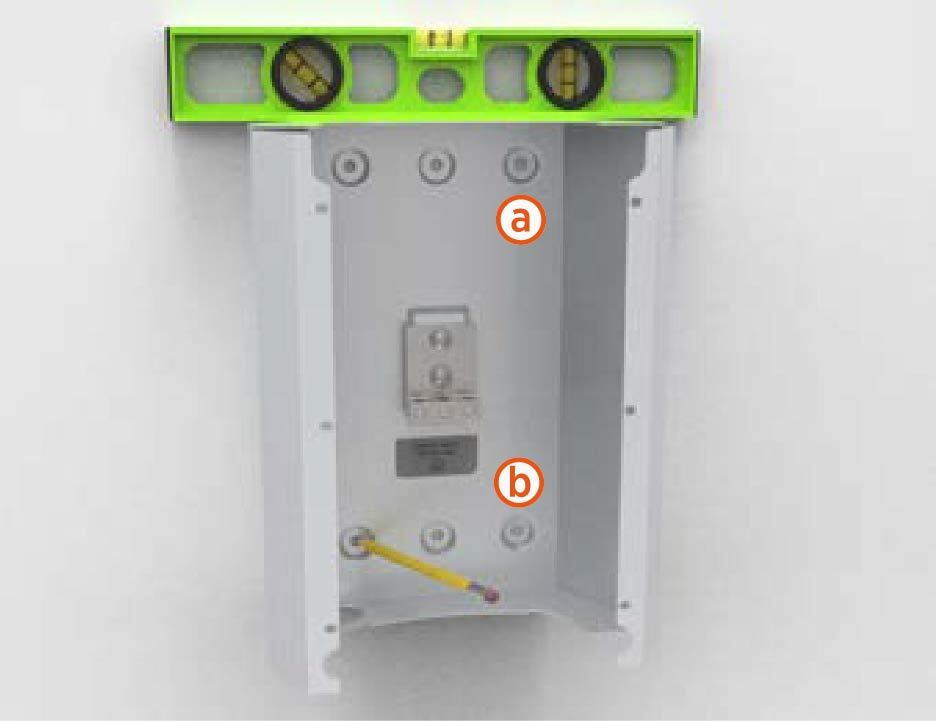
Place the back bracket against the wall with the top of the bracket 1270 mm (50 inches) above the floor level.
-
Place a bubble level on top of the bracket and ensure that the holes are accurately aligned.

-
Mark the drill holes:
-
Use the two center holes if the station is being mounted to a wooden stud (a).
-
Use the four outer holes if mounting to a masonry or concrete wall (b).
-
-
Drill the mounting holes with appropriate drill bit for the type of wall.
For masonry or concrete walls, insert masonry anchors (not included) rated for at least 318 kg (700 lbs) of pull-out force.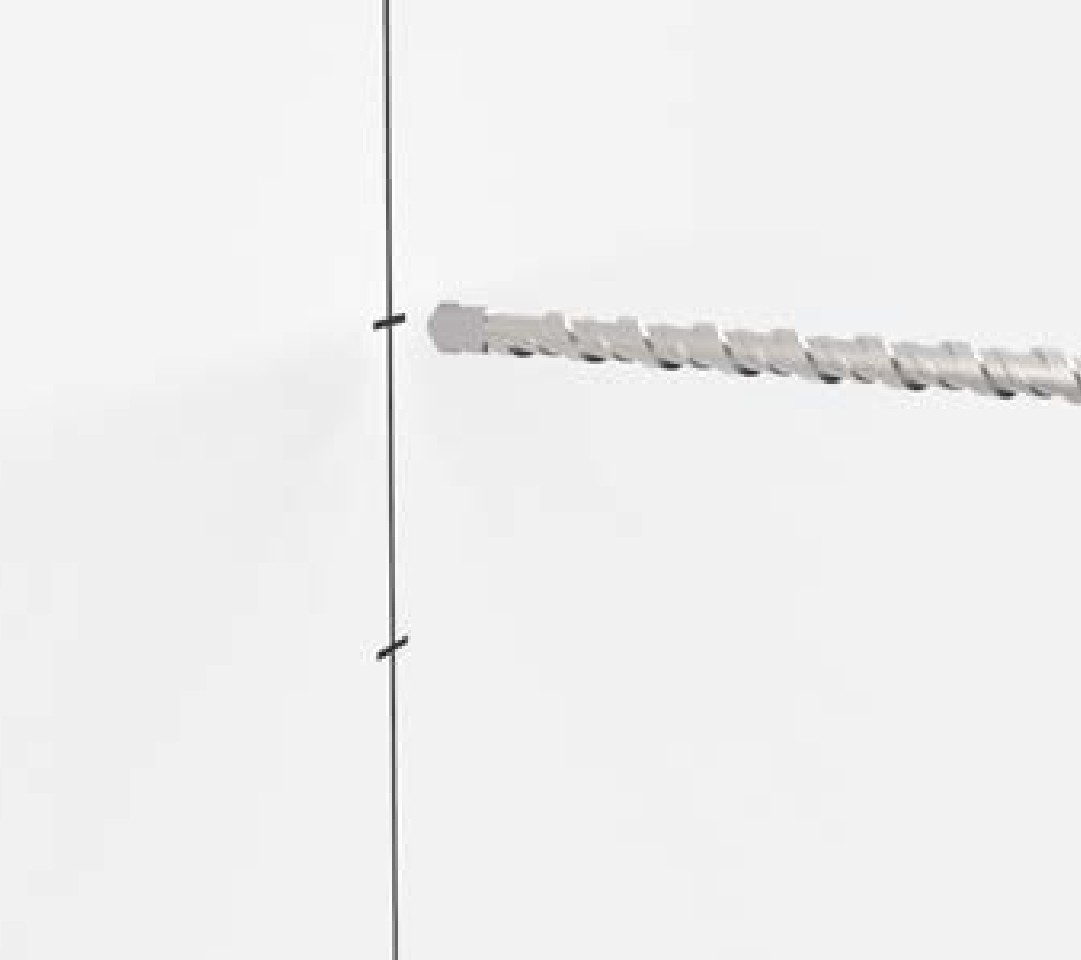
-
Secure the back bracket to the wall:
-
For wooden stud, use two of the 1/4 x 2 inch lag screws provided.
-
For masonry or concrete walls, use four screws appropriate for your anchors.
-
-
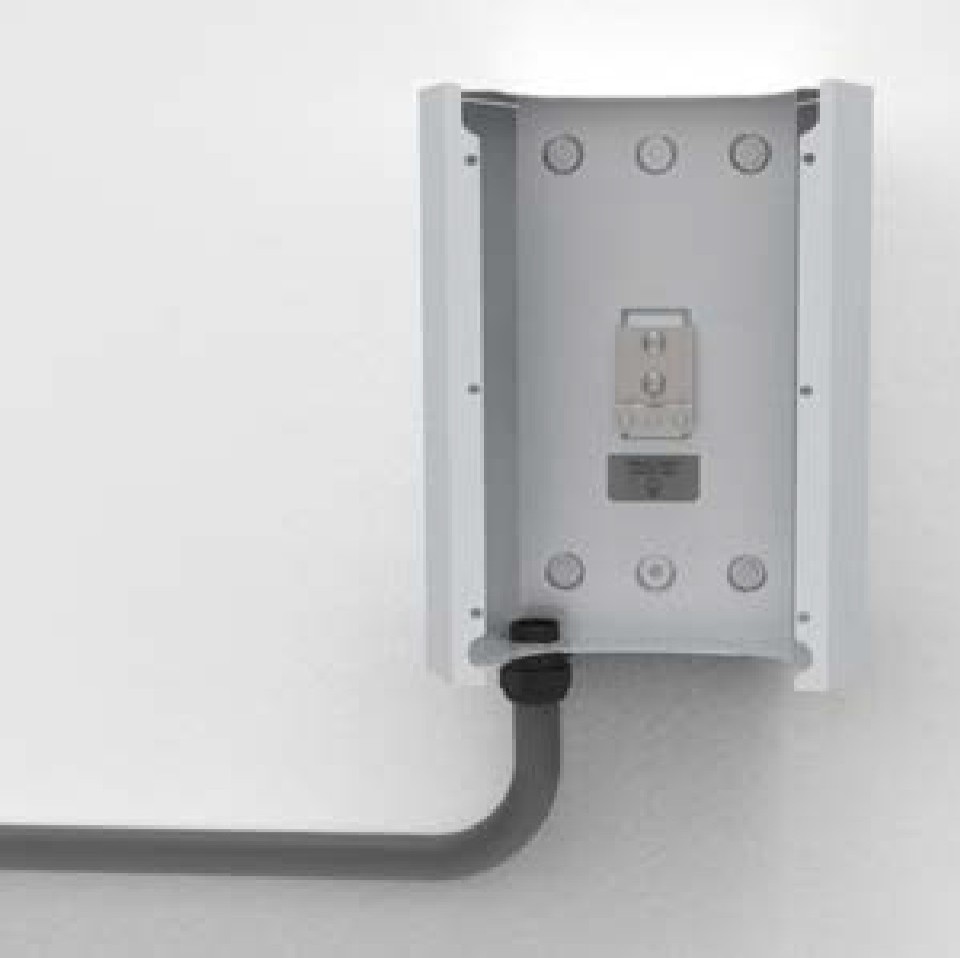
Run service wiring through 19 mm (3/4 inch trade size) conduit.
-
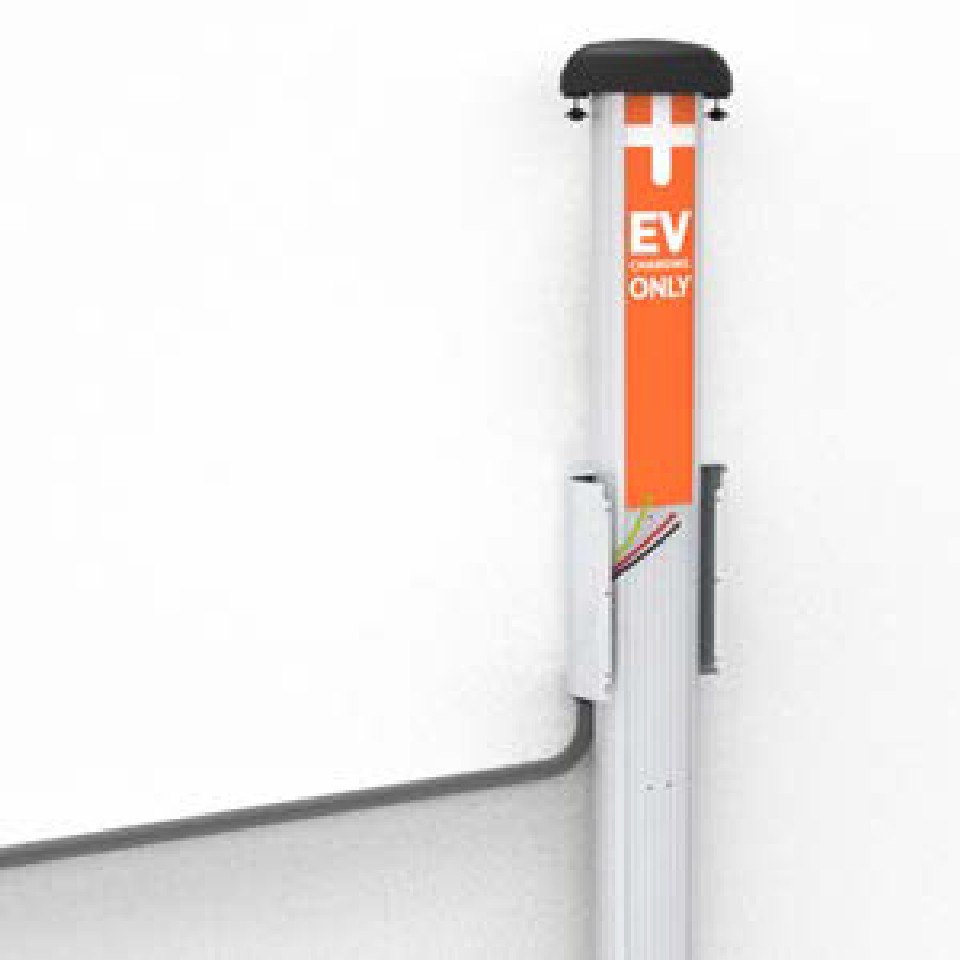
Insert the conduit in the hole at the bottom of the back bracket. Run approximately 300 mm (12 inches) of service wiring into the bracket.
-
Use a Phillips screwdriver and connect the ground wire to the grounding lug on the back bracket.
Prepare the CMK
-
Place the CMK
 Cable Management Kit horizontally, remove and discard the two shipping screws from the front of the CMK Cable Management Kit.Do not unwrap the ropes.
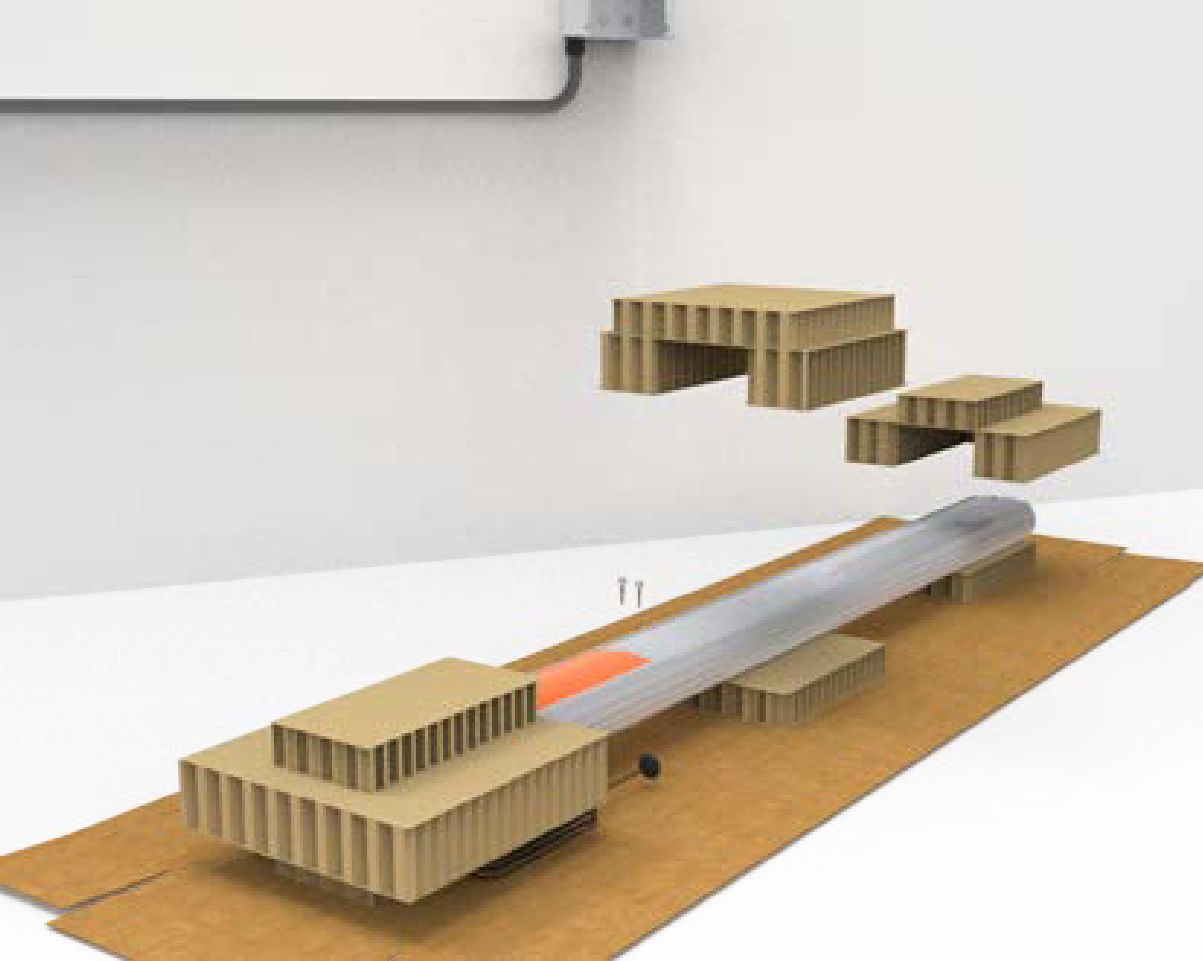
-
Position the CMK
Cable Management Kit packaging in a way that the bottom is located near where the charging station will be installed.When you remove the shipping screws, the counterweights are free to move in either direction. To prevent damage or injury, always carry the assembly with the top end higher than the bottom end. -
Remove the cardboard packaging.
Mount the CMK
-
Slowly lift the CMK
Cable Management Kit into position against the back bracket and hold it in place.The ropes will rise as the weights inside the CMK Cable Management Kit lower. Guide the ropes to the top as you gently lift the CMK Cable Management Kit.
-
Position the front bracket so that the wiring opening is in the lower left corner.
-
Slide the front bracket down over the CMK
Cable Management Kit gently (ensure that you do not scratch the CMK Cable Management Kit sign) until it aligns with the back bracket.When sliding the front bracket down, pull the service wiring out of the way to protect the wires from damage. -
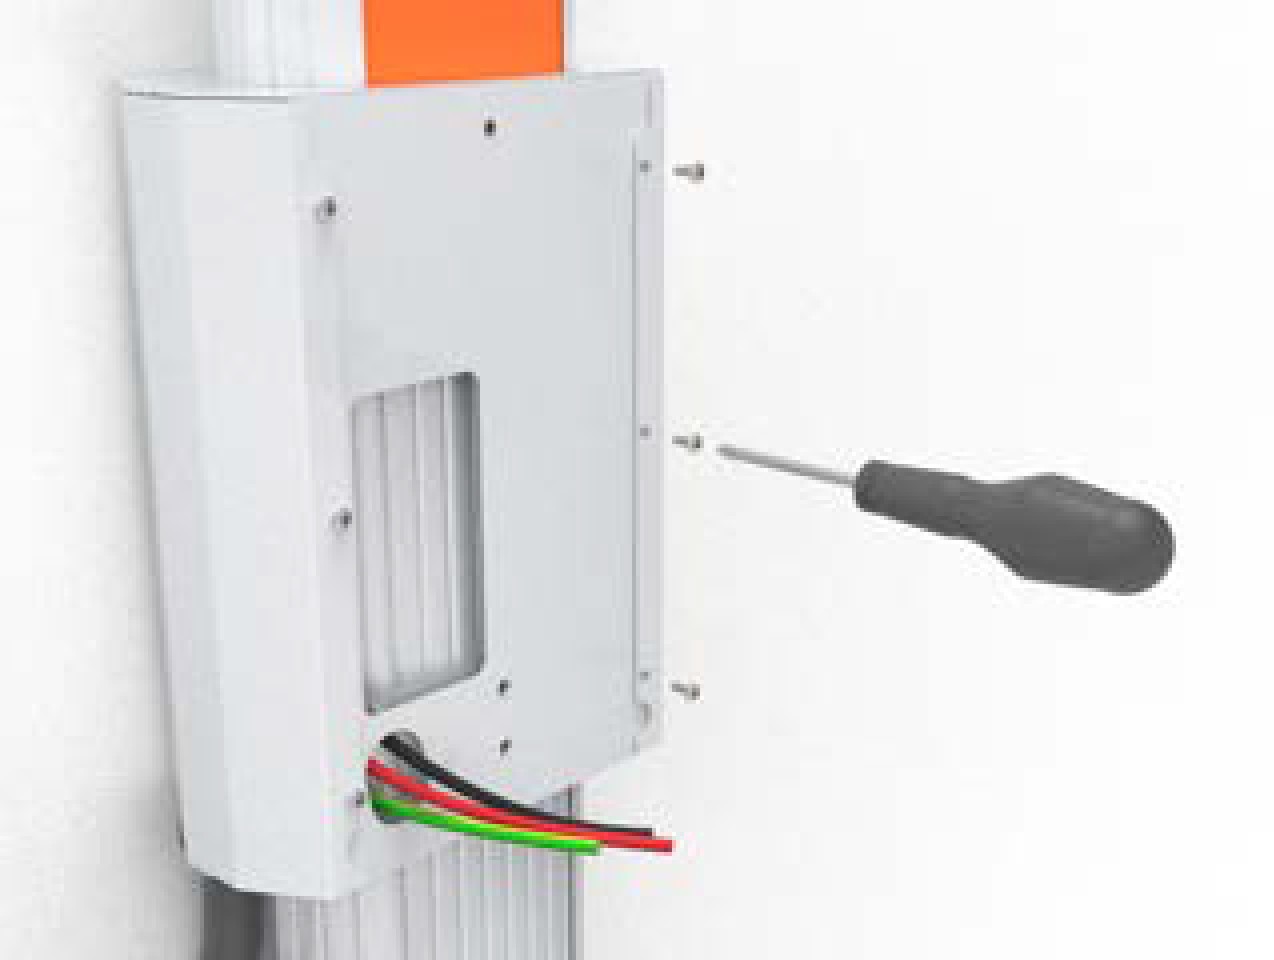
Route the service wiring through the opening in the front bracket.

-
Fasten the front bracket to the back bracket using a #2 Phillips screwdriver and the six 3/8 in screws.
Install the Lower Sign
-
Insert the bottom left corner of the sign under the groove on the bottom left corner of the CMK
Cable Management Kit.
-
Slide the sign downward as far as possible so that the top of the sign is positioned under the bottom of the mounting bracket.
-
Starting with the bottom left corner and working from bottom to top, slide the left side of the sign under the leftmost groove.
-
When the left side of the sign is fully inserted, bow the bottom of the sign outward slightly to insert the bottom right corner of the sign under the groove on the bottom right corner.
-
Starting with the bottom right corner and working from the bottom to top, slide the right side of the sign under the rightmost groove.
Proceed to Install the Station and Charging Cable to mount the charging station.
