Install a Wall Mount CPF50 (Without a CMK)
To install a wall mount CPF50 without a CMK![]() Cable Management Kit, follow these steps:
Cable Management Kit, follow these steps:
-
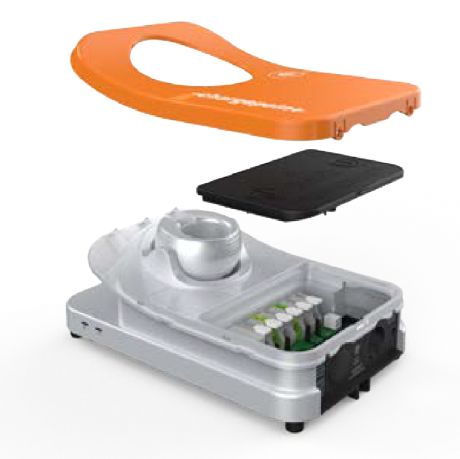
Remove the faceplate and the wire cover from the charging station. Set them aside.
-
Mark the location.
-
For wood stud mounting, mark the center of the stud with a line from 1000-1100 mm (39-43 inches) above the finished floor.
-
For masonry or concrete, mark approximate mounting location with a vertical line from 1000-1100 mm (39-43 inches) above the finished floor.
-
-
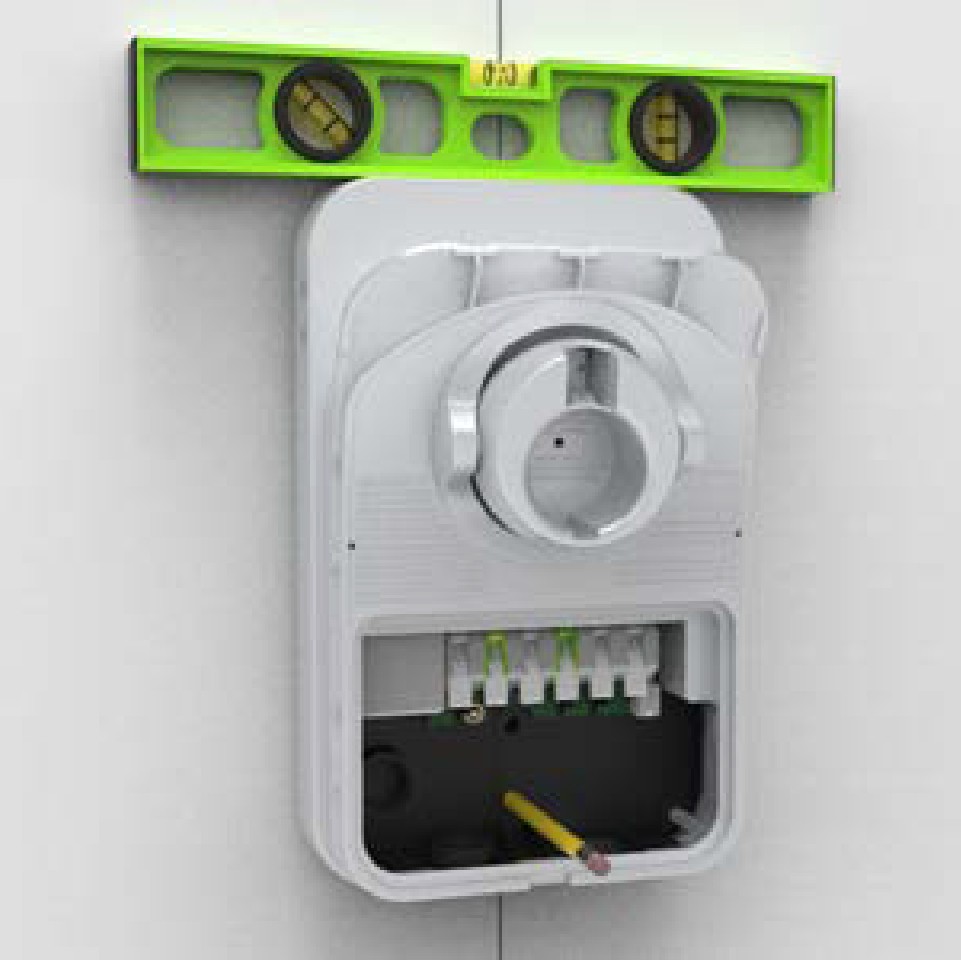
Hold the station against the wall, with the top of the station approximately 1270 mm (50 inches) above ground level.
-
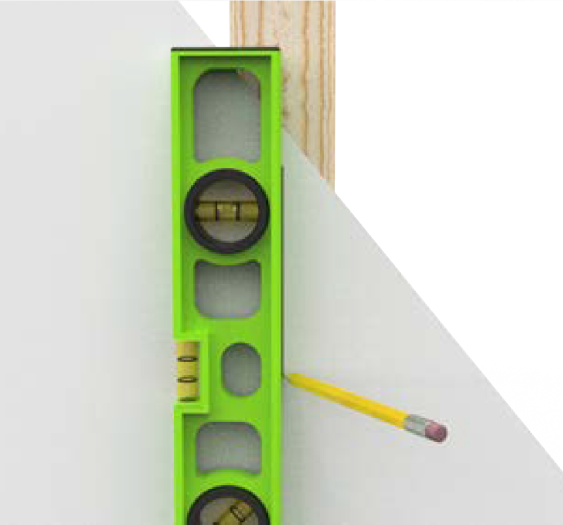
Ensure that the charging station is level using a bubble level.
-
Mark the two lower mounting holes.
-
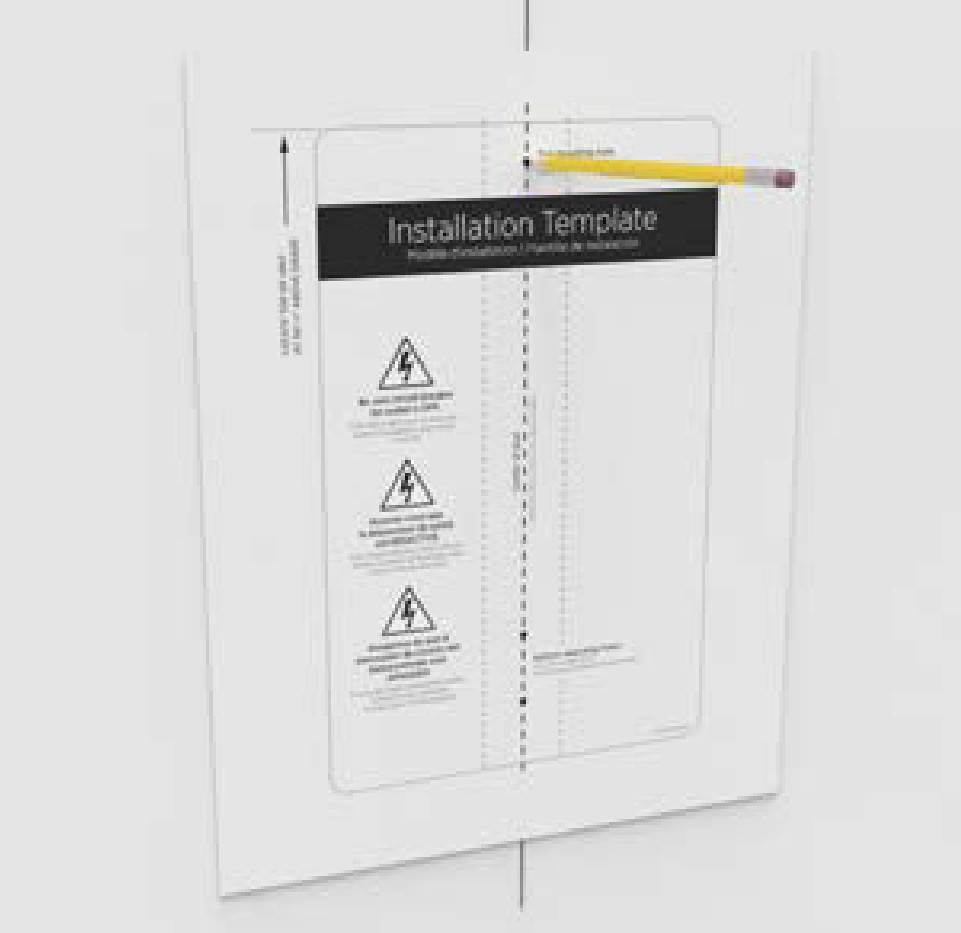
Hold the mounting template against the wall.
-
Align the lower mounting holes on the installation template with the holes marked in the previous step.
-
Mark the top mounting hole from the installation template on the wall.
-
Remove the template from the wall.
-
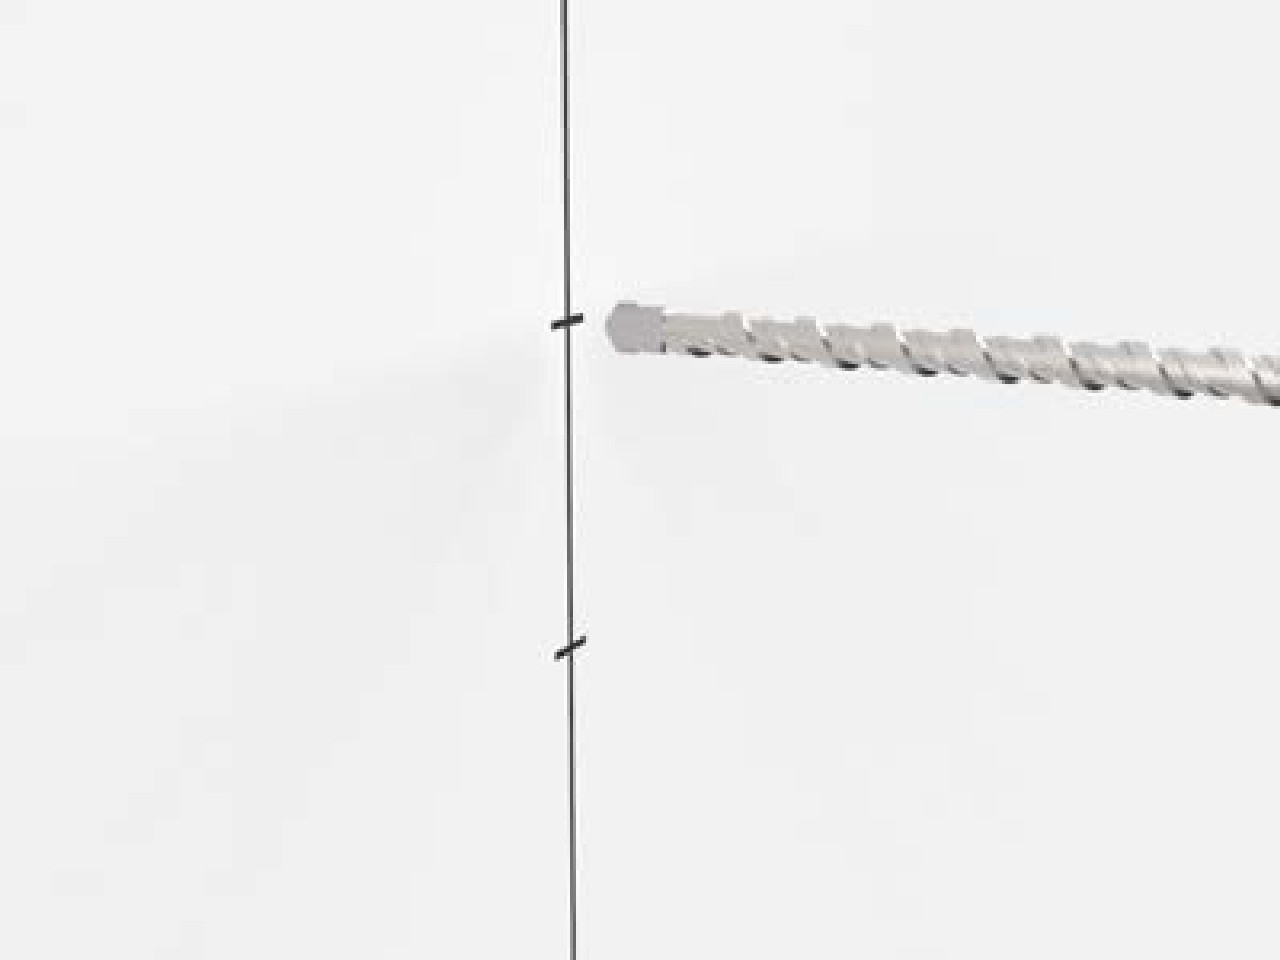
Drill the three mounting holes using a drill bit suitable for the type of wall material.
-
For wood stud mounting, drive one of the supplied 51 mm (2 inches) lag screws into the top mounting hole, leaving a gap of 3 mm (1/8 inch) between the screw head and the wall.
-
For Masonry or Concrete Mounting
-
Drill three mounting holes following the instructions provided with the wall anchors.
-
Install the three anchors securely in the drilled holes.
-
Insert a screw into the top mounting anchor, leaving a 3 mm (1/8 inch) gap between the screw head and the wall.
-
-
-
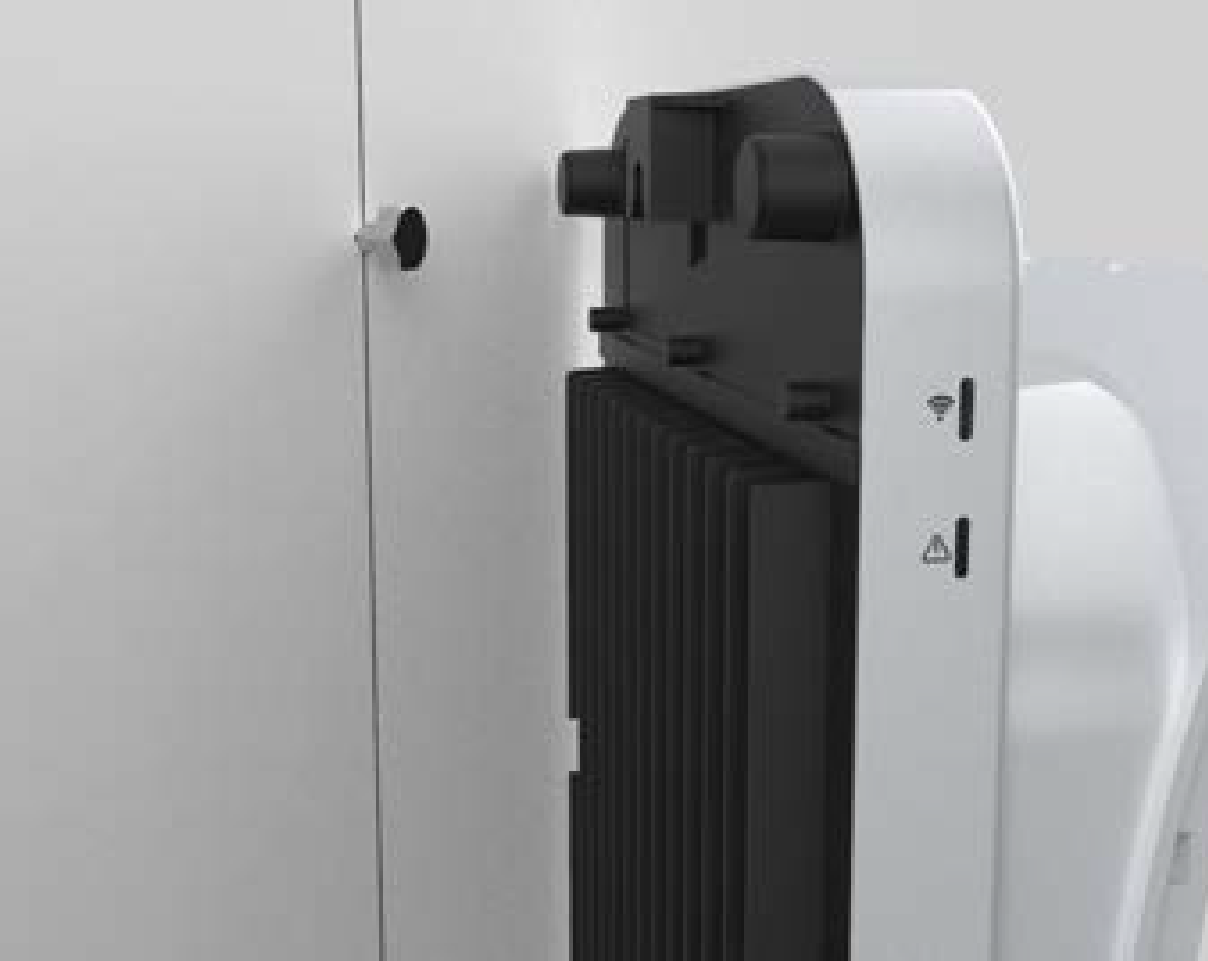
Hang the charging station on the protruding screw using the notch behind.
-
Secure the station by inserting the remaining fasteners into the mounting holes located in the stations terminal block area.
-
For wood mounting, use the two 51 mm (2 inches) lag screws provided.
-
For masonry or concrete mounting, use the two remaining masonry screws in the anchors.
-
Proceed to Install the Station and Charging Cable to review the wiring diagram.
