Remediate the Rope Clip
To remediate the rope clip, follow the steps below:
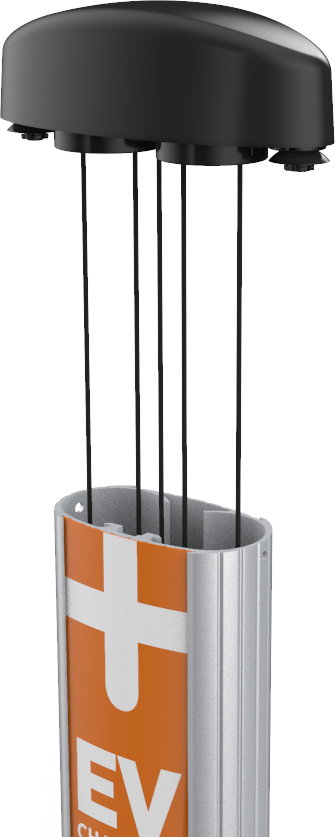
- Set up a ladder to reach the top of the CMK
 Cable Management Kit.
 - For best results, put on gloves to make it easier to grip the rope.
-
Using the T-25 L-wrench, loosen the set screws on each side of the CMK Cable Management Kit below the top cap
enough to let the counterweights pass by.
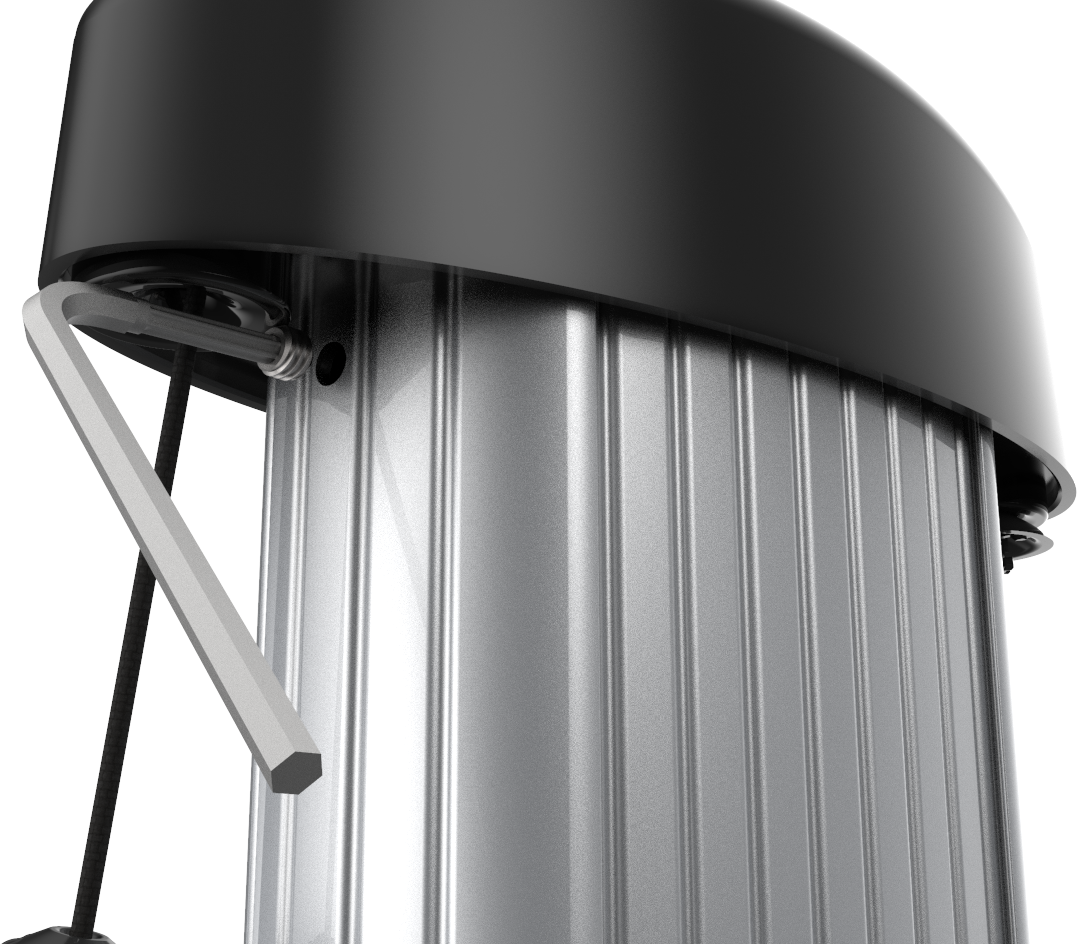
-
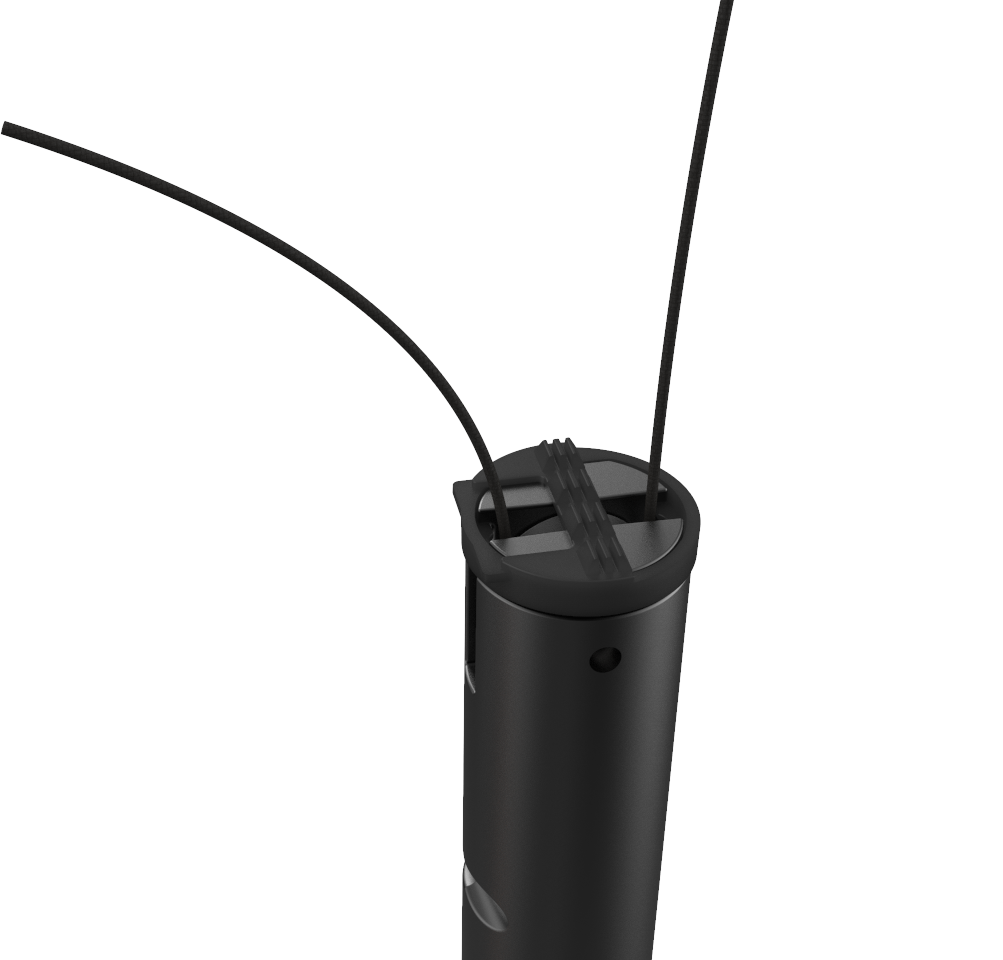
Lift the top cap up and back to rest on top of the CMK Cable Management Kit extrusion.

-
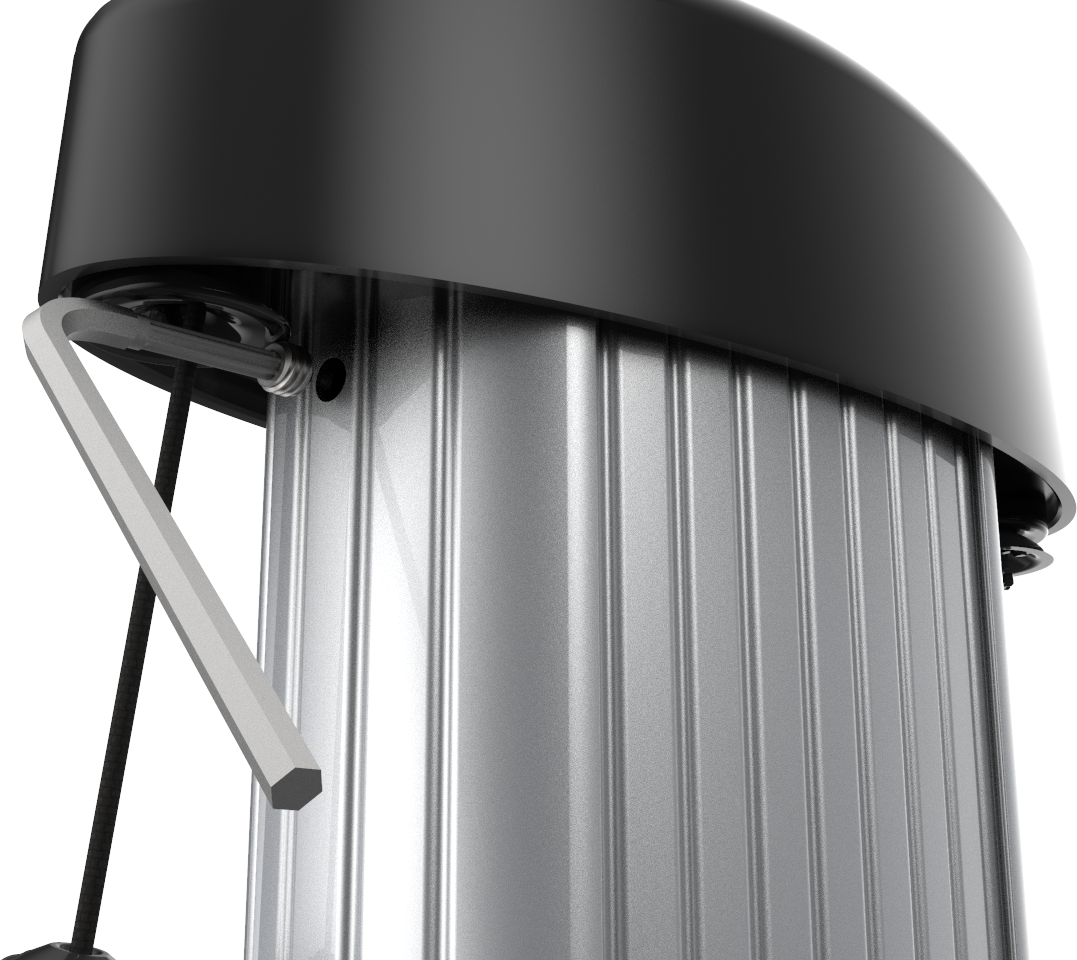
Place the CMK Cable Management Kit service tool over the exposed edge of the CMK Cable Management Kit extrusion.

-
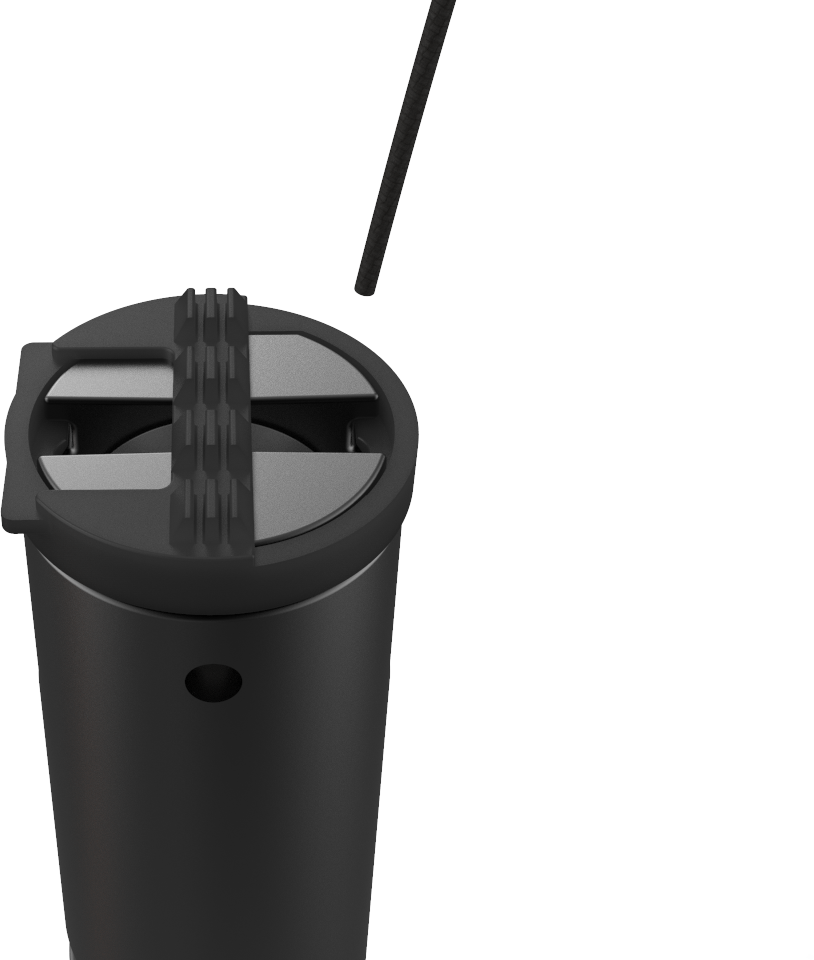
Use both hands to pull the top assembly down and towards you until the center retrieval rope is exposed.
The center rope is a retrieval rope to raise the counterweights upwards inside the CMK Cable Management Kit extrusion.
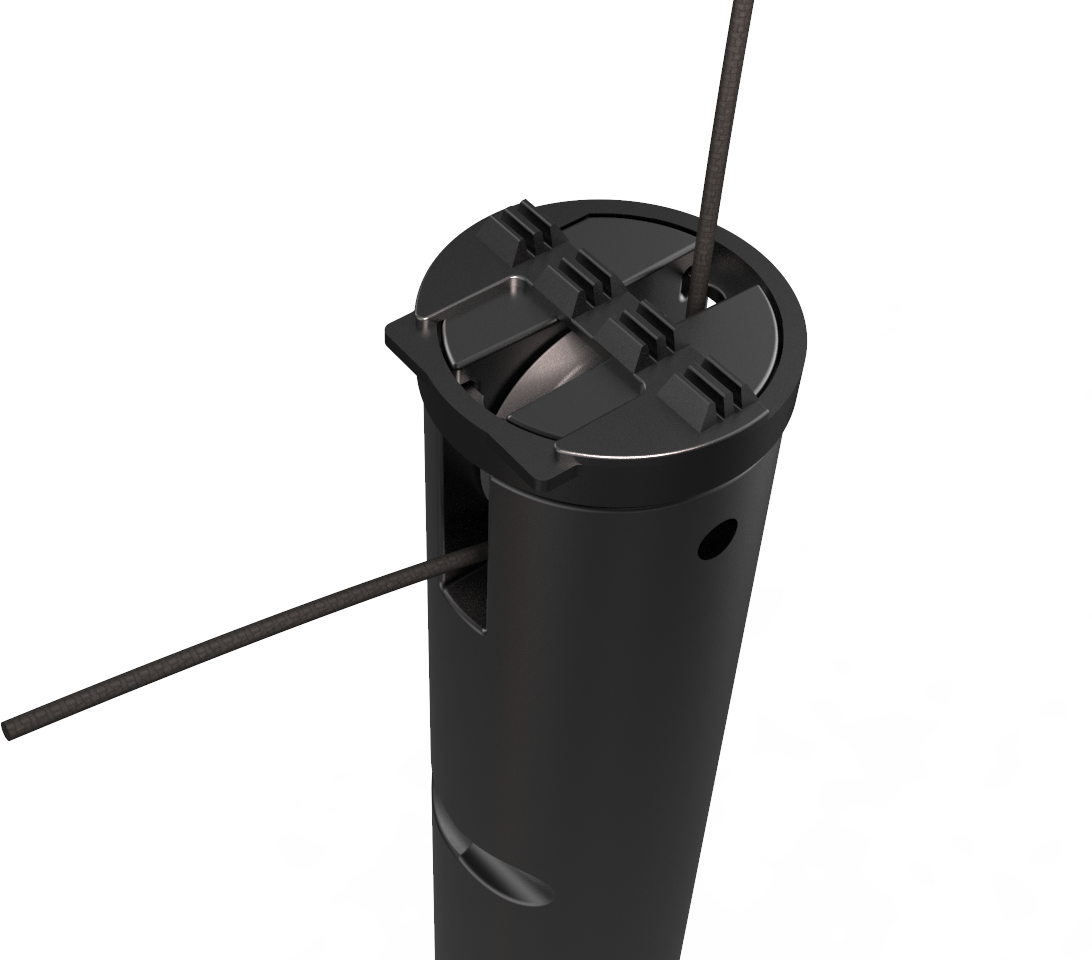
- Insert the retrieval rope in the slot on the CMK Cable Management Kit service tool to hold the counterweights up in position.
- Pull the rope up again until the weights are nearly flush with the top of the housing.
- Reposition the center rope in the CMK Cable Management Kit service tool to hold the weights in position.
- Pull the center rope until the weights are in position.
- Hook the center rope in the service tool to hold the center rope in place.
-
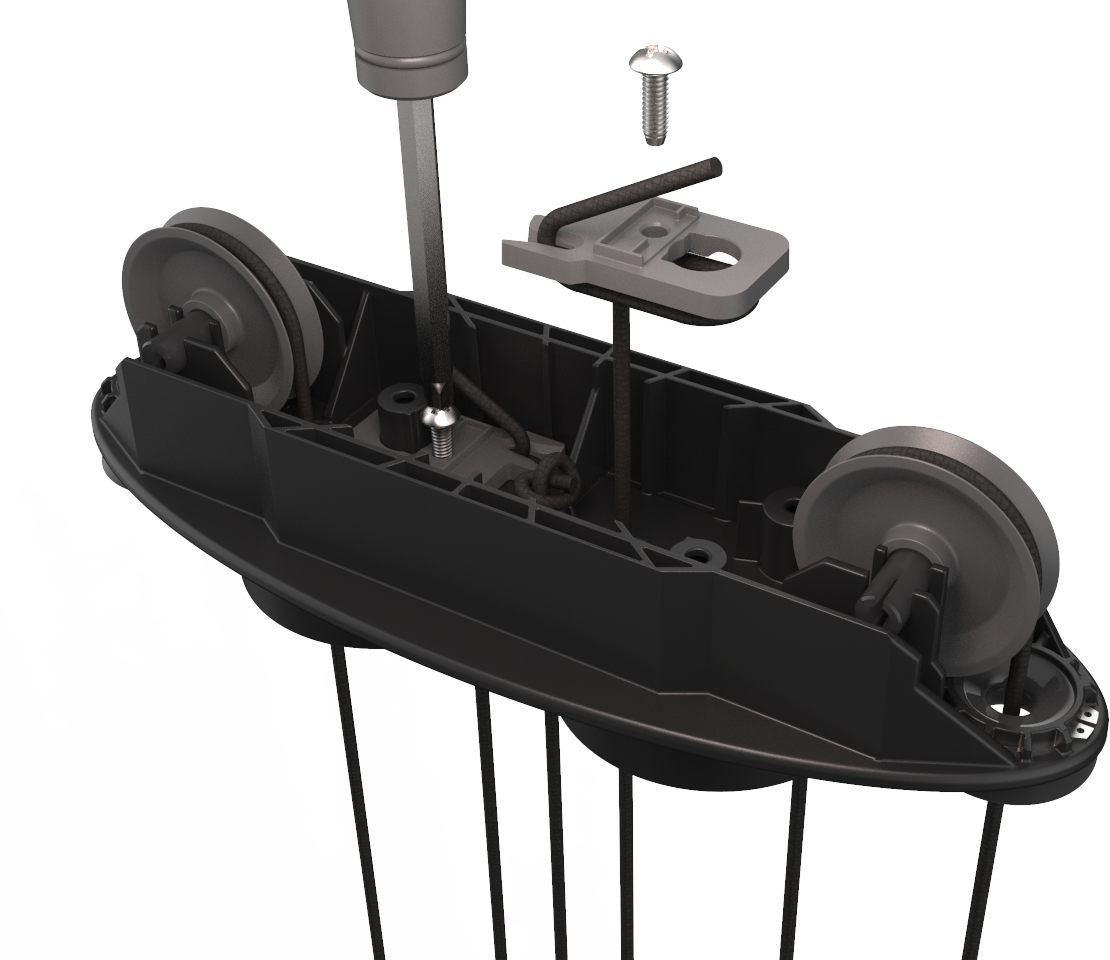
Use a Phillips head screwdriver to unscrew the four screws holding the cover on the top cap assembly. Save the screws.

-
Remove the top cap cover.

-
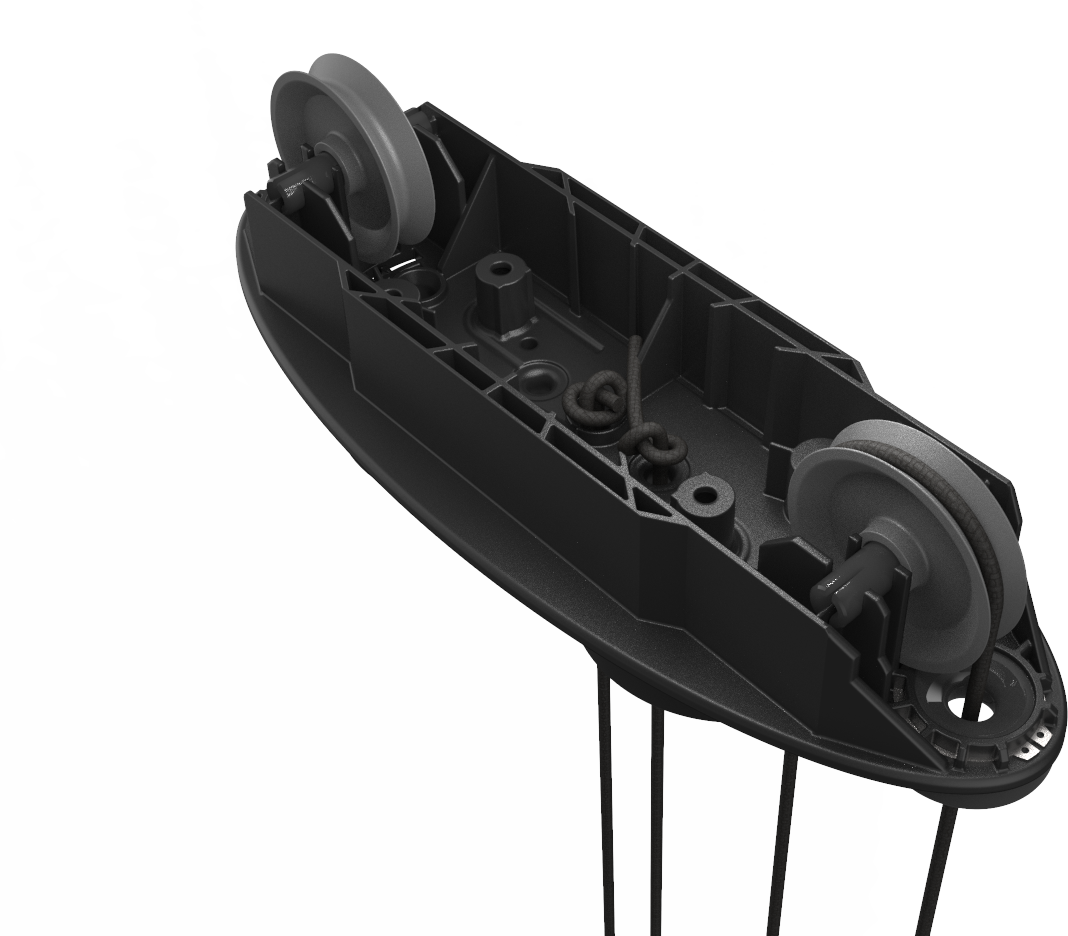
Starting on one side, remove the screw used to hold the rope clip.
-
Gently lift the weight out of the housing.

-
Lace the rope through the weight via the top and out the outside of the weight.
 The outside is the curved side. The inside is the flat side.
 -
Lace the rope under the pulley wheel through the center of the weight.
-
Lace the rope through the top of the weight from the outside to the center.
- Replace the weight in the housing.
-
Lace the end of the rope through the hole where the screw holding the clip was removed.

- Turn the top cap over and pull 100-150 mm (4-6 in) of rope through the hole.
-
Tie an overhand knot in the tail about 55-75 mm (2-3 in) from the end of the rope. Use the opposite hole as a guide for the needed length.
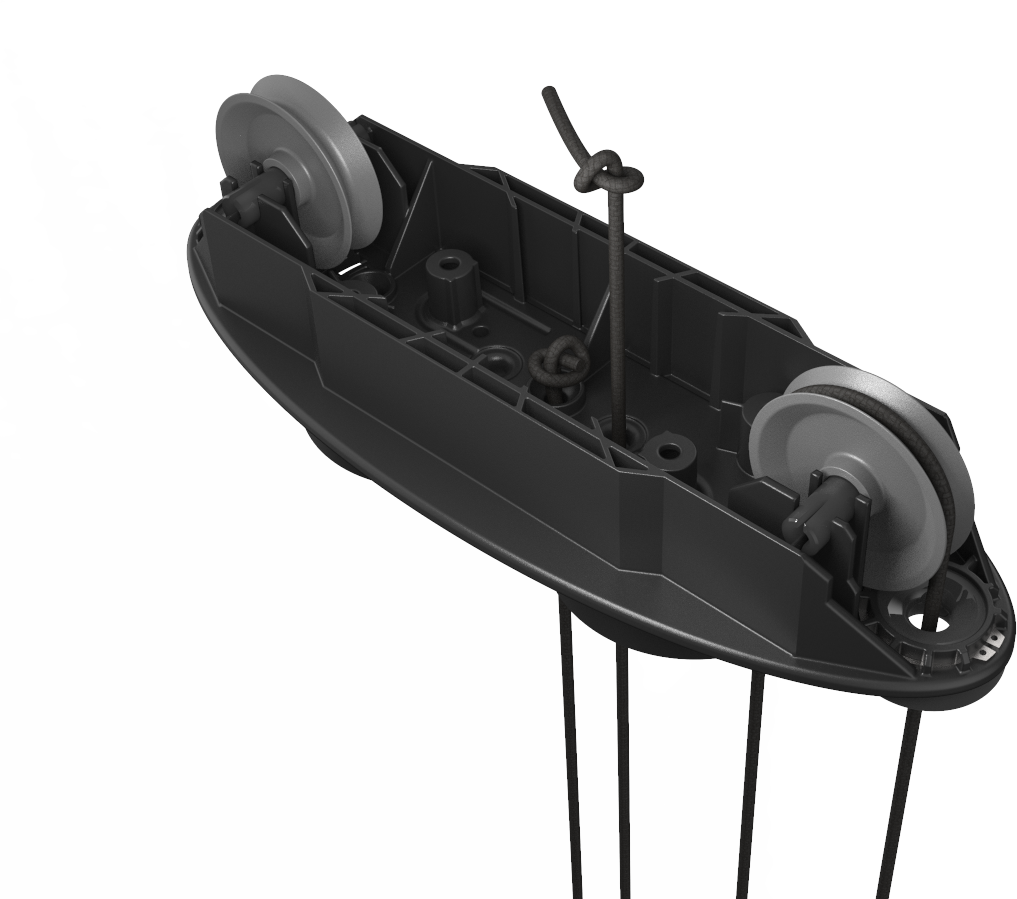 Do not cut the tail of the rope. Allow the tail to remain in place. The tail must be at least 55 mm (2 in) long.
 - Pull the knot tight by hand.
- Repeat steps 14–23 for the other side of the CMK Cable Management Kit.
-
Tuck the tails into the housing away from the pulleys.
- Ensure that the ropes remain threaded around the pulley wheels.
-
Replace the top cap using the four screws.
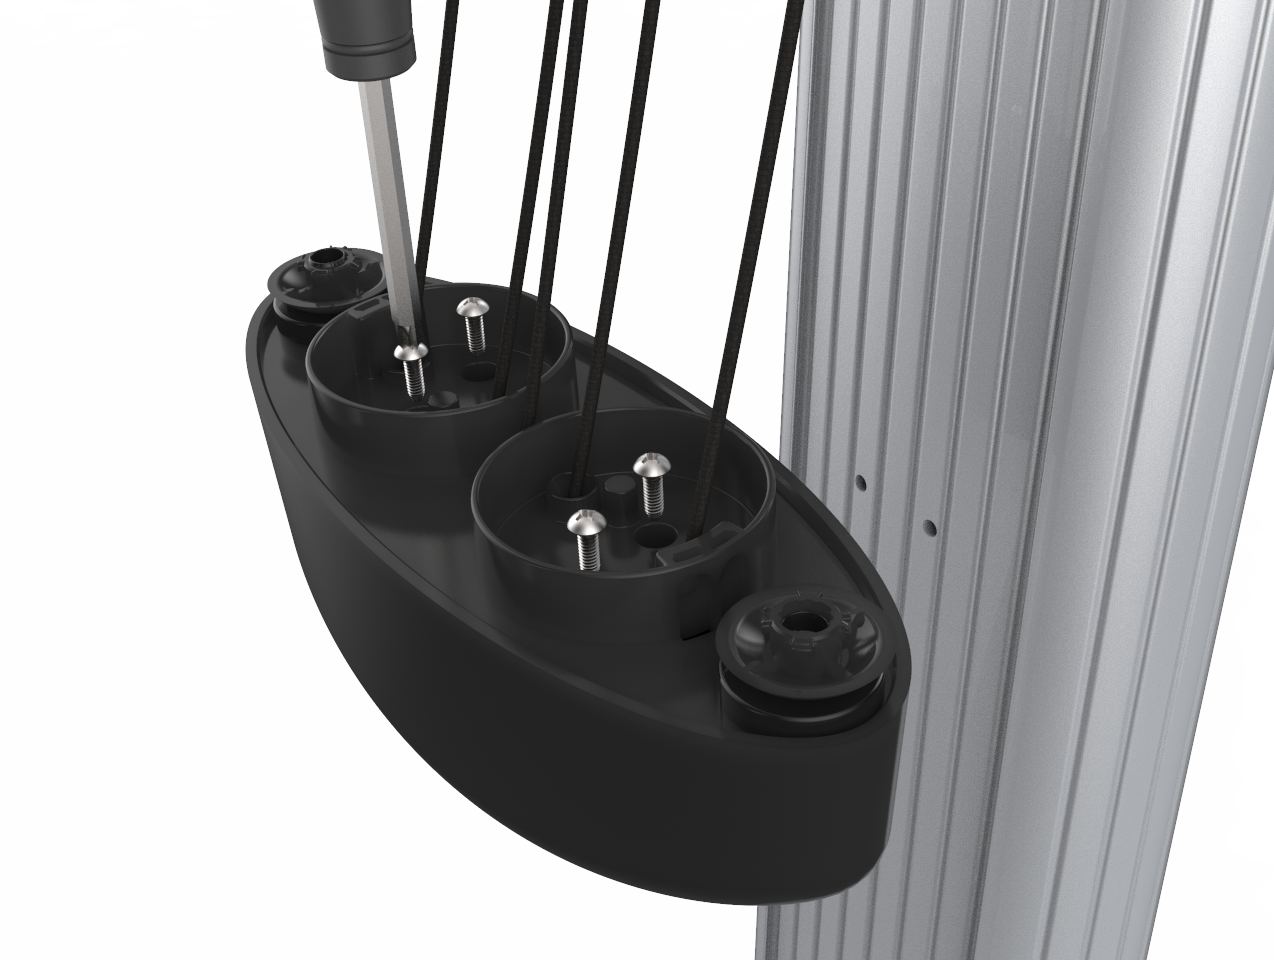
- Tighten the screws in a diagonal pattern.
-
Holding the top cap tightly, release the center rope from the CMK Cable Management Kit service tool.
- Remove the CMK Cable Management Kit service tool from the edge of the CMK Cable Management Kit.
- Lower the top cap gently, equalizing the tension on the ropes as you go.
-
Replace the set screws to lock the top cap into position.
- Discard the remaining Phillips screws, original rope, and plastic rope clips.
