Power Block Controller (PBC) Assembly
This section provides instructions for replacing the Power Block controller (PBC![]() Power Block Controller) assembly in the Power Block.
Power Block Controller) assembly in the Power Block.
Assembly Components
The PBC![]() Power Block Controller assembly contains the following components:
Power Block Controller assembly contains the following components:

-
Power Block controller (PBC
 Power Block Controller)
 -
Ethernet surge suppressor with Ethernet cables (x4)
See Ethernet Surge Suppressor if you want to replace one.
Required Tools and Materials
|
|
90° #5 Phillips screwdriver or ratchet |
Before You Begin
Before servicing the component, complete the following steps:
-
Remove front upper, mid, and lower panels.
-
Remove front door.
-
Remove the right side transparent shield.
AFTER REPLACING THE COMPONENTS, REVERSE THE ABOVE STEPS TO COMPLETE THE SERVICE.
Replace the PBC Assembly
-
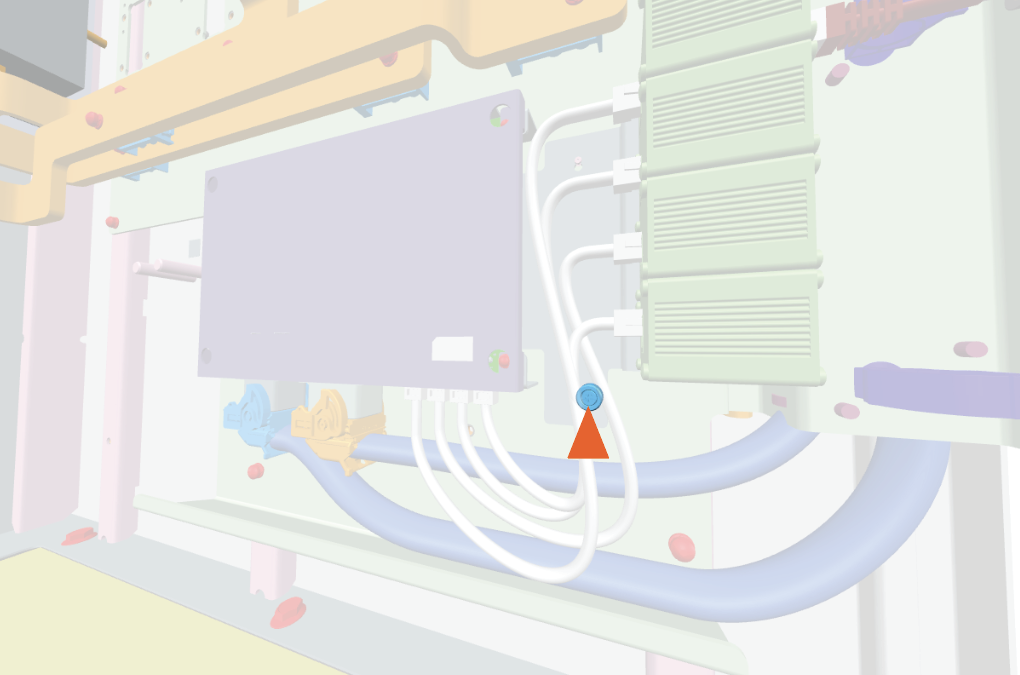
Disconnect the cables (x2).

-
Press the small latch on the connector cap to rotate the lever. The connector is unlocked when the lever is 90° to the connector.

-
Lever
-
Latch
-
Cap
-
-
Pull the connector out to disconnect.
-
-
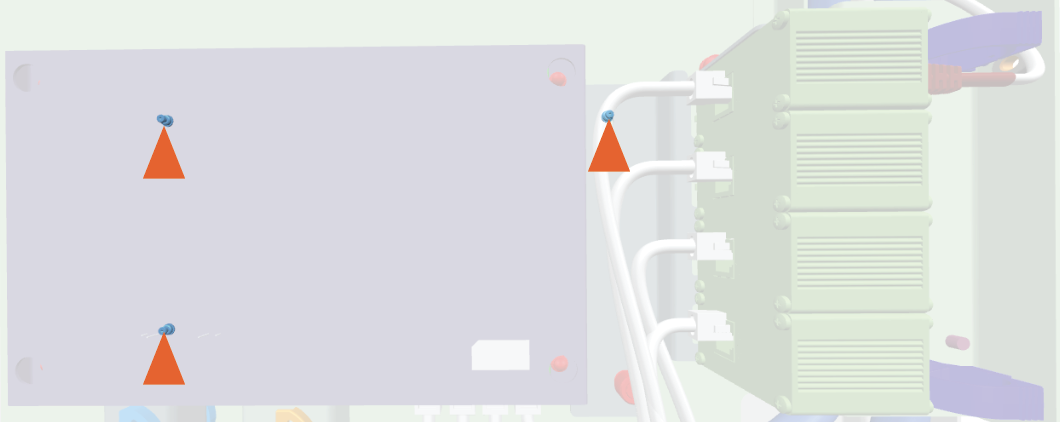
Remove the screw. If necessary, use #5 Phillips screwdriver.
Hand tight the screw when reinstalling.
-
Slide the assembly up to disengage the keyholes from the hooks (x3) on the bracket.
Reverse the above steps to reinstall with replacement FRU![]() Field Replaceable Unit.
Field Replaceable Unit.
See Ethernet Surge Suppressor if you want to replace one.
- To adhere to ChargePoint best practices, complete the post-service checklist before you leave the site.
-
For assistance or to return a faulty part to ChargePoint, go to chargepoint.com/support and contact technical support using the appropriate region-specific number.
