Holster and Holster Bracket
This section provides information on replacing the holster and the holster bracket.
Required Tools and Materials
|
|
T25 security screwdriver |
Before You Begin
-
Power off the charging station.
-
Determine if the Power Link 1000 has preassembled covers or unassembled components, remove them as necessary.
AFTER REPLACING THE COMPONENTS, REVERSE THE ABOVE STEPS TO COMPLETE THE SERVICE.
- Confirm the charge cable connector type (CCS1, CCS2, CHAdeMO, or NACS
 North American Charging Standard) and the left or right side that it is being installed to.
 - Ensure that the holster plate is installed on the same side as the cable (left or right).
Refer to the image below to identify the different charge cable connectors.

Replace Holster
To replace the holster, complete the following steps:
-
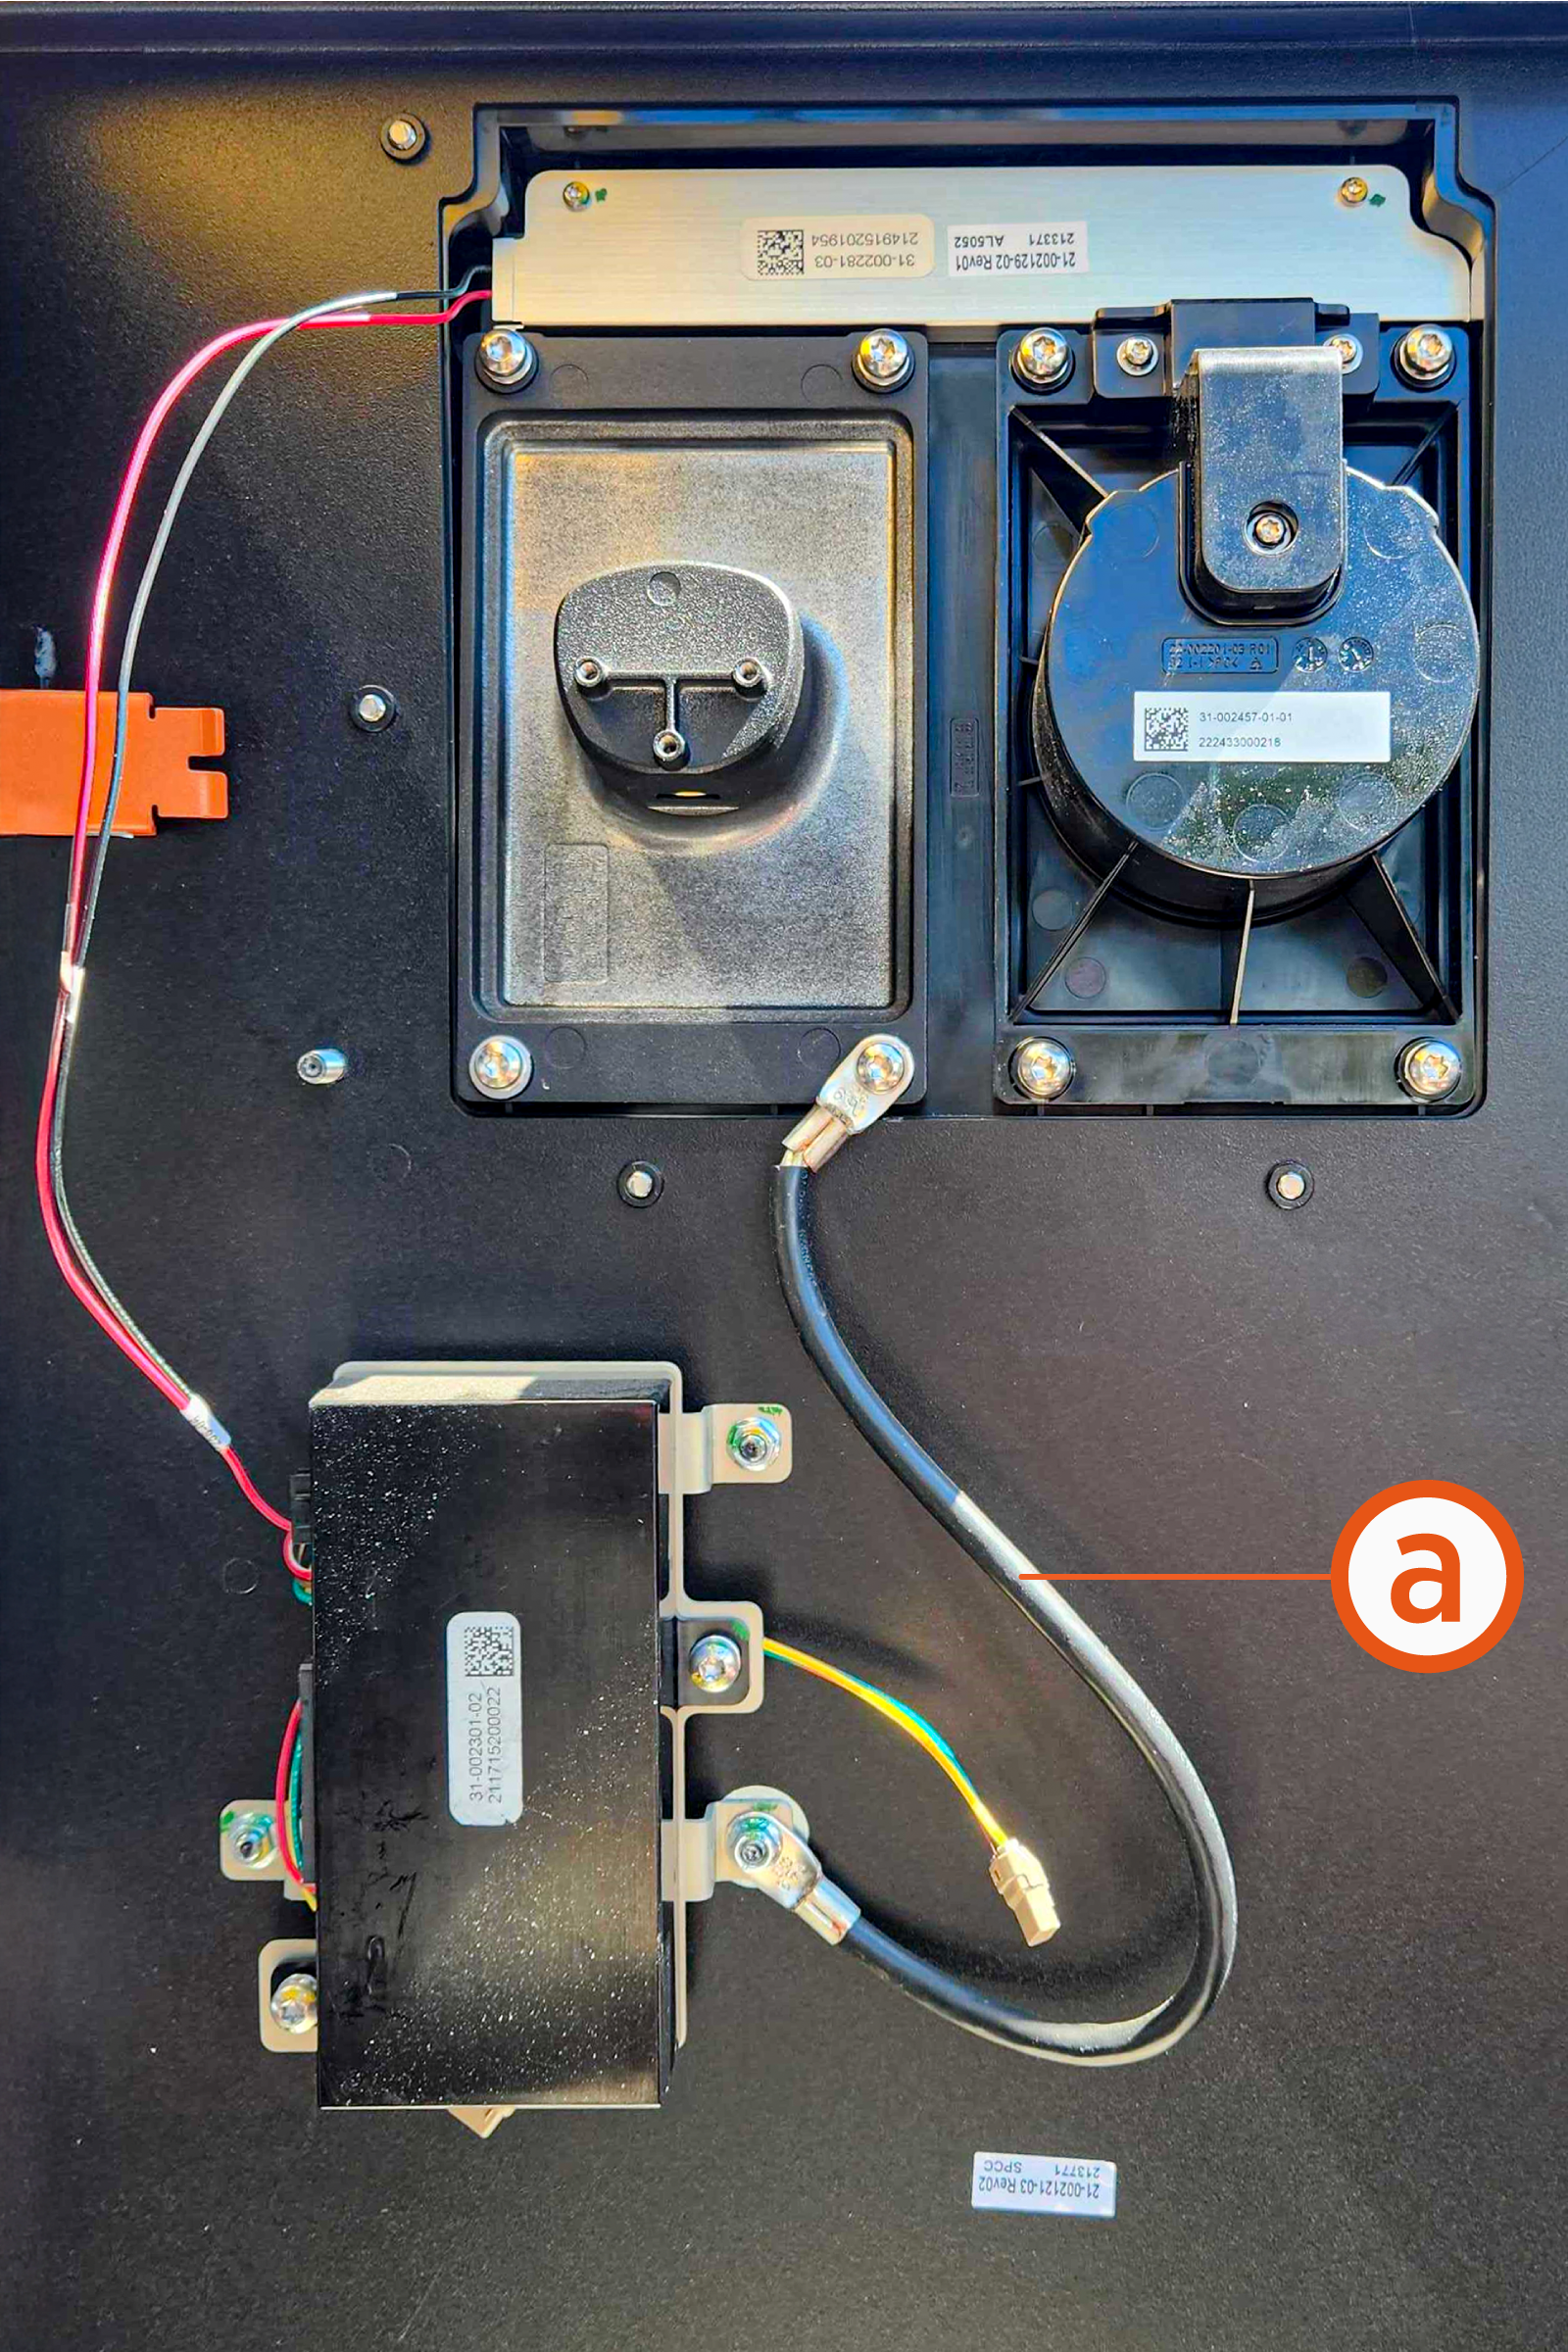
Disconnect the holster cable (only for locking holsters; skip this step if a holster is non-locking).
Locking Holster

Non-Locking Holster
 The holster locking motor controller has 1 and 2 numbers on the cover. These numbers represent the cables from the locking motor controller. The cable from 1 is for the left side DC smart cable holster (holster near the door opening), and the cable from 2 is for the right side DC smart cable holster (holster near the door hinge).
-
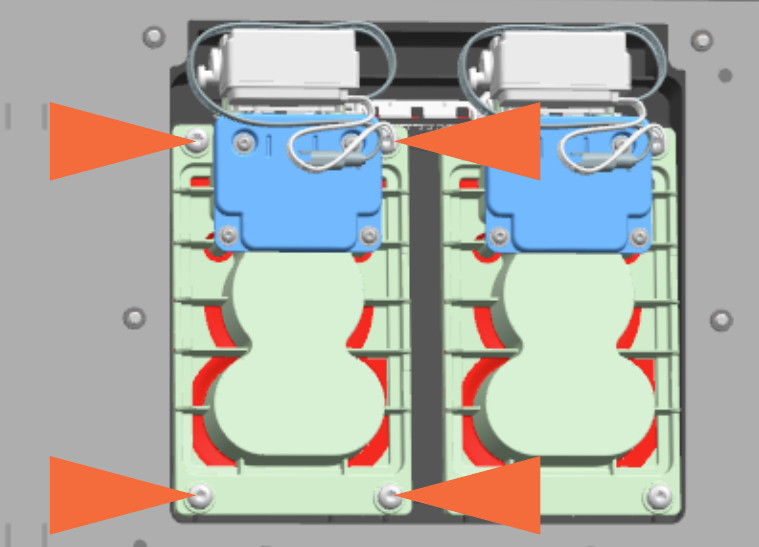
Remove the M5 screws (x4) (use T25 security screwdriver) to remove the holster from its bracket.
While reinstalling torque the screws to 2.8 Nm (25 in-lb).
REVERSE THE ABOVE STEPS TO REINSTALL THE HOLSTER.
NACS![]() North American Charging Standard Cable Holster:
North American Charging Standard Cable Holster:
- To adhere to ChargePoint best practices, complete the post-service checklist before you leave the site.
-
For assistance or to return a faulty part to ChargePoint, go to chargepoint.com/support and contact technical support using the appropriate region-specific number.
Replace Holster Bracket with Single or Dual Holster Bracket
To replace the holster bracket with single and dual holster bracket, complete the following steps:
-
Remove the M5 screws (x6) to remove the holster bracket (use T25 security screwdriver).
While reinstalling torque the screws to 2.8 Nm (25 in-lb).

REVERSE THE ABOVE STEPS TO REINSTALL THE HOLSTER BRACKET.

- To adhere to ChargePoint best practices, complete the post-service checklist before you leave the site.
-
For assistance or to return a faulty part to ChargePoint, go to chargepoint.com/support and contact technical support using the appropriate region-specific number.
