Replace/Install the Charging Cable CAN Adapter
To replace or install a LCC Liquid Cooled Cable Charging Cable CAN Adapter, perform the following steps:
Inspect the Box for Contents
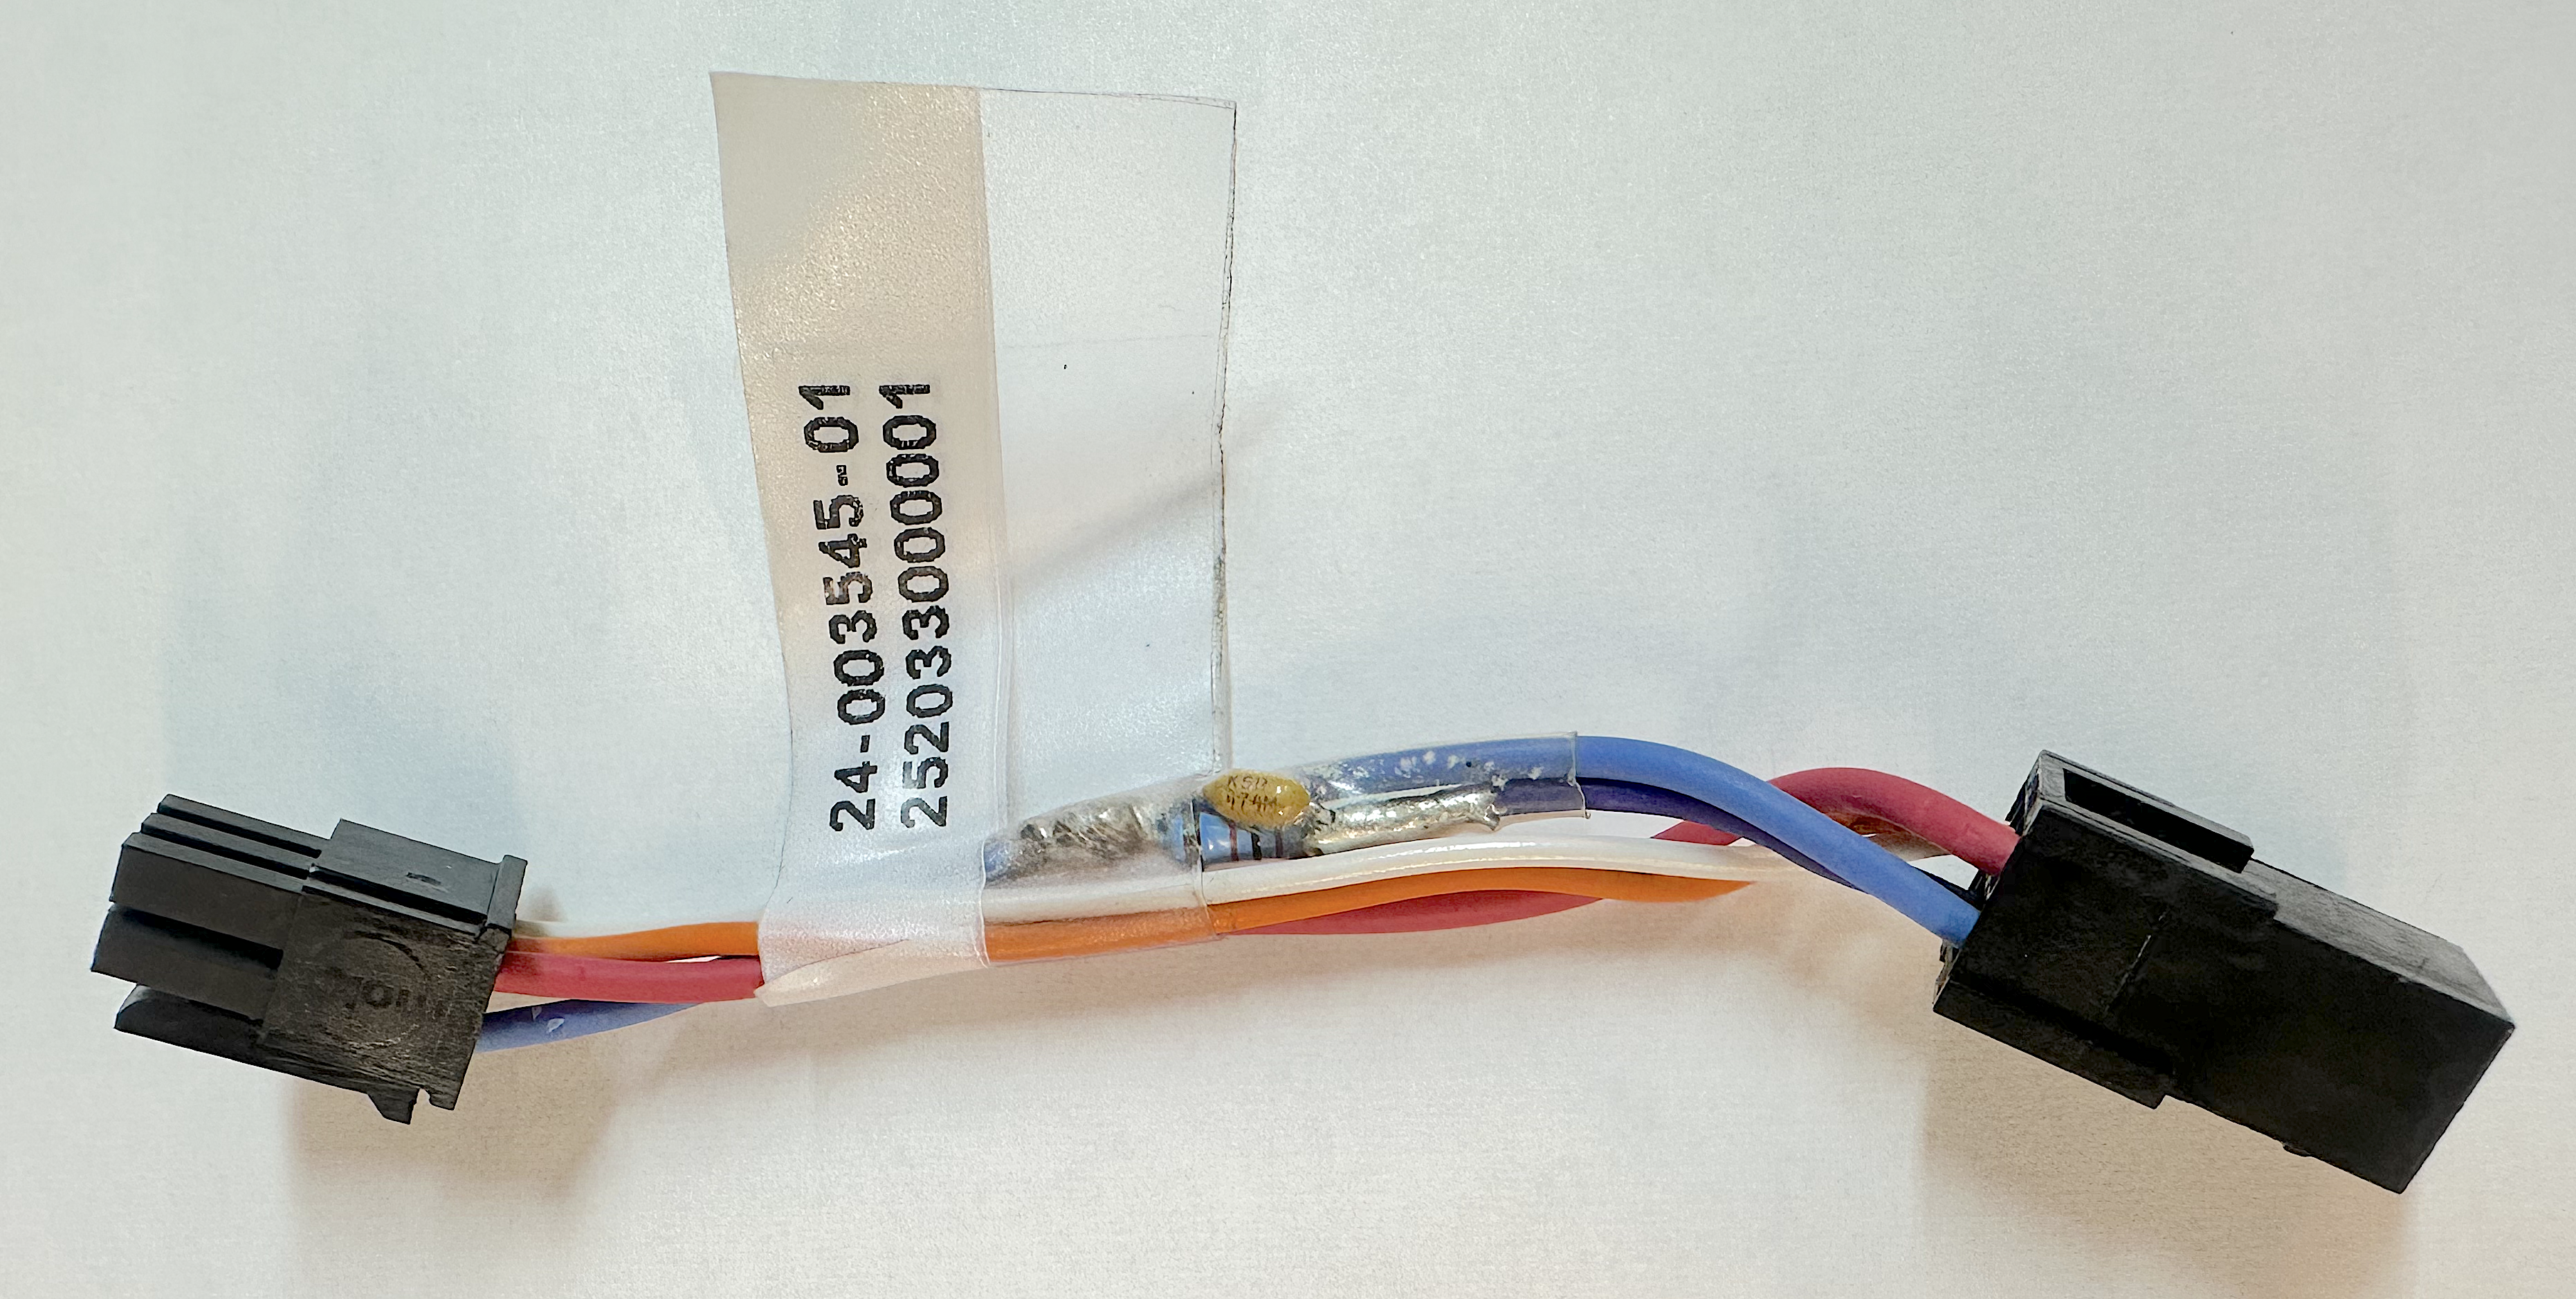
The replacement CAN Adapter kit includes:
-
CAN Adapter (PN 24-003545)
Before You Begin
Before beginning work, complete the following steps:
-
Remove these:
After replacing the CAN Adapter, reverse the above steps to complete the service.
Replace the CAN Adapter
-
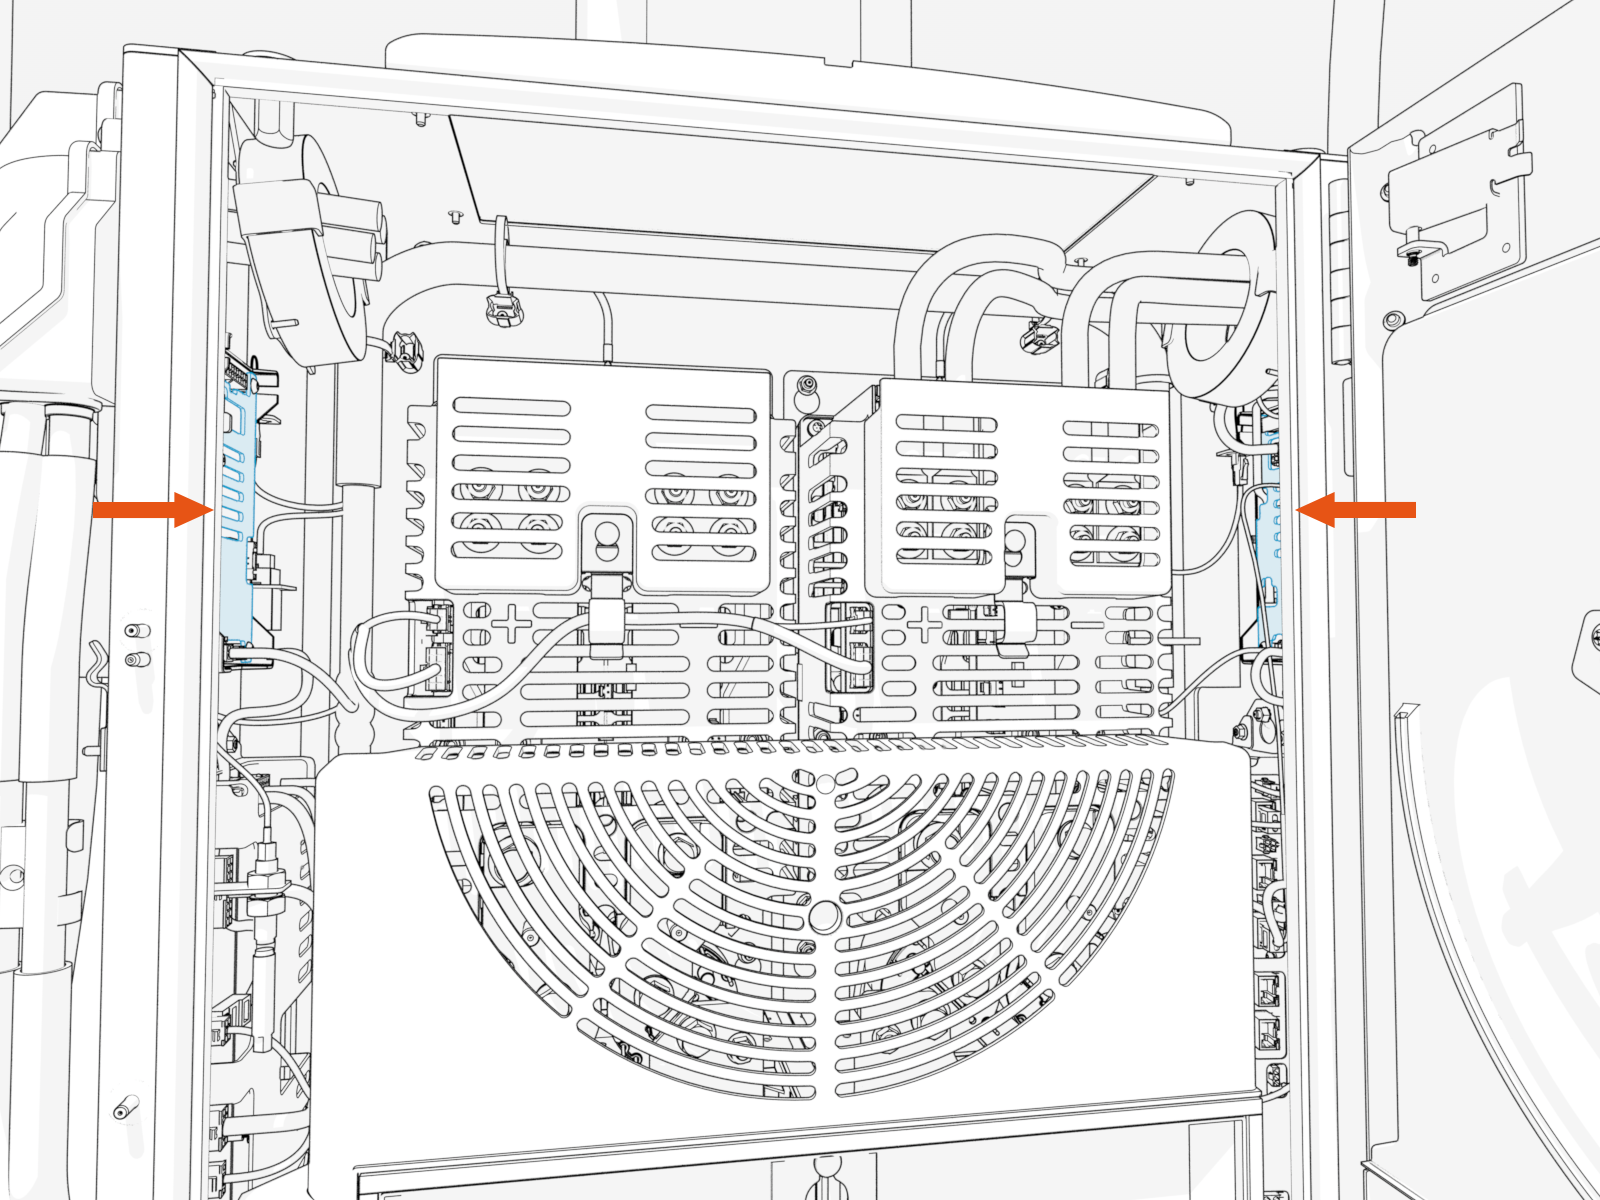
Inspect interior of Power Link 2000 near the charge cable harness.
-
Check if a printed label is visible at the end of the charge cable harness having a Part Number starting with 24-003545.
If the Label Is Not Present (No Adapter Installed)
- No CAN Adapter is installed.
-
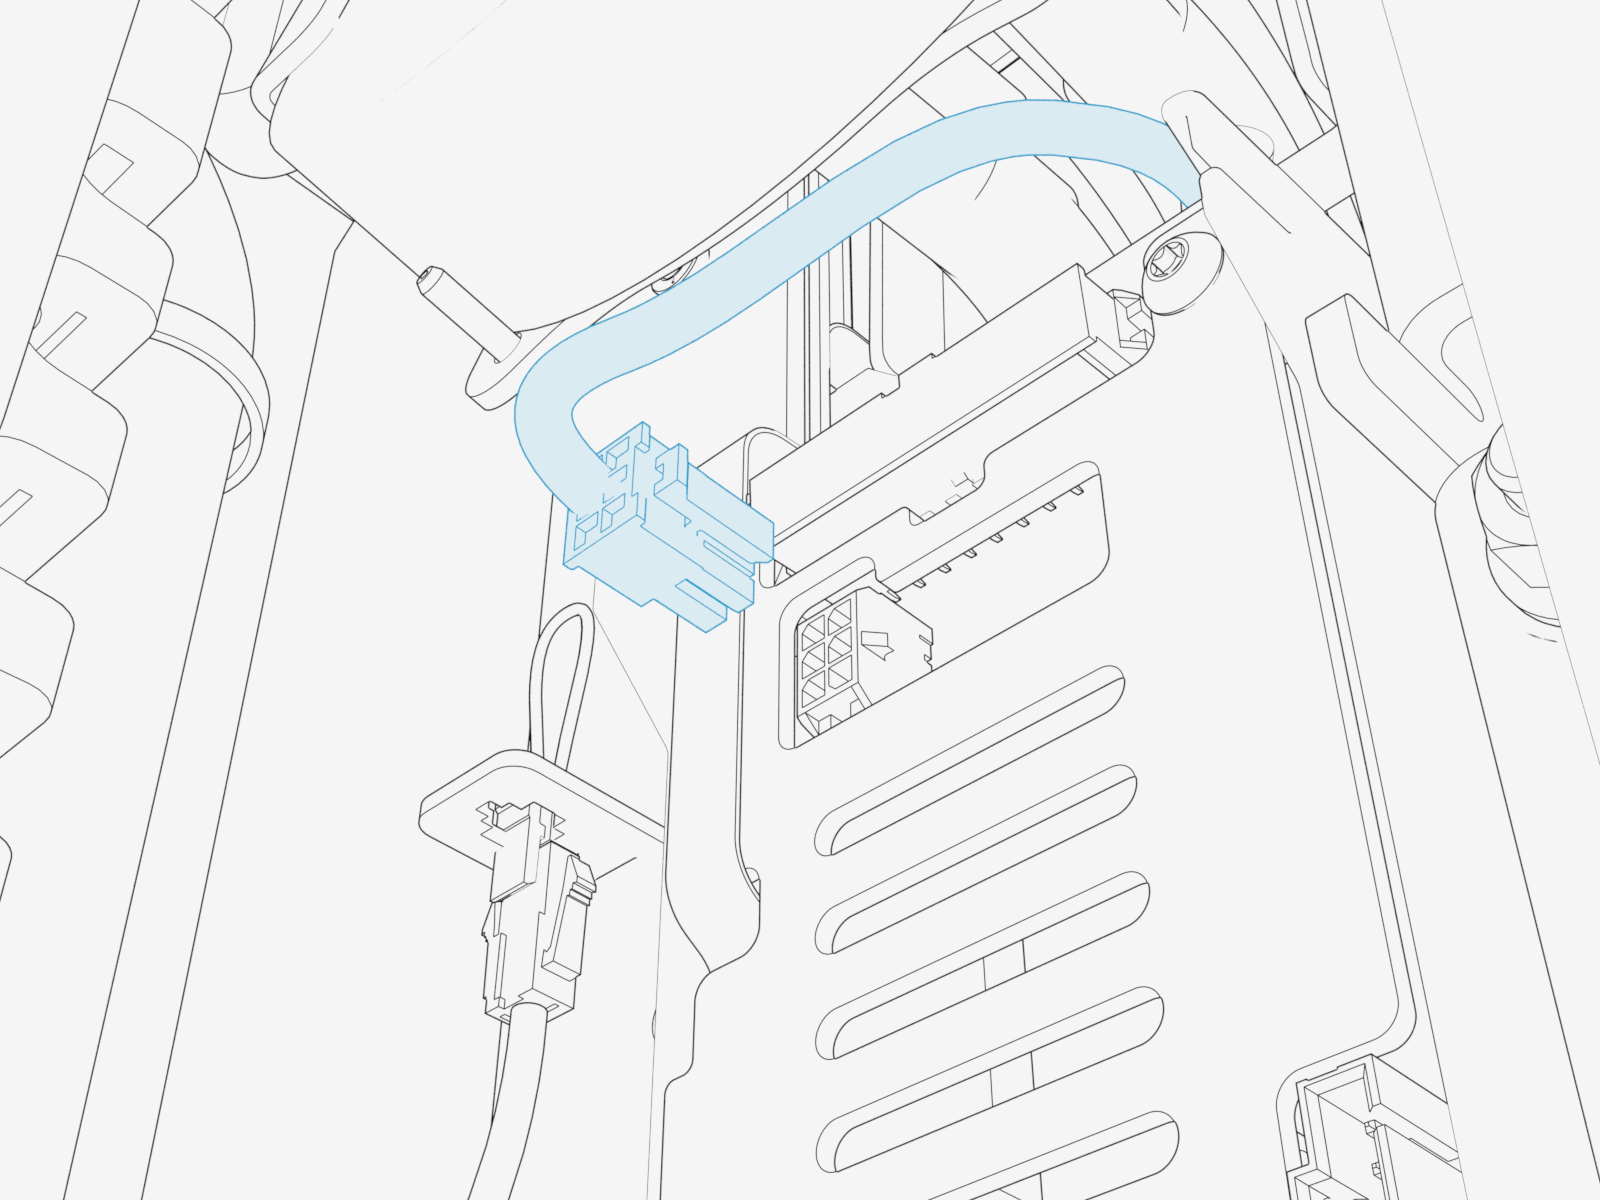
Carefully disconnect the charge cable harness from the Printed Circuit Board (PCB).
-
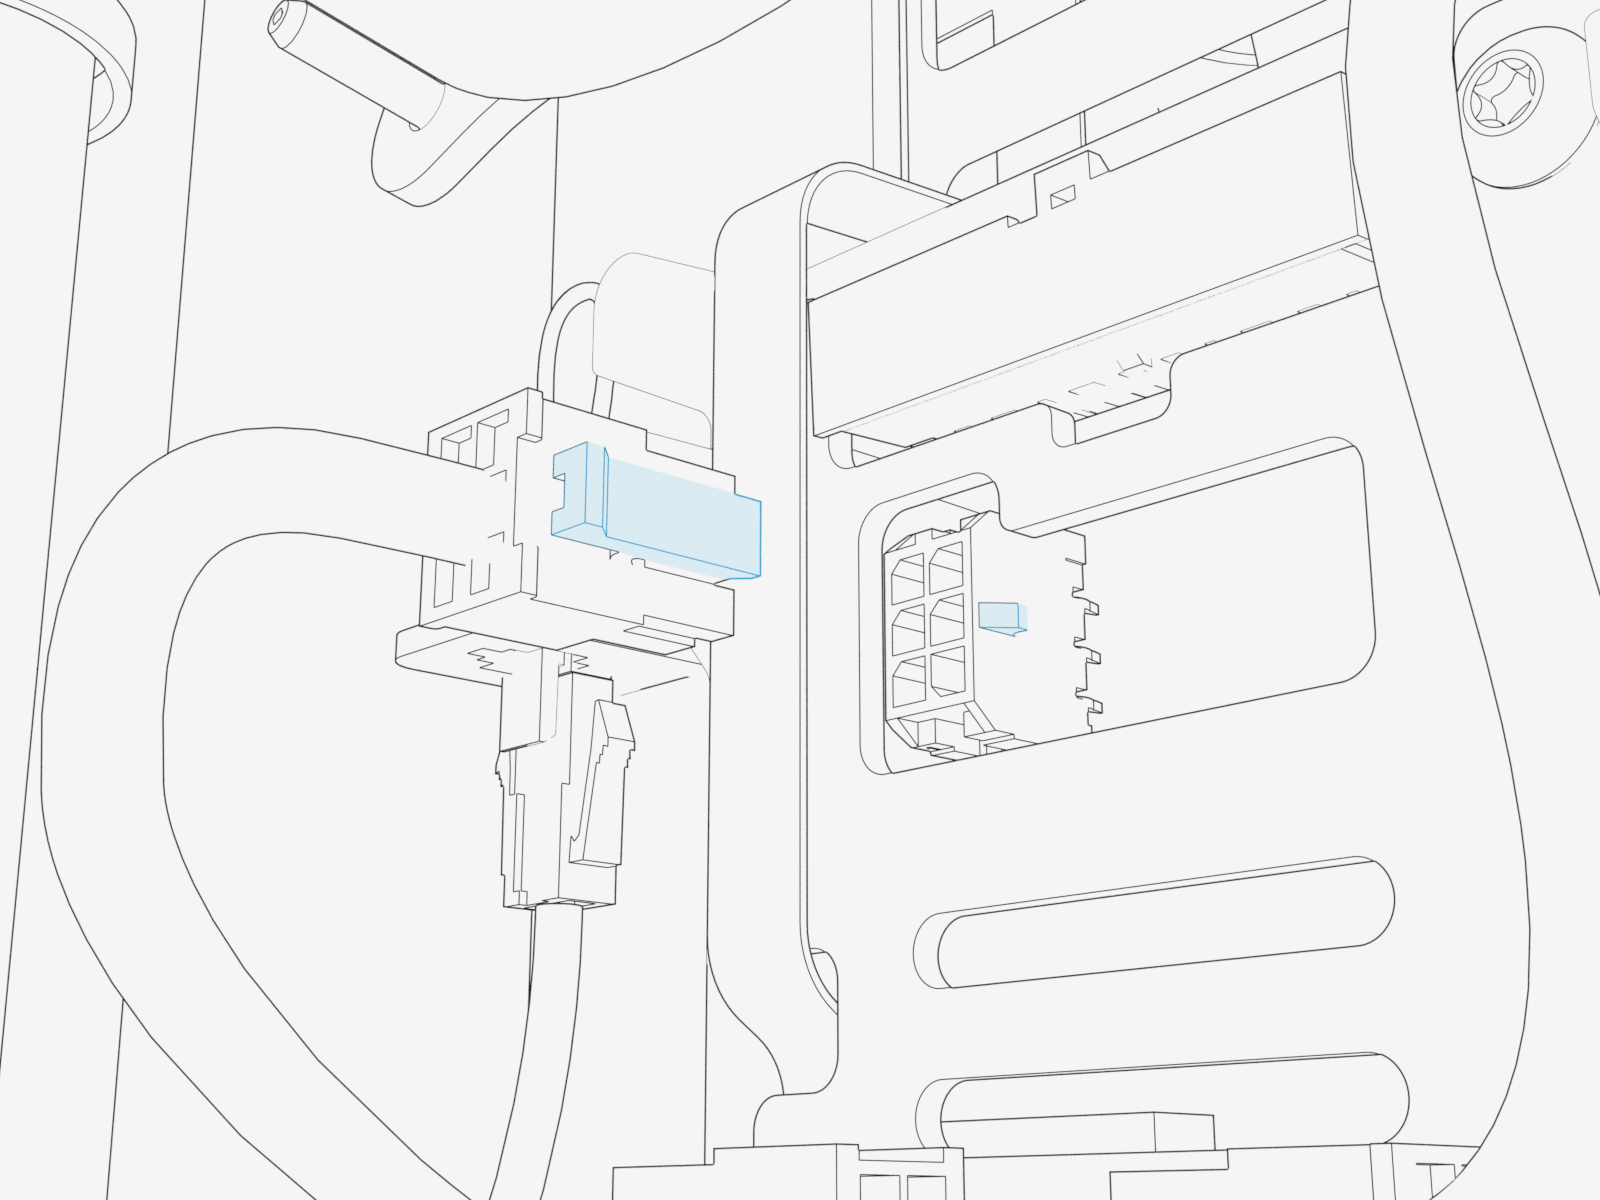
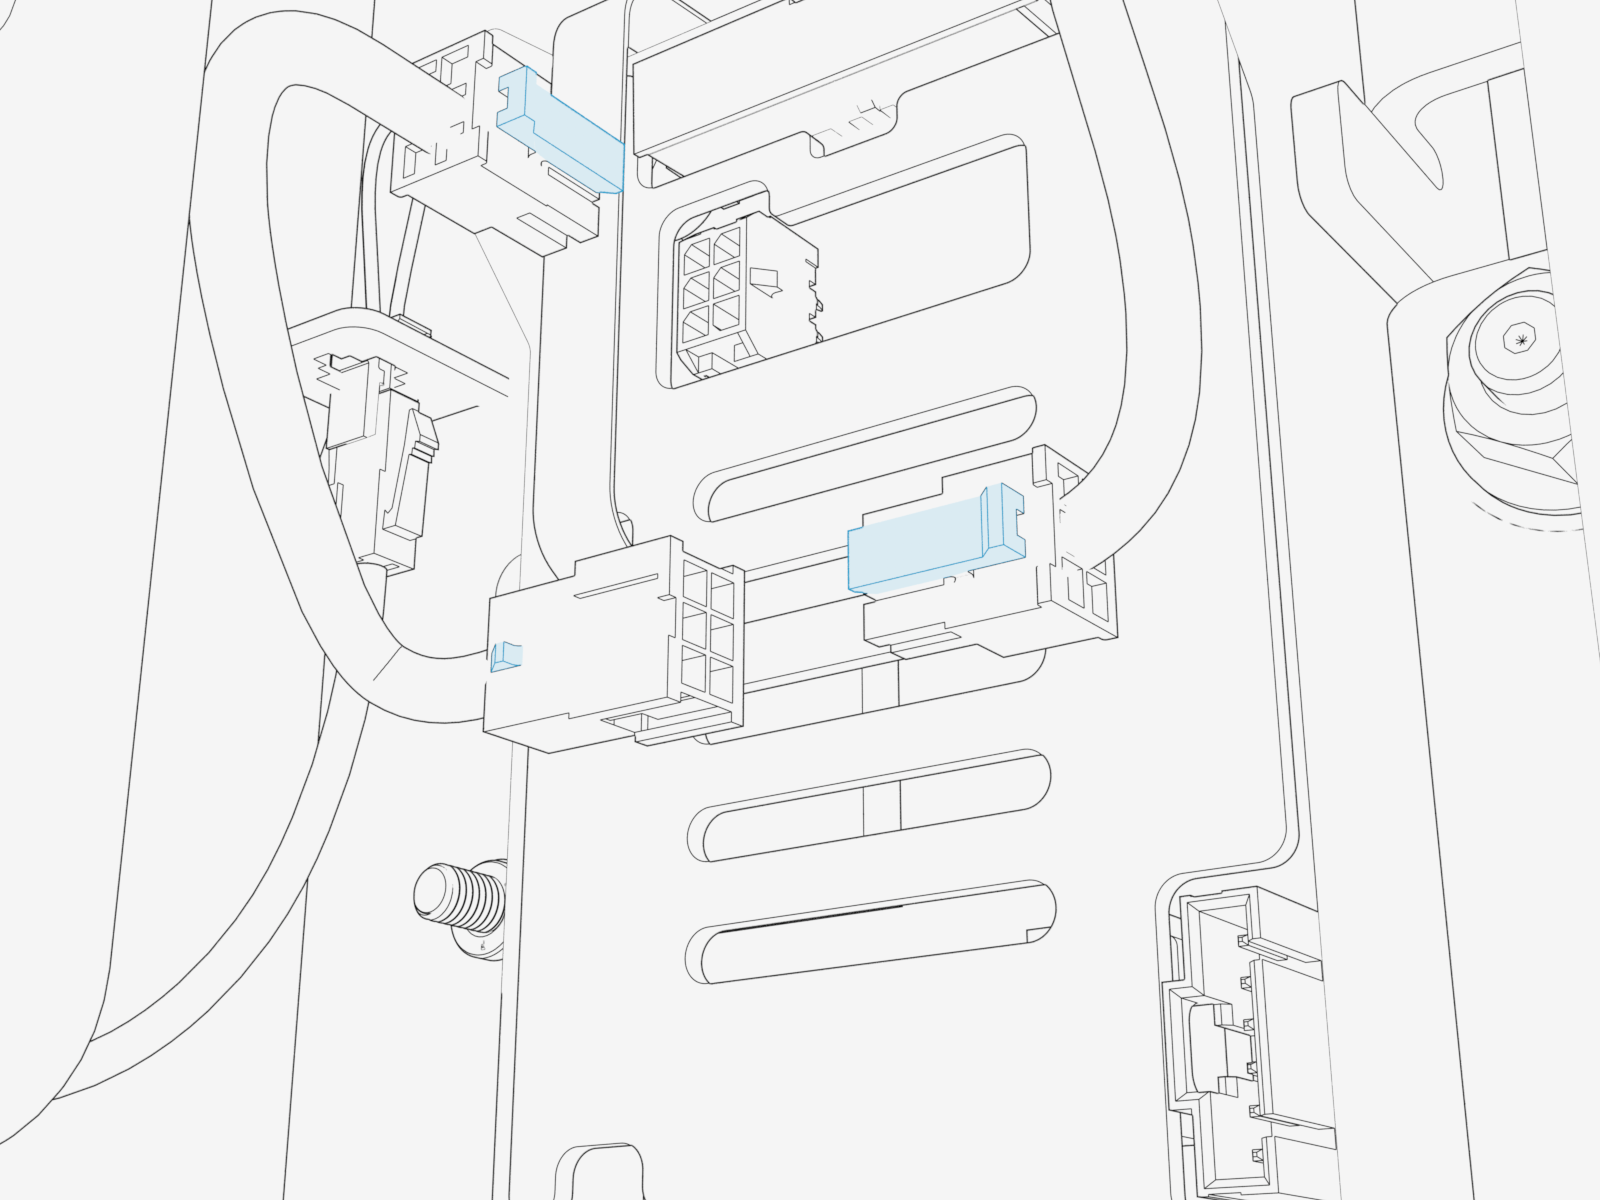
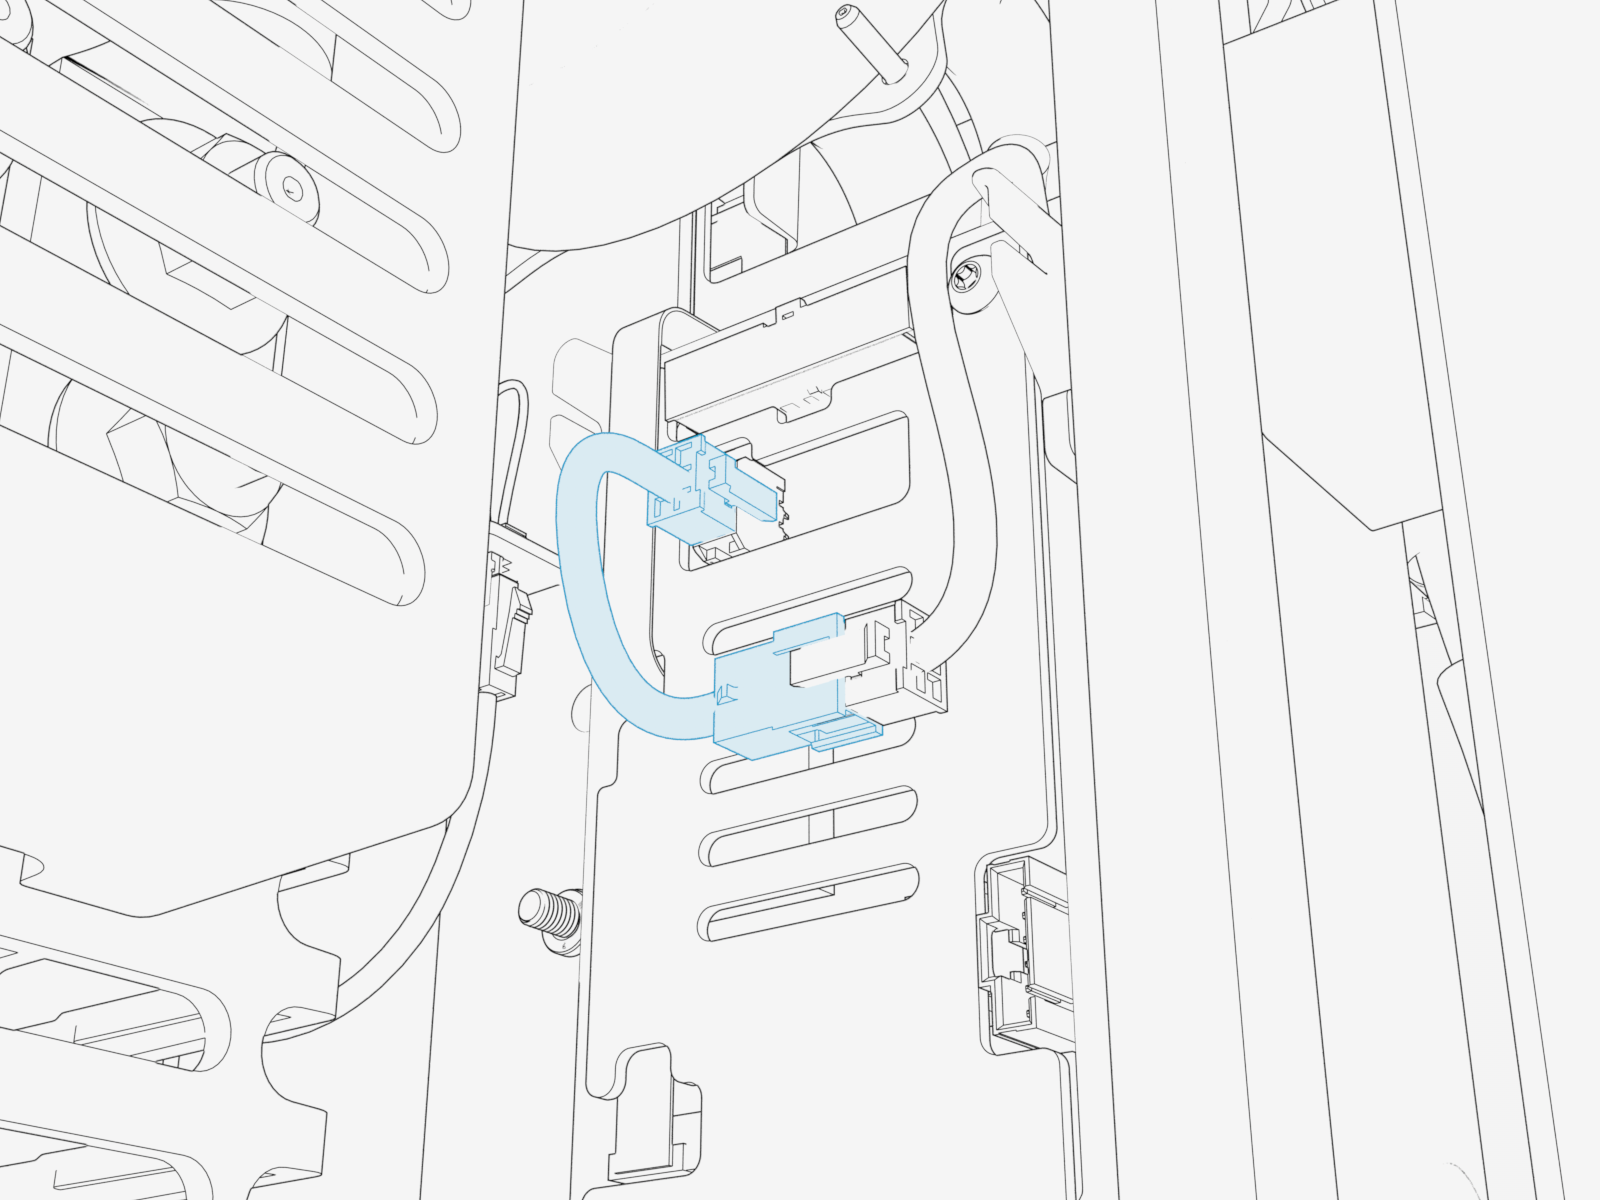
Install the CAN Adapter, ensuring the connector latch is oriented correctly before securing the connection.
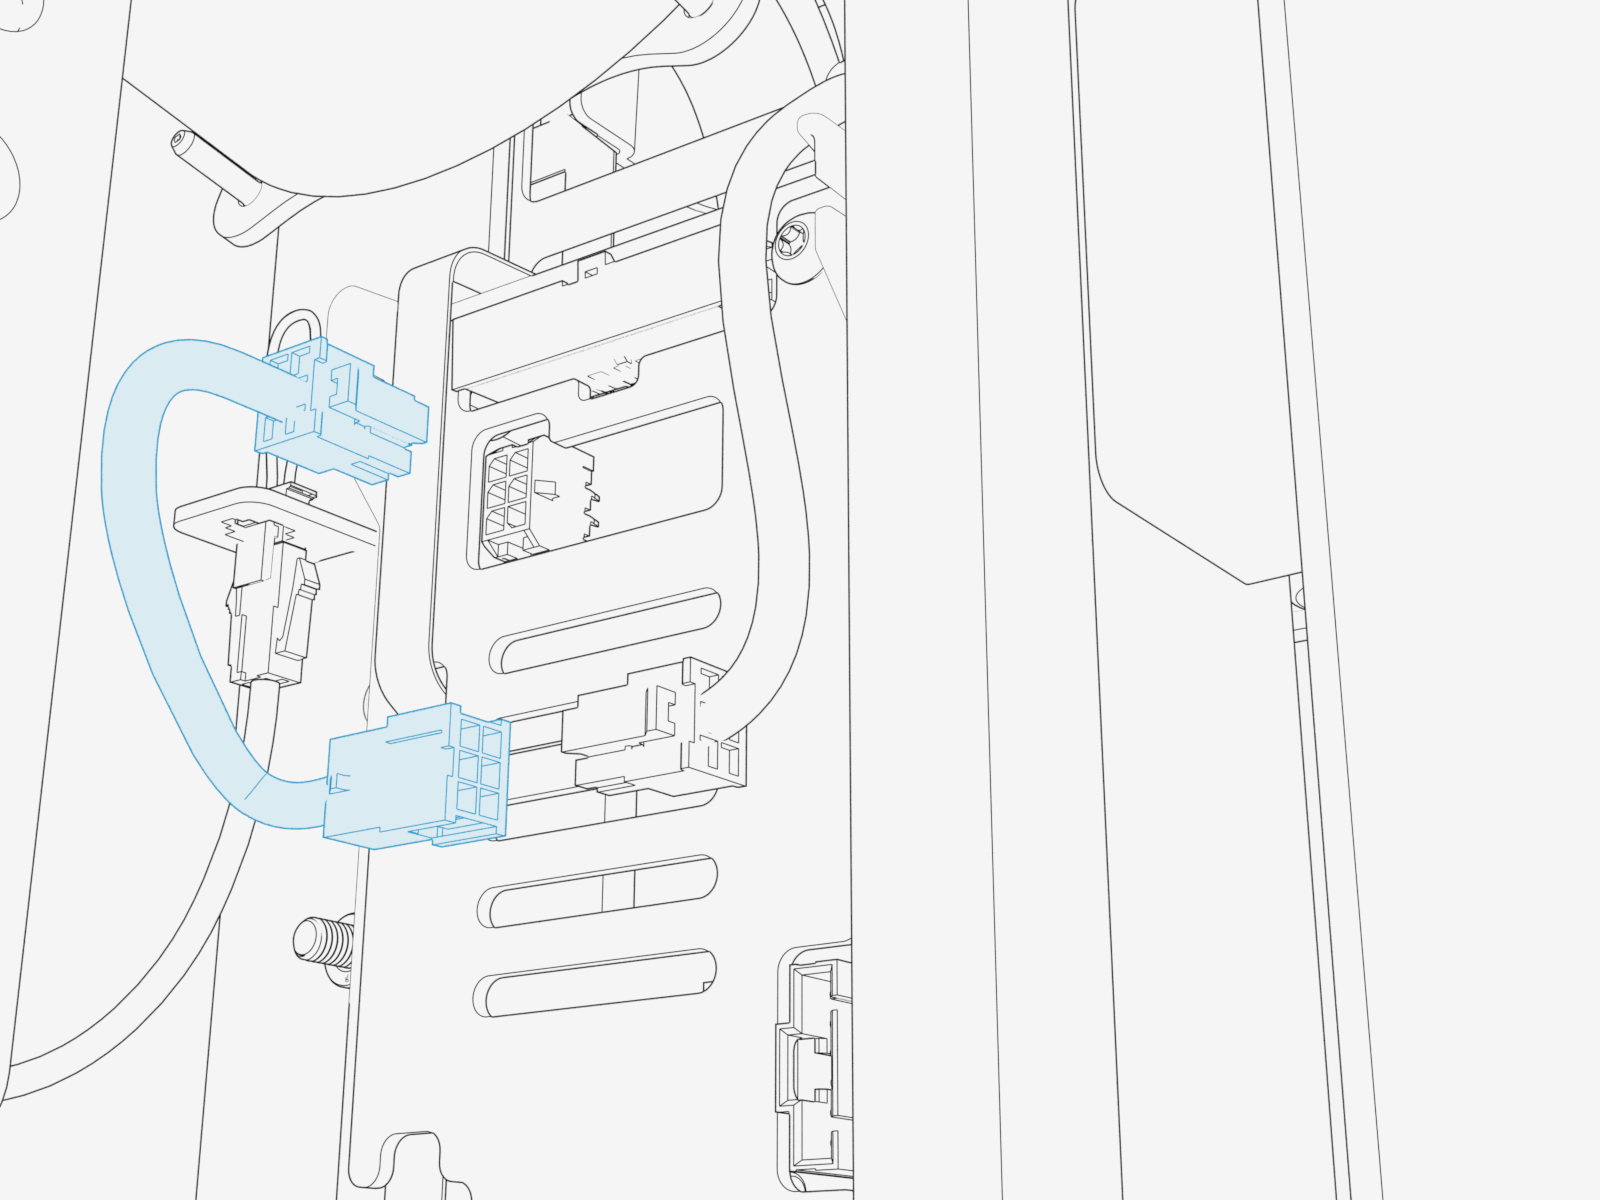
If the Label Is Present (Adapter Installed)
-
The CAN Adapter is already installed.
-
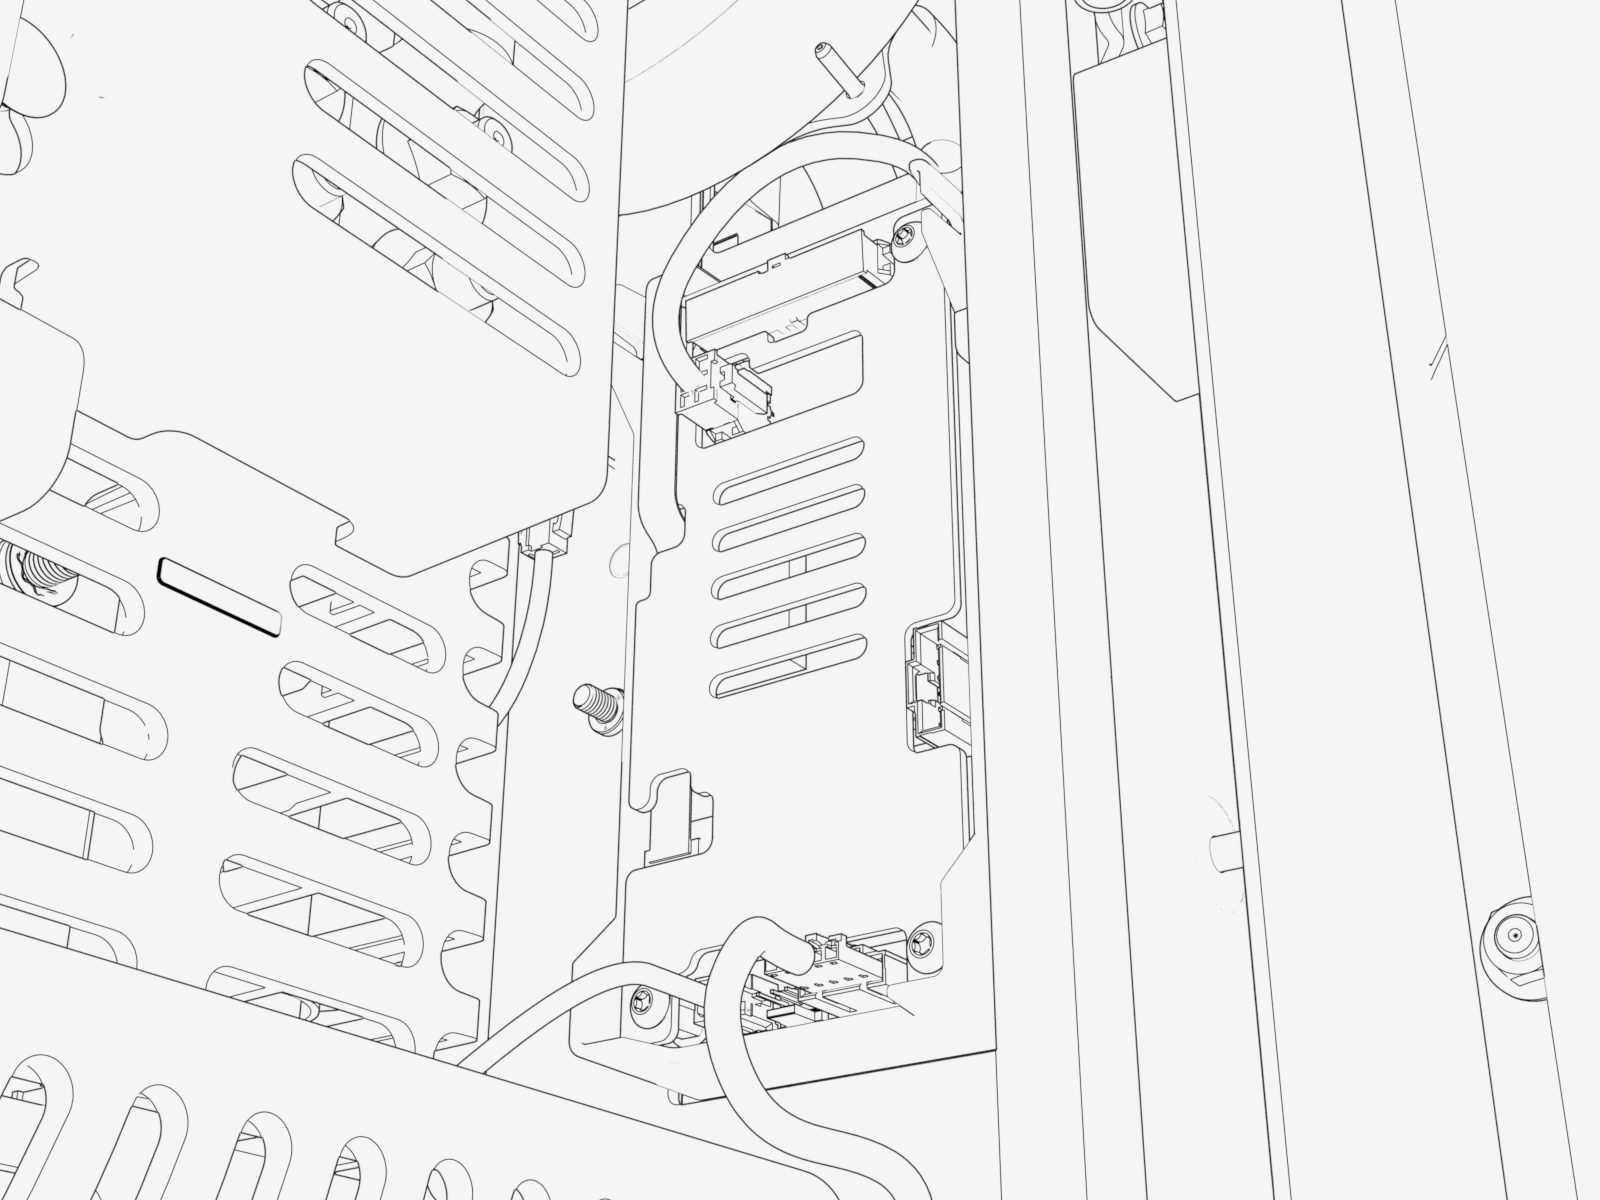
Carefully disconnect the CAN Adapter from the charge cable harness and the Printed Circuit Board (PCB).
-
Install the replacement CAN Adapter, ensuring the connector latch is oriented correctly before securing the connection.
- To adhere to ChargePoint best practices, complete the post-service checklist before you leave the site.
For assistance or to return a faulty part to ChargePoint, go to chargepoint.com/support and contact technical support using the appropriate region-specific number.
